Every year, I always share the highlights of my hobby life with everyone but this new year it’s going to be different. 2015 was one of the best year for me as Kixkillradio. Having a collaboration with your favorite figure manufacturers and popular camera brand is just amazing. It’s every toy photographer’s dream.
While having this wonderful hobby time of my life, I never forget to look back who I was. Every time I step up, I always remember the people who have made me to be better and filled me with so much inspiration to improve my work.
This new year, it is a great time for a fresh start and refocus your goals in doing the things you love. So what’s my secret? Check out some tips in Toy Photography that I still keep in mind until now.
Look for an inspiration and analyze it
When you want to bring your toys to life, you make it life-like. Imagine we are just peeking into their small world, watching them fall in love, eat, celebrate, walk or just about anything – anything what normal people do. We capture that moment.
There are lots of beautiful photographs through social media, advertisement, websites and magazines with different themes. With every photo that you loved, try to analyze how it’s done. What camera or lens, how it was lit, how it was set up, what story does it tells you, or why the subject is posed that way.
I also try to look for movie or anime scenes for inspiration and try to see if I can work on the whole set up including the lighting. I check for the availability of supplies for the shoot.
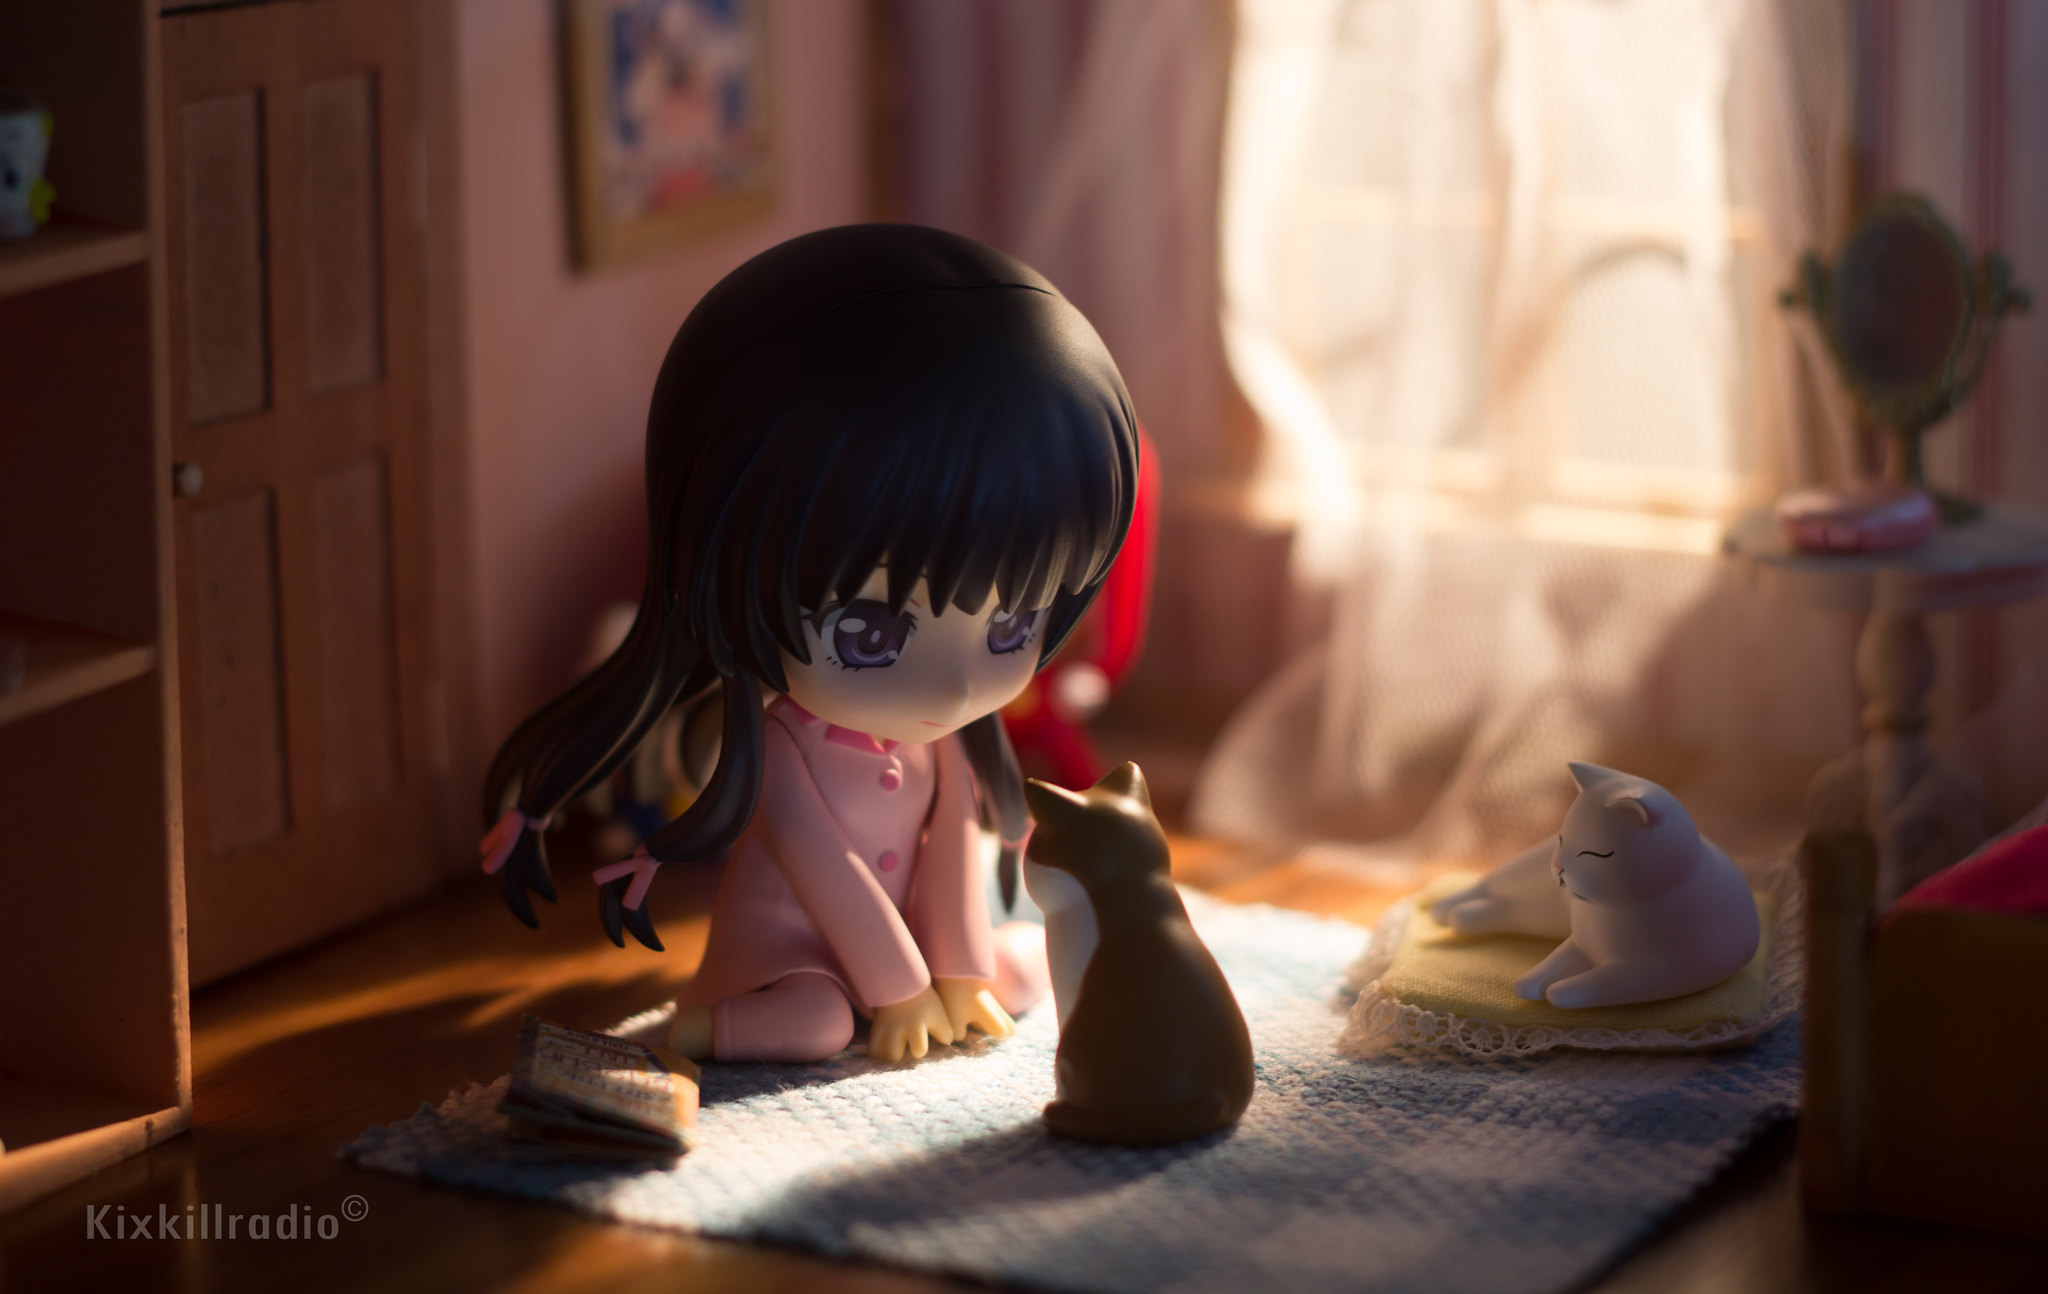
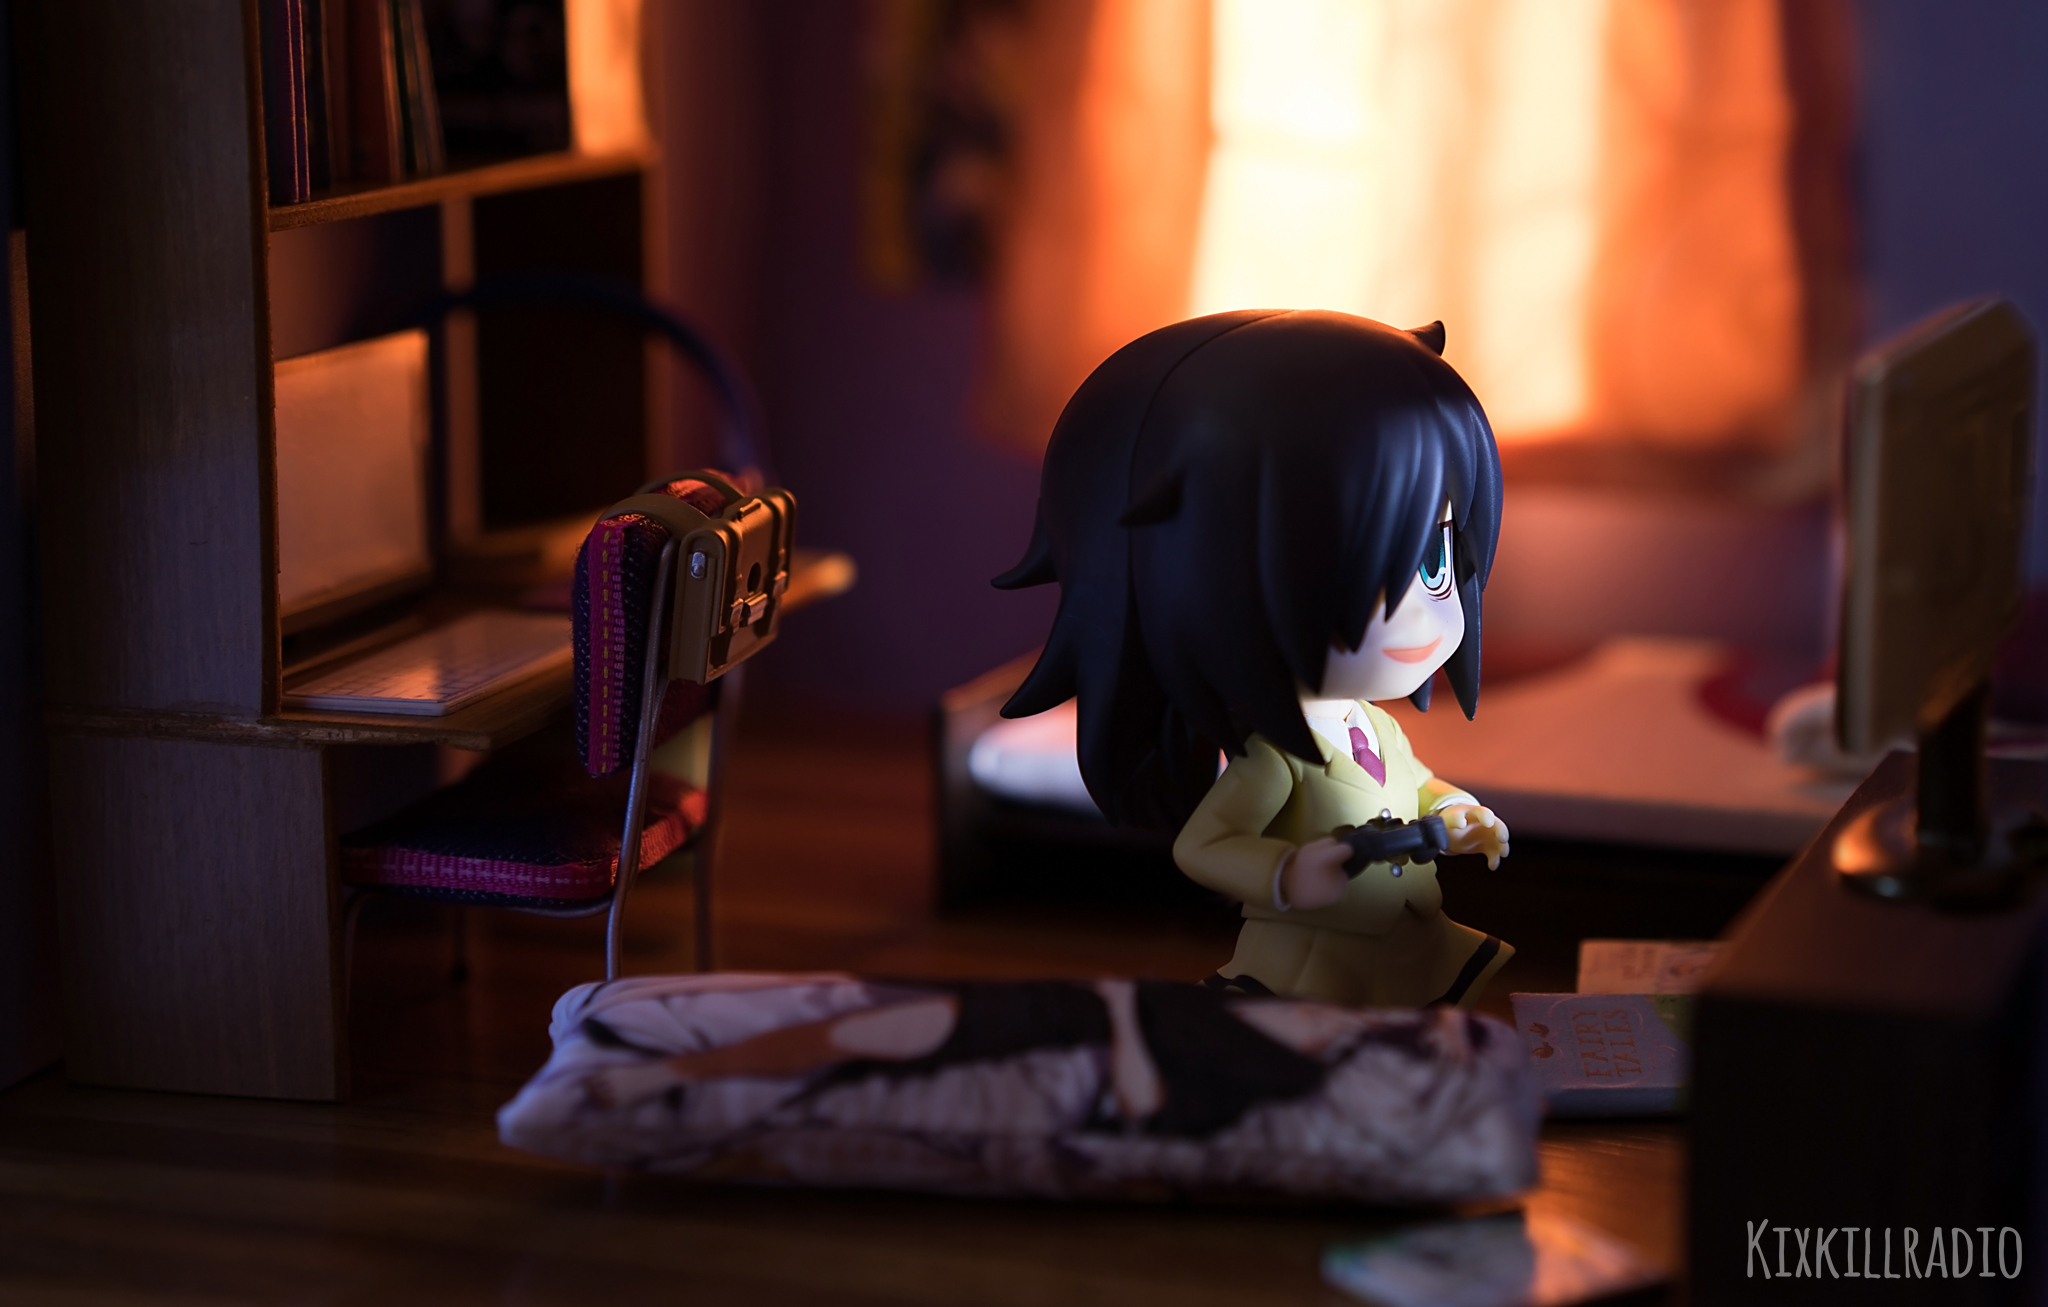 In the anime “Watamote”, the main character Tomoko loves to play games at night. I recreated her room to capture her game time moment in a dark environment.
Create your own style
It is important to find out what works for you in the creative process. Using background in your toy photography emphasizes your anime figure. The background helps your viewers to see the story you want to tell in the picture.
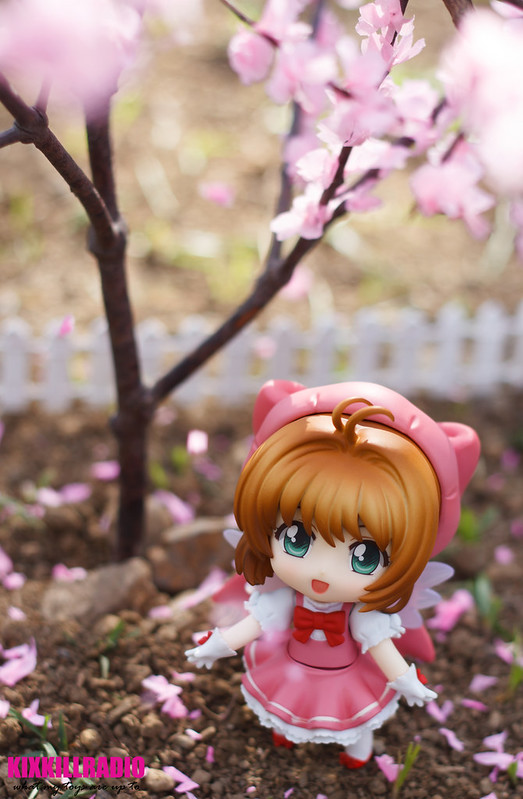
You can try outdoor and take advantage of the wonders of the world, nearest park, garden, the busy streets or the city lights. But how far do you want to go to achieve a certain shot?
When you have an anime figures wearing bikini, it’s easy to tell where you can take her for a photo shoot.
I took Menma in the nearest park during the summer couple of years ago. It’s really hard to take this photo because there were so many bystanders watching me take this shot. I’m sure it happens to you too whenever you attempt to shoot outdoors. In a country where I live, It’s dangerous to go alone with a dlsr. Sadly, the level of crime rate in the city is getting worse as years go by.
 Most of my shots outdoor are taken in our front yard and backyard. When I shoot outdoor, I usually combine handmade props and other accessories. I also take my diorama outside and set it up wherever I think it has a nice view. I make sure the spot provides adequate lighting.
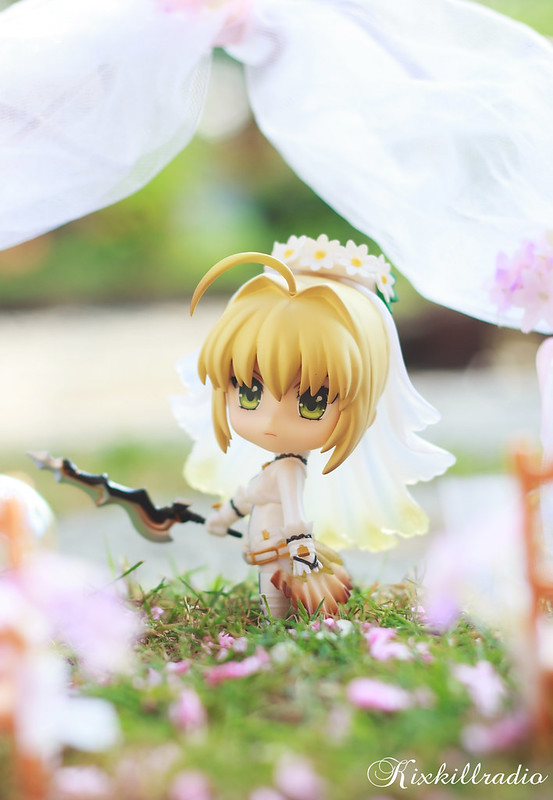
If you prefer not to leave the house, you can use colored materials for background just like what I used for this Saber shot.
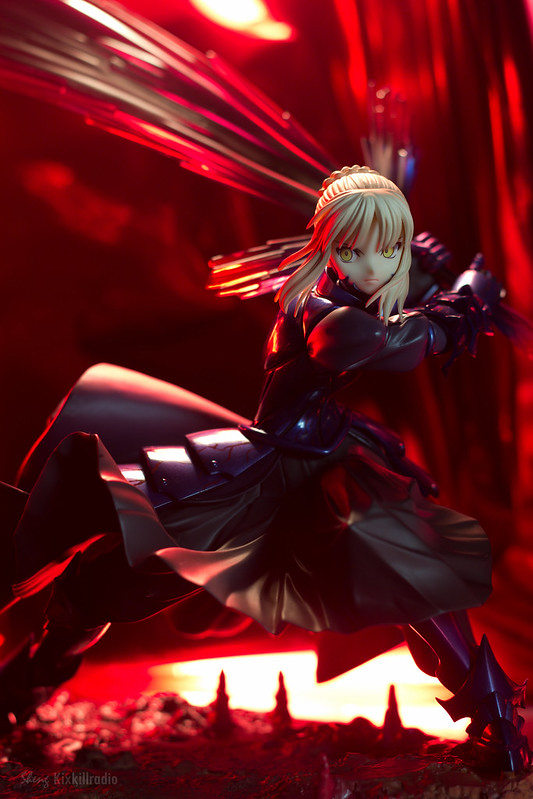
This is a red metallic (aluminum) foil that you can find in your school supplies. If you prefer to use a uniform background, be creative and always try something new. Like maybe use the colored aluminum foil for parties themed toy photography.

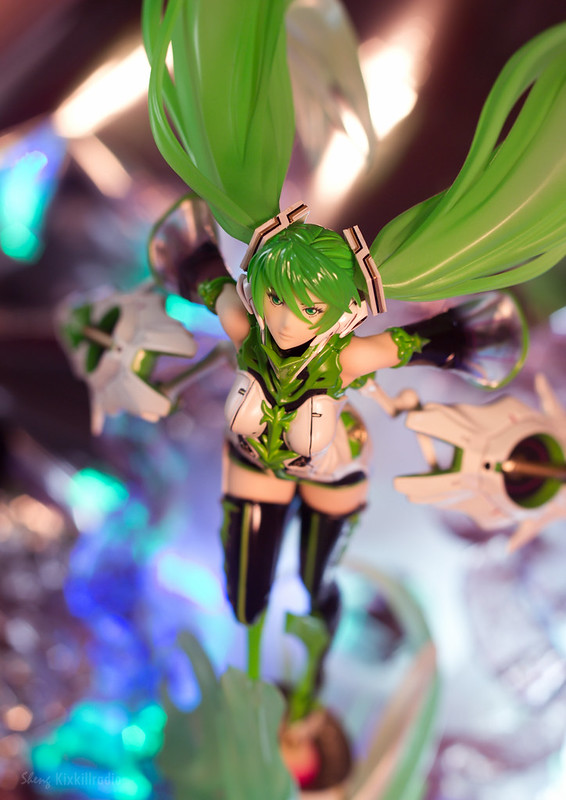
Or you can experiment with the lighting. This Miku VN2 shot was a combination of 2 desk lamps and Christmas lights.
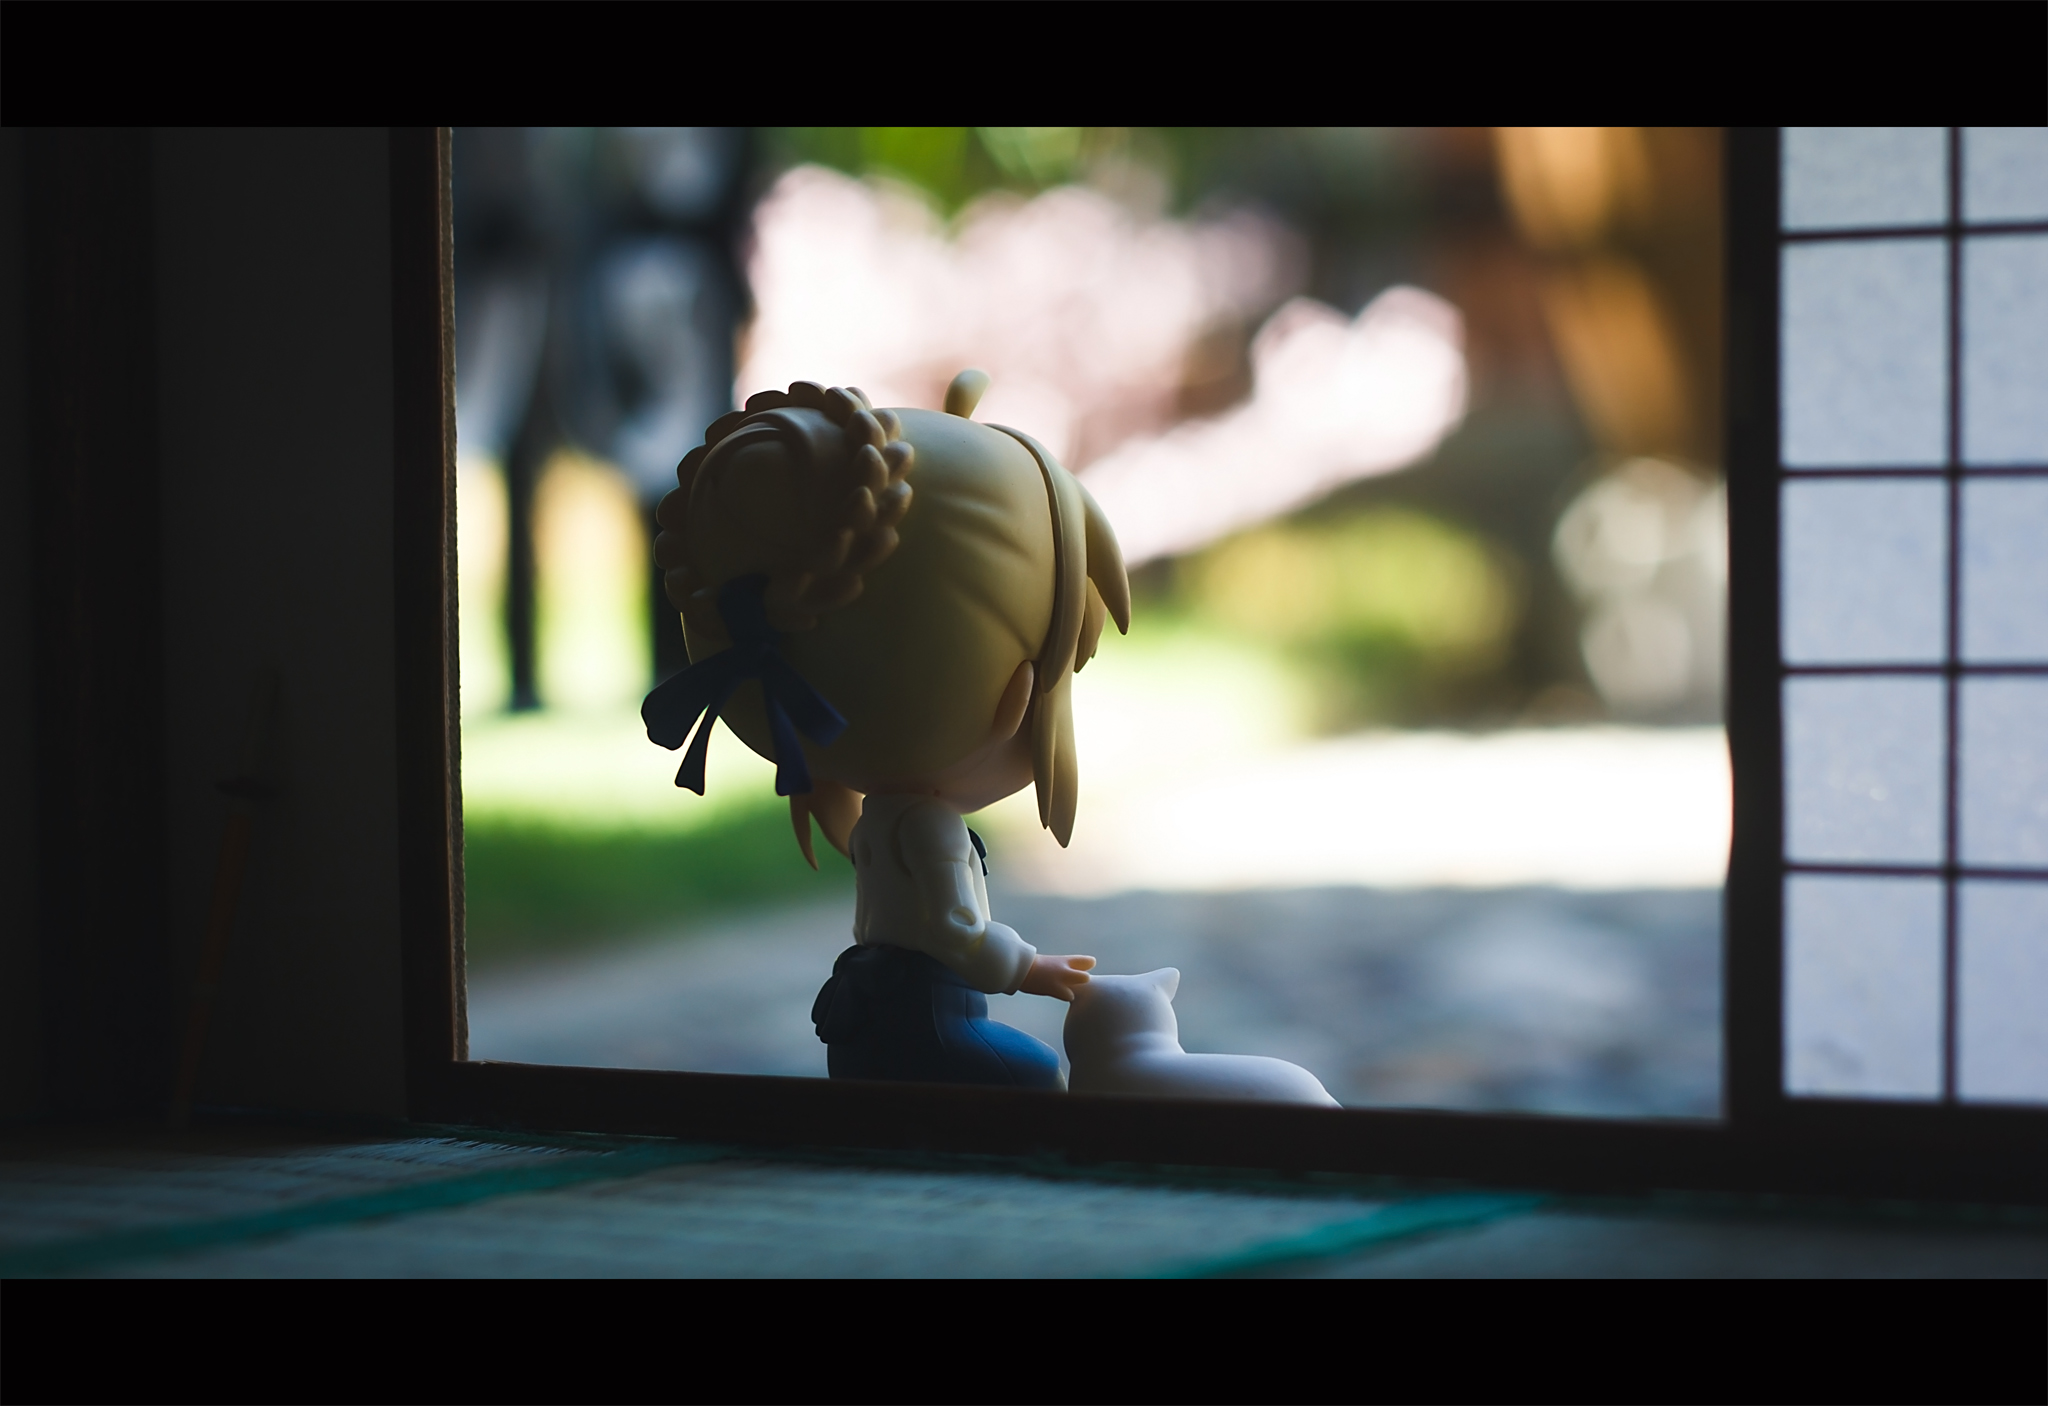
One of which I am proud to say I’m good at is making my own room sets.
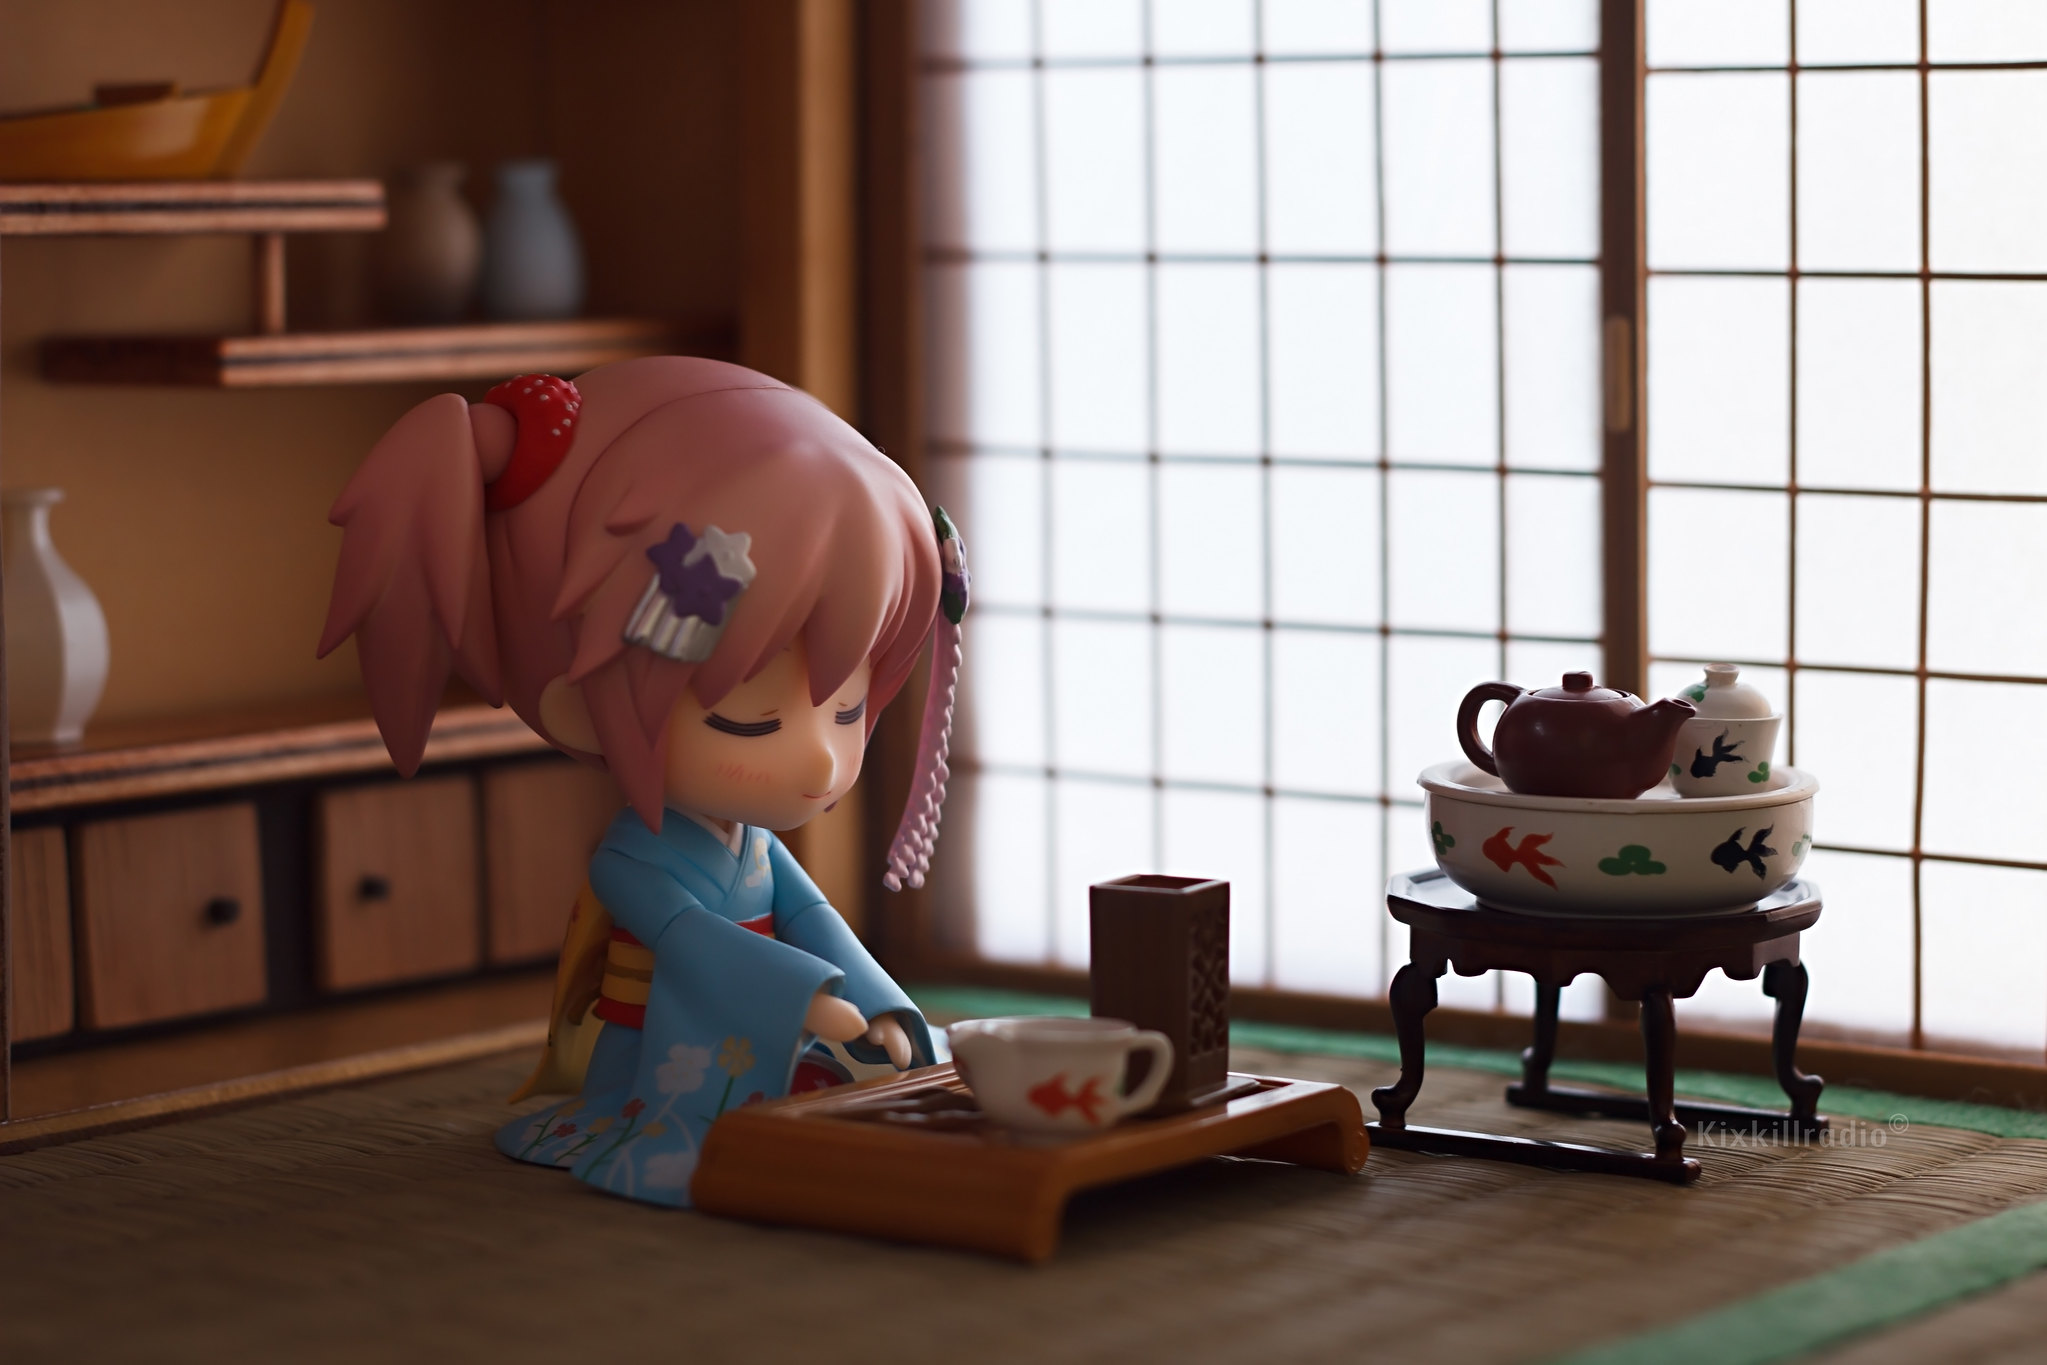 When I photograph my figures in a miniature room, I want the lighting as close to real life as possible. I make sure that every detail in the room is well arranged. I don’t mind spending a little more time just to make things right.
Finding your own style isn’t easy but when you finally found where you’re good at, it will help you create a picture that you’re confident to share to everyone.
Don’t Stop there, Learn as much as you can
There are always room to improve ourselves, same thing in toy photography. Until now I still think of ways to improve my craft. I watch tutorials in You Tube or read articles about photography tricks. When you want to add cool effects to your work, Google-sensei is there to help you. There are tons of tutorials in the internet.
You can also try to attend photography seminar, if you’re on a budget opt for a free seminar or watch out for any conventions that includes toy photography in their program. You might also get a chance to meet and greet your favorite figure photographer.
Don’t be afraid to ask question if you want to learn something. Aside from me, there are many other toy photographers who share their experiences which you can learn a thing or two in toy photography.
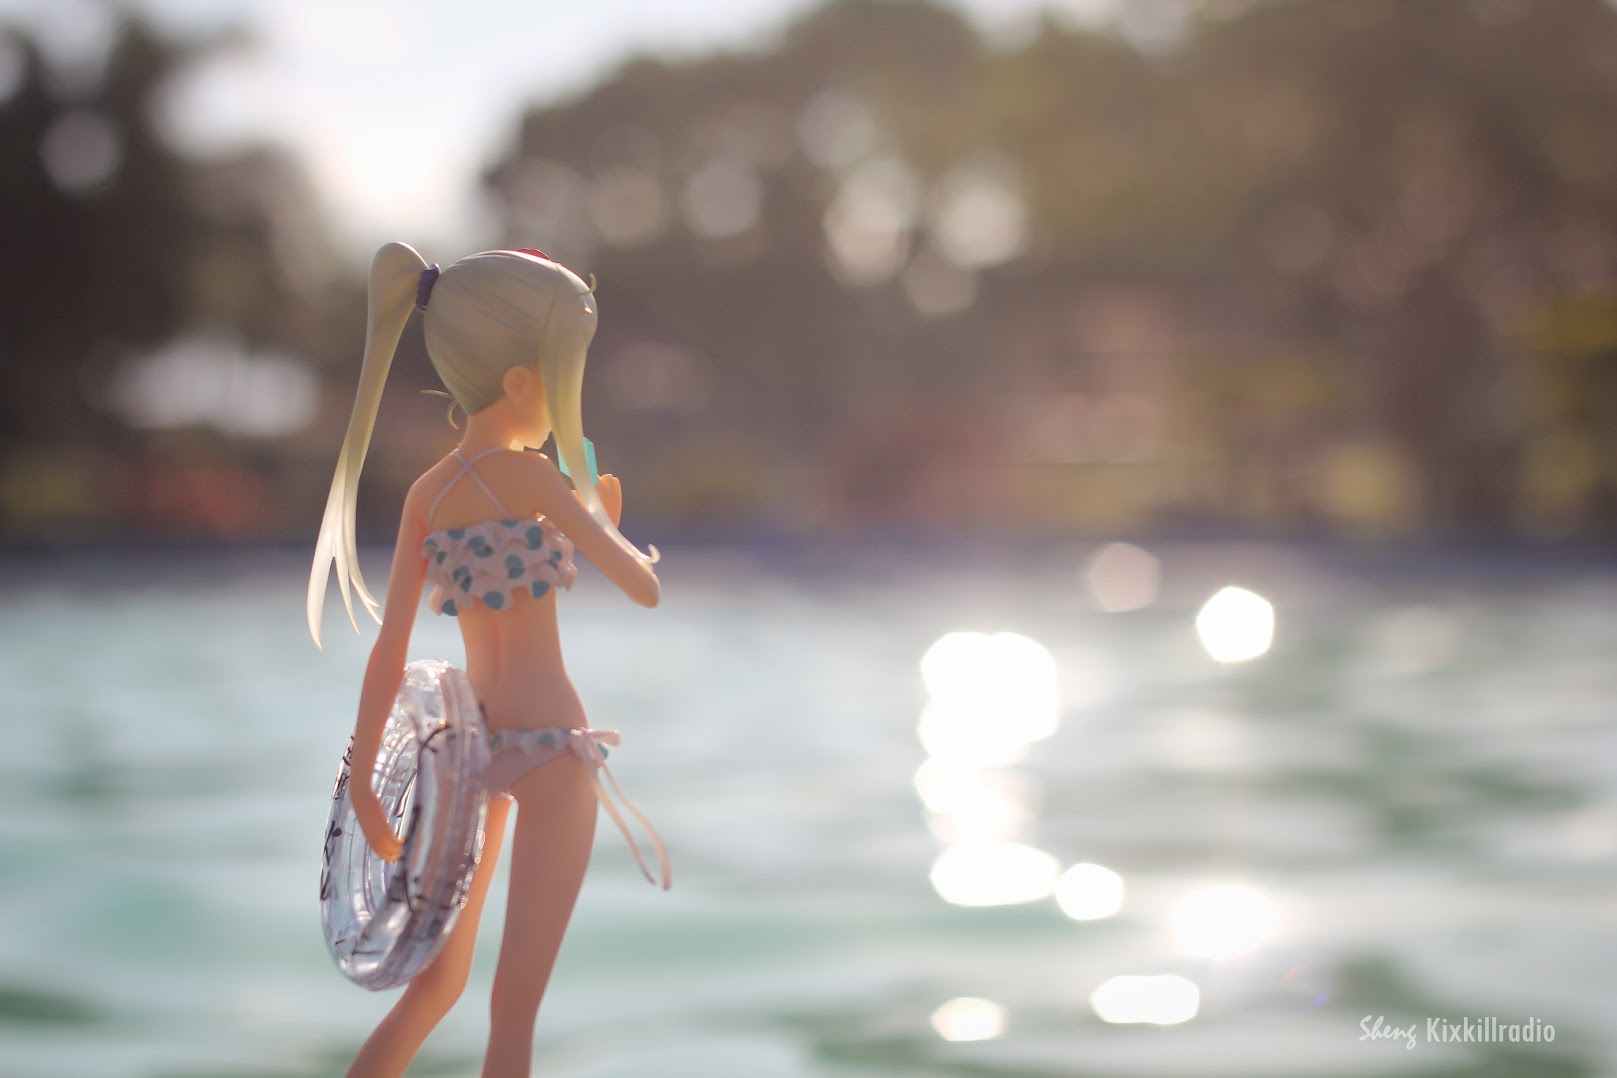
 During the workshop last August, I was asked by the attendees how I managed to take this shot. They thought I was at the pool or beach. They were surprised to know that the figure was set in a small Aqua colored basin filled with water. They also asked me if the water splash effect is photoshopped, I told them that it was in burst shot mode as I threw a small stone onto the water.
By asking questions, you can learn some things you actually haven’t done before because you initially thought it’s hard to achieve.
Learn how to handle (and give) criticism
When a figure photographer offer you an honest critique, don’t take it against him. Instead of getting mad at him, try to re-evaluate your work and see what needs to improve.
I know many of us are not really used to receiving honest criticisms from people we hardly know. Before I upload my photo online, I usually show it to my brother for a brutally-honest feedback and it helped me a lot. You can also show it to your closest friends first and ask them what they think about the photo.
In my early years of toy photography, a figure photographer left a comment in one of my works that I thought was really nice photo at that time. He told me to trim the grass and remove the stands. Until then, I mastered the art of standing nendoroid using thin wire, paper clips or bobby pins.
 I even learned how to do a jump shot.
Offer advice only when wanted. Do not offer advice to unwilling photographer in receiving honest critique. Not everyone are really cool about it, trust me. Of course, it’s always great to let the photographer know that you love the photo. These kind of messages motivated me to do my best. It also shows that the hard work pays off. Seeing people smile because of my work is such an amazing feeling.
Experiment and have fun!
There’s no fixed rule in toy photography only guidelines to enhance impact of your photos. Besides it’s fun to try something out. I usually experiment in lighting, editing or even cropping. You would normally see my photos different from my past work.
 I like to add effects naturally, just like using my brother’s e-cigarette for a smoke effect.
I also like to try cinematic editing style in some of my action figures. It brings a cinematic-ish feel when looking at the pictures.
The cliche advice to shoot more will not make you better. No matter how many times you click the shutter if you don’t evaluate your work for improvement, learn the camera basics and photography style then your work will not improve at all. Practice is a good start until you get it right.
Get creative, imagine yourself in their tiny world and visualize what you want to see. Be resourceful, you don’t have to buy everything you need. There might be something in your attic or garage or storage room that you can modify and can even use for your diorama. Be patient, not everything will turn out the way you planned. Try, give your best shot and never give up.
That’s all for this year’s a few tips to improve your toy photography. I hope it helps a little.
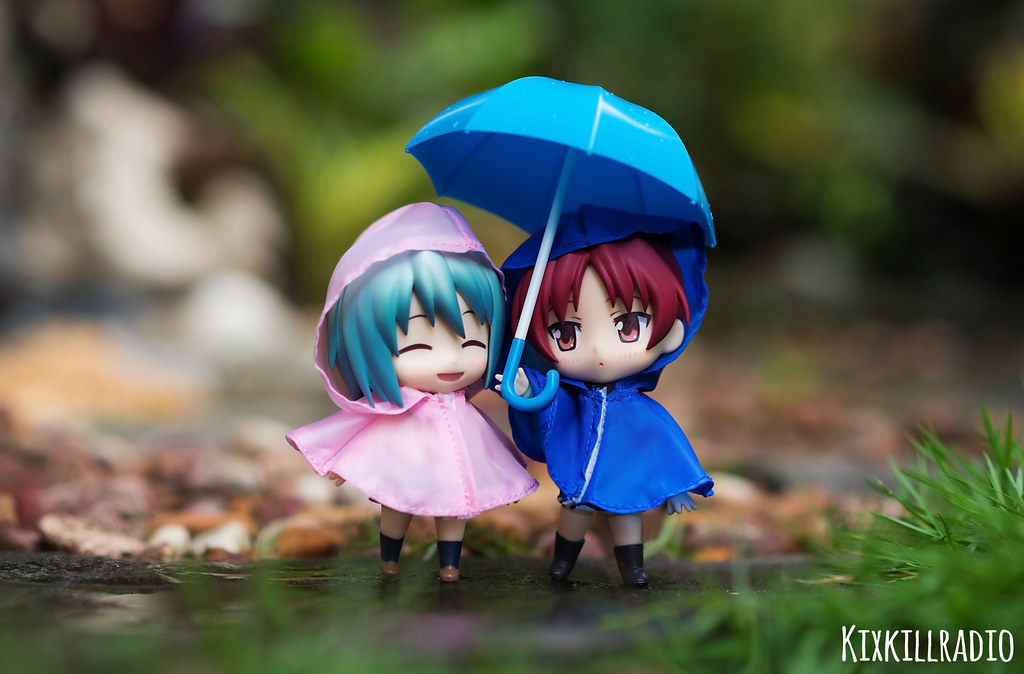
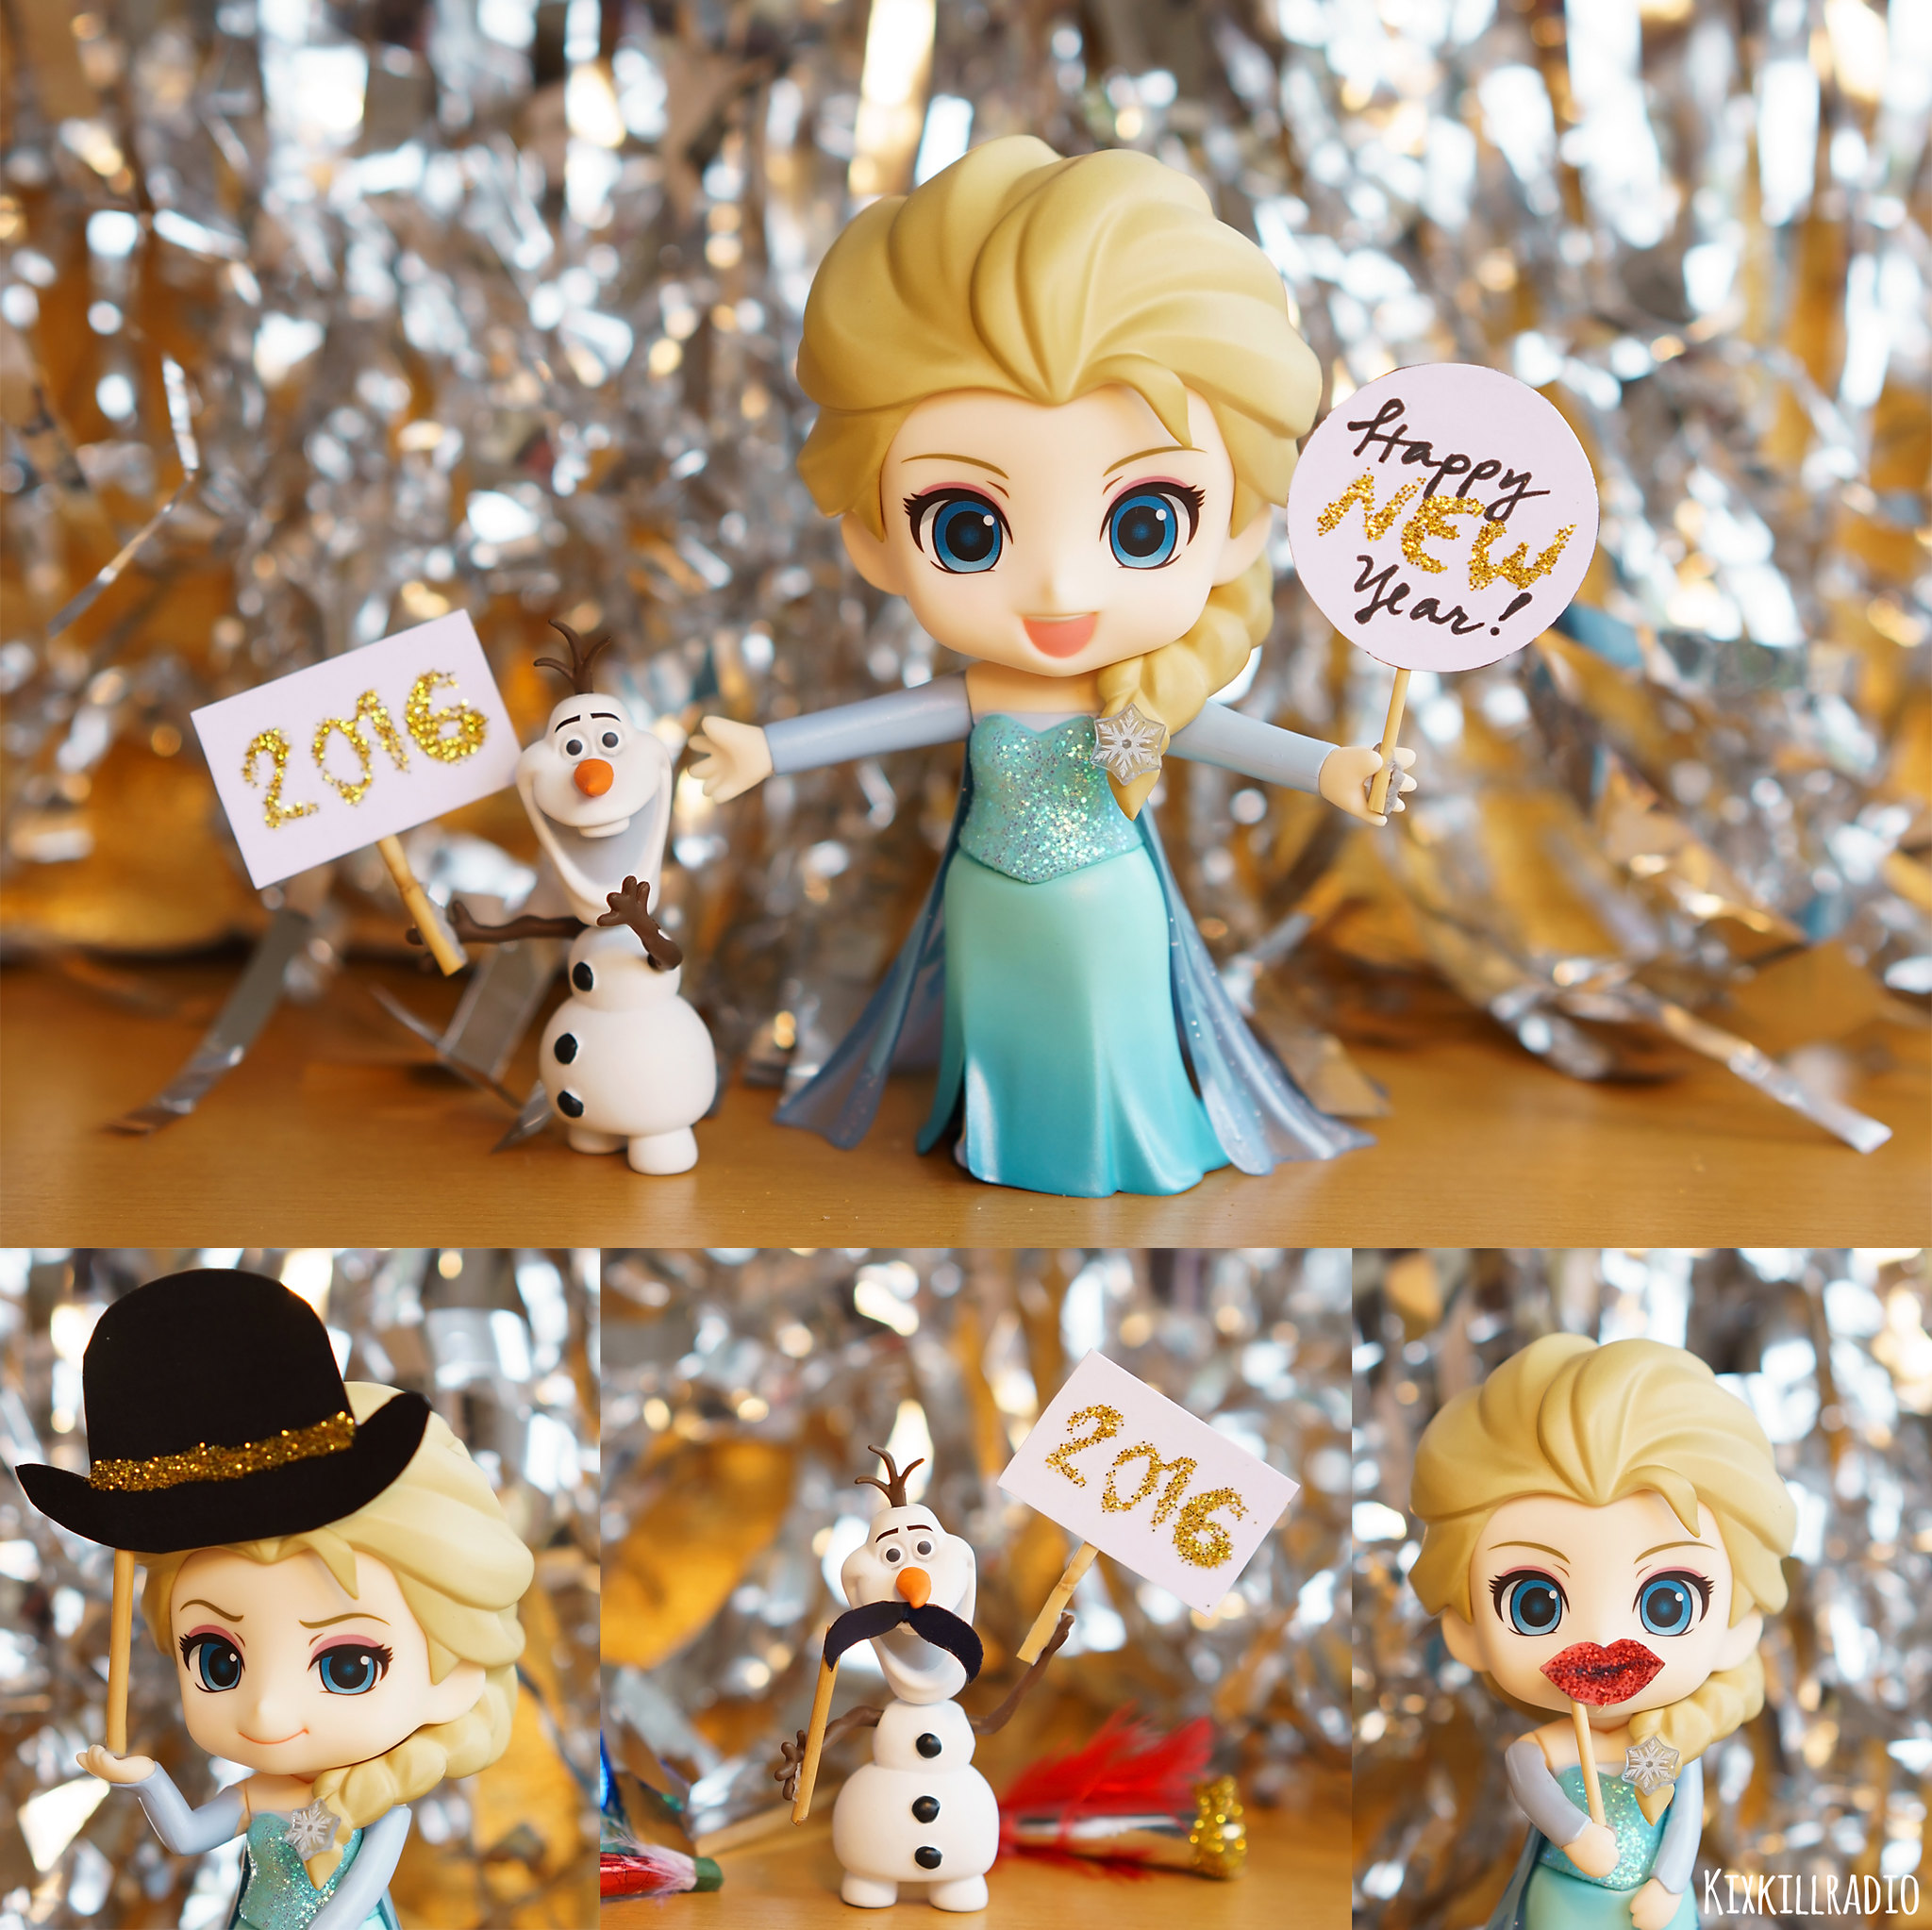
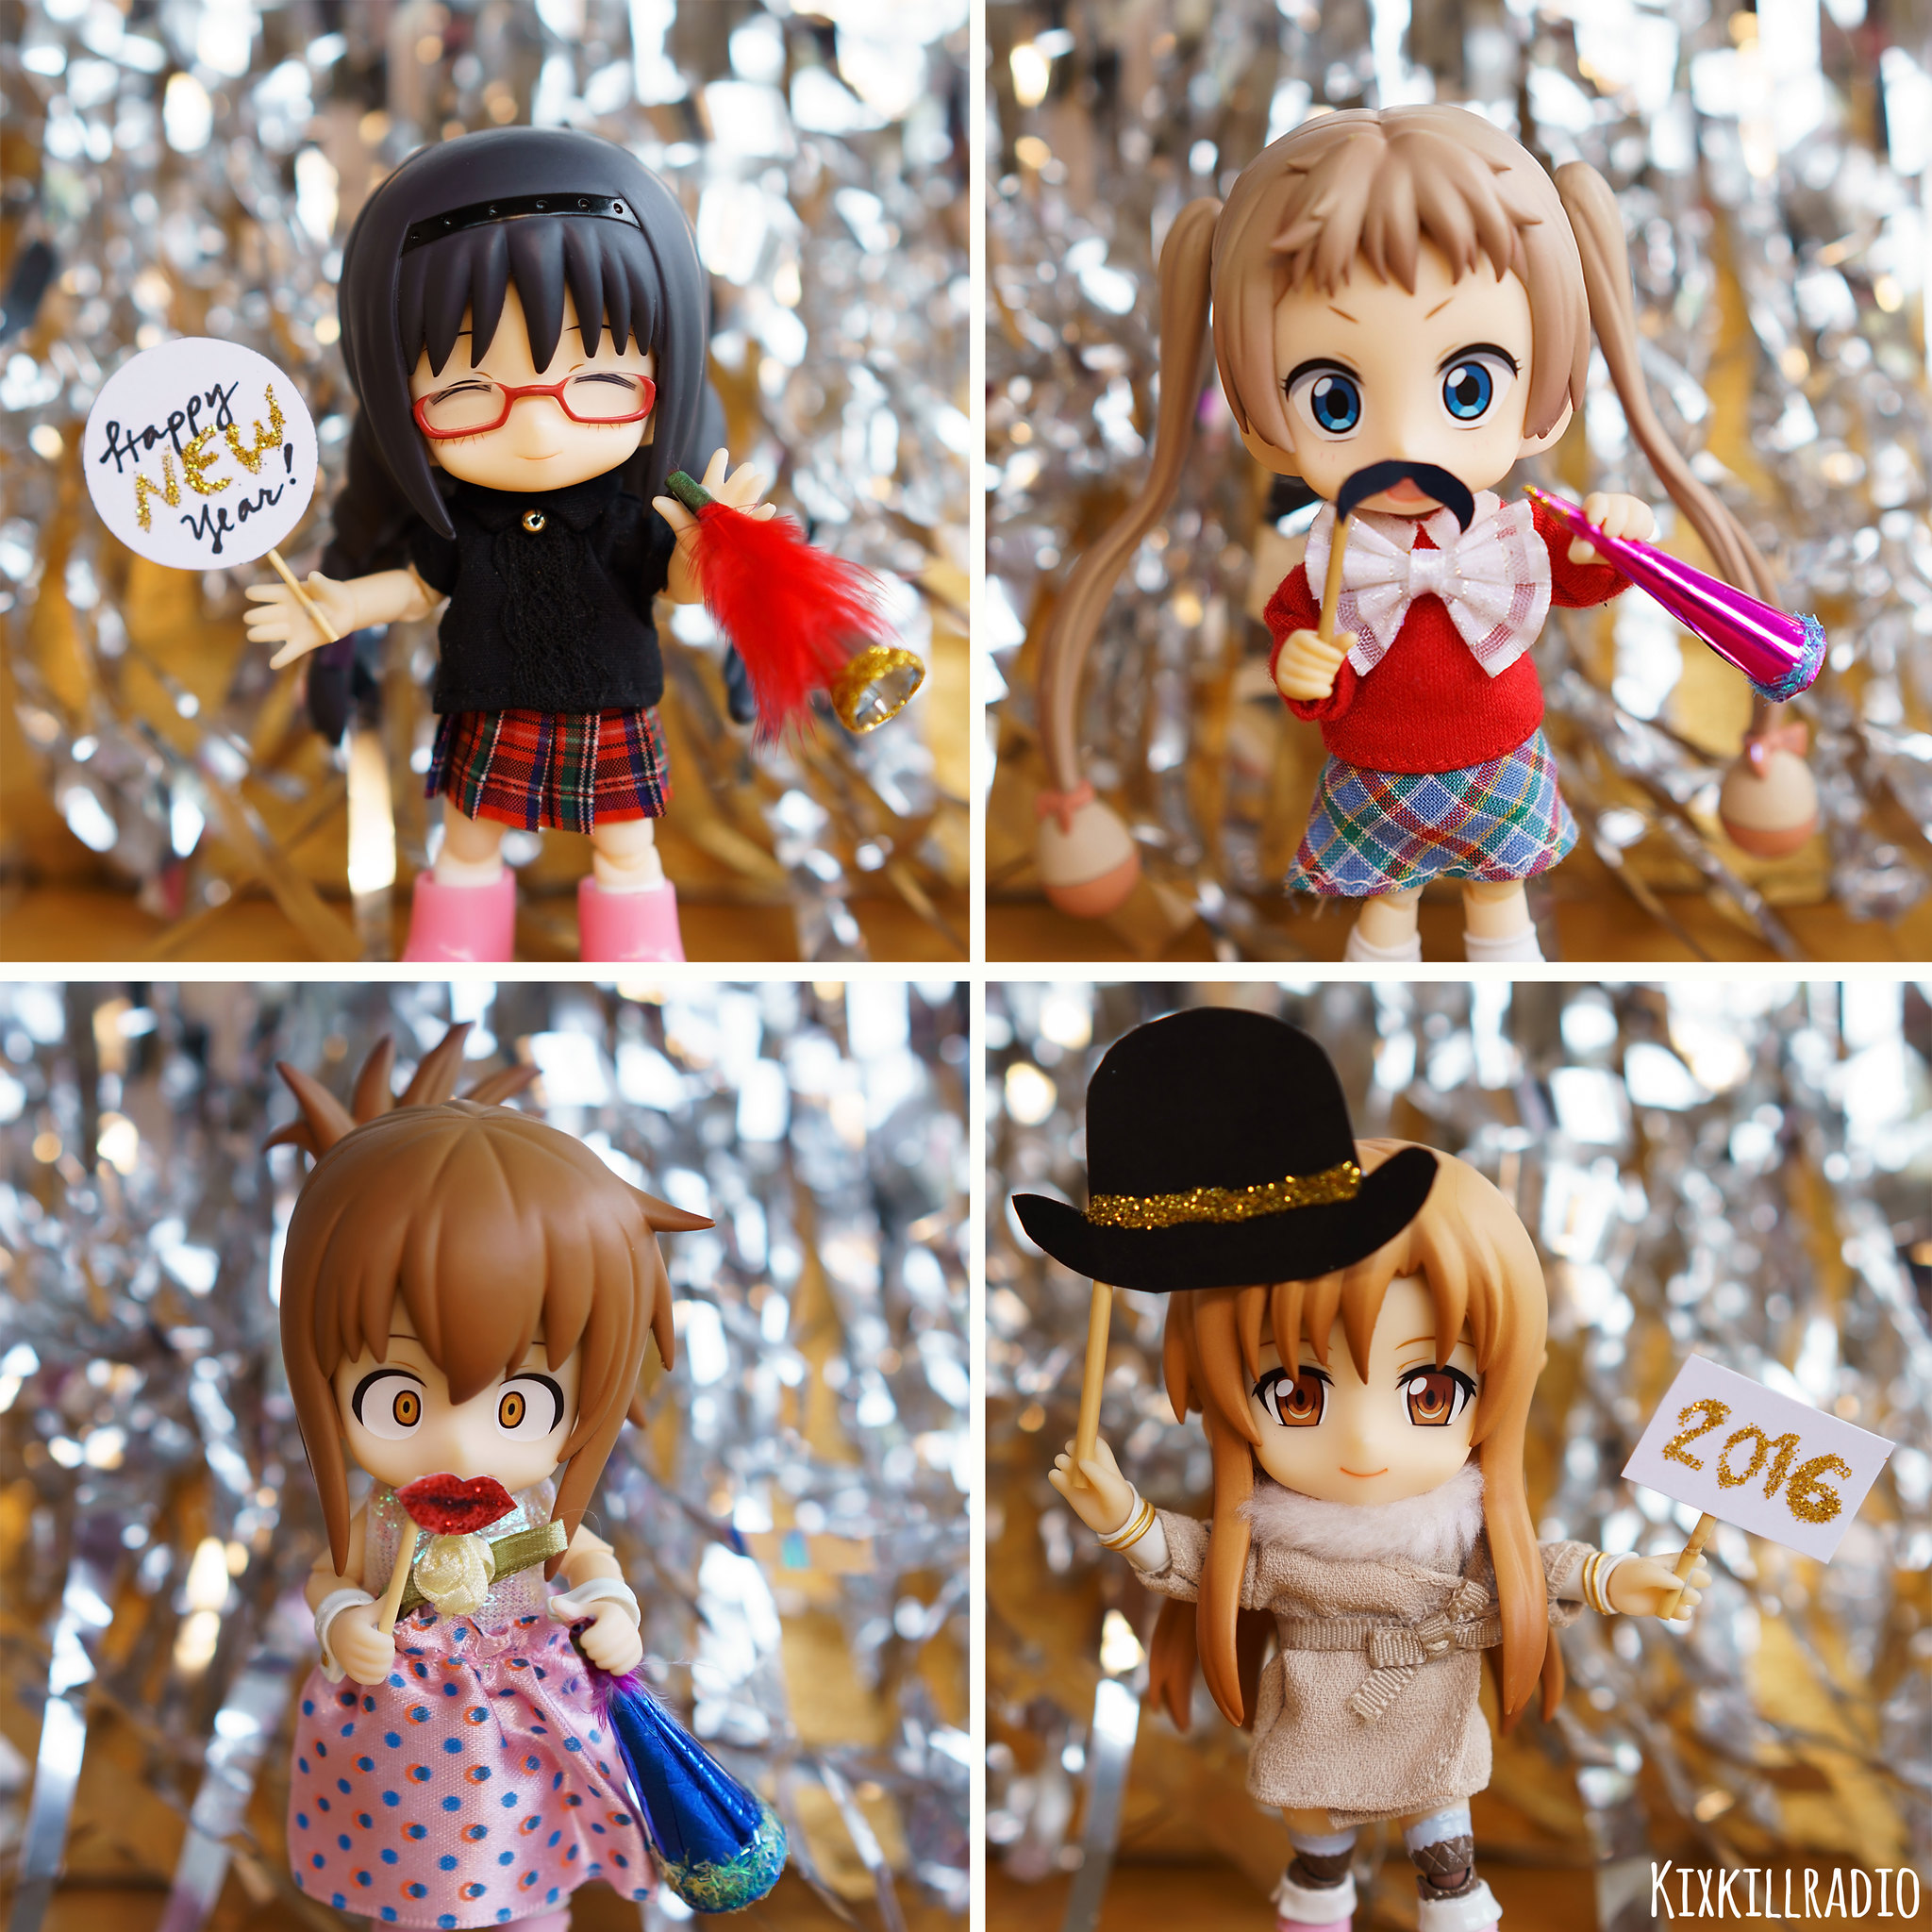
Meanwhile, here’s a picture of my chibis enjoying the NYE. A wonderful New Year to all of you!

Thank you for your inspiring words!! As a doll/toy photographer, it makes me really happy to see all your success and improvement, I would feel really proud of all the work and passion you have put in all your pictures ^__^
Greetings from Orchid Dolls ~
Hello Orchid Dolls! I’ve been following you and enjoying your photos as well. Let’s do our best this new year! ^_^
Thanks you so much for your advice! When I begin figure photography, you where the first photographer which I fall in love ! Ahah your pictures are always funny or beautiful! Keep this going and I wish you a wonderful year! You are one of the best in my mind 😉
Such kind words my friend. Thank you. ❤ Let's keep doing what we love! Cheers!
wow thanks
I’m just getting started in photography and I already know I need to improve my background skills. This is a great article I will definitely keep this in mind for my next shoot =)
Reblogged this on Little wonderland.
I’m new to toy photography and planning to open my own channel very soon. a lot of what you said in this article was something that i can relate to. and i definitely feel that this article has given me a lot of pointers to take note. thank you for such an honest and genuine article. it has already helped me a lot while reminding me that creativity for creating the diorama is just as important as creating a story through the composition of the photograph. thank you so much! you’re such an amazing photographer 🙂 keep up the good work!
Great post and images. I especially love the one of the girl in her room with the cats. Beautiful. – a fellow toy photog 🙂