Today, I am showing you the step by step procedure on how I built my Genkan from my last Halloween shoot with the materials I currently have.
What is Genkan?
Genkan is a traditional Japanese entryway areas in apartments or houses in Japan. I often see this area in anime when the characters say “Tadaima” while entering their homes.
I decided to make a Genkan to fulfill my vision of trick or treating scene in a Japanese household during Halloween with Nendoroids.
Step 1
First, I looked for an inspiration or pattern in Google images.
 I imagined the Genkan I would like to make and see if the materials are available.
Step 2
I gathered the materials for the Genkan.
Since I already have a wall made which I’ve used in my past works, I decided to re-use them for the shoot. If you have been following my blog, I’m sure you are familiar with these backgrounds. 😀
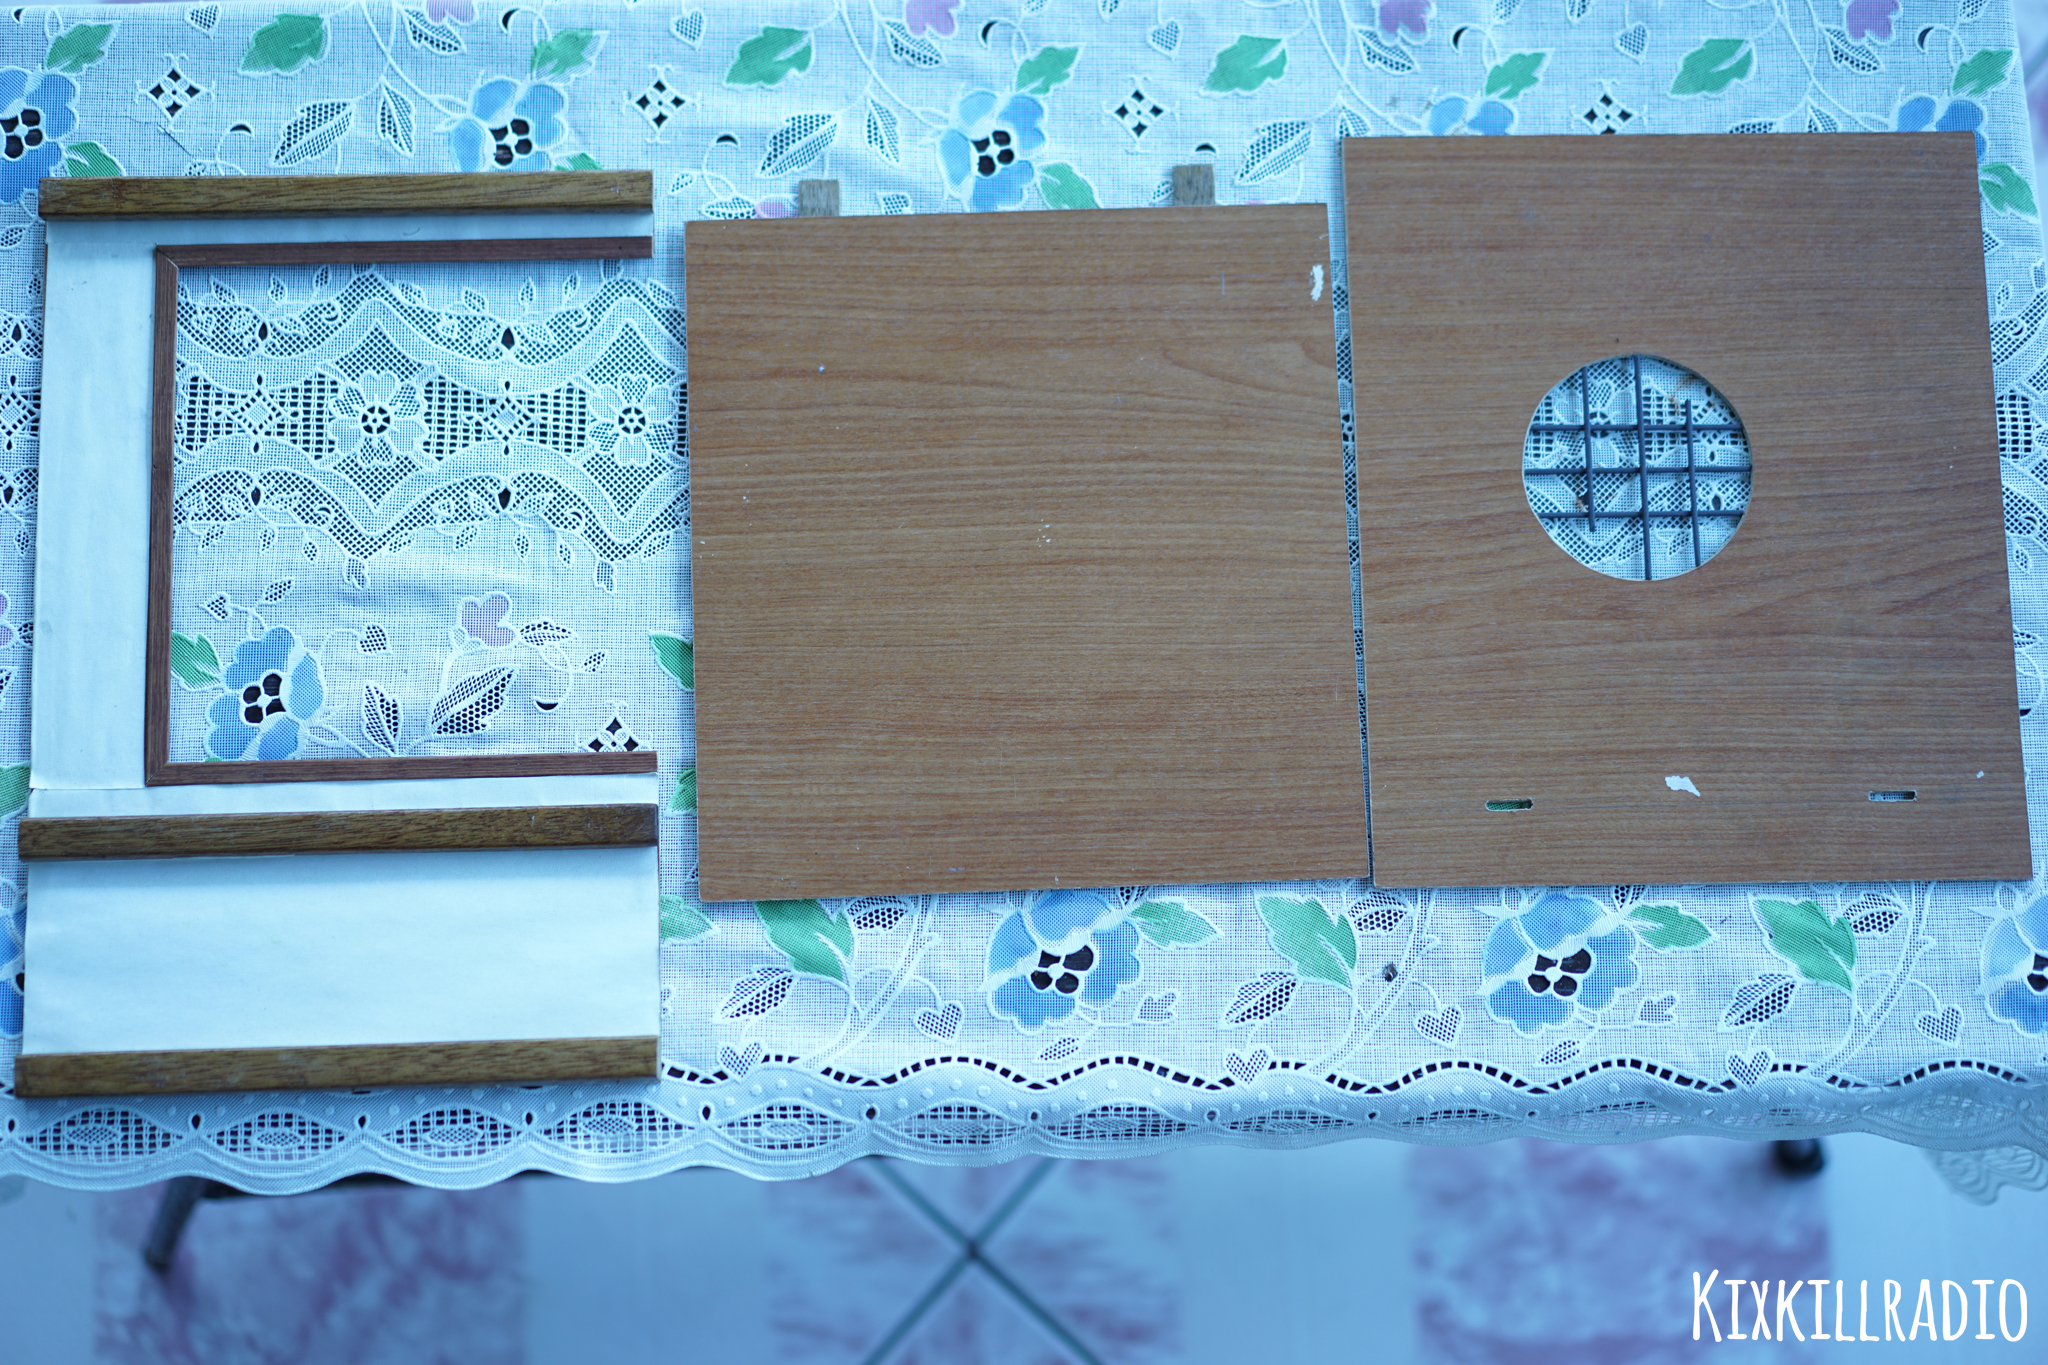
These are actually my Nendoroid Bedroom set’s wall. I’m done using foam boards for my room sets and upgraded to sheet wood. I’m not exactly sure what type of wood but this one doesn’t bend. It’s about 3mm thick.
Most of my sets are removable, it means that the wood walls are not glued permanently. I only use double adhesive tape to attach them together. This way, I can safely remove the parts and keep them safe in an organizer box to avoid clutter in my room. It also allows me to make a different room in the future.
The wall on the left is already cut to support the door. I have used this wall many times in my shoot. I just printed different wallpaper background for a new look and used a different door or window. This time, I printed a cream background and taped it for a wallpaper look.
The next two walls are covered with furniture sticker. I’m not entirely sure what it’s called but you can find it in hardware stores.
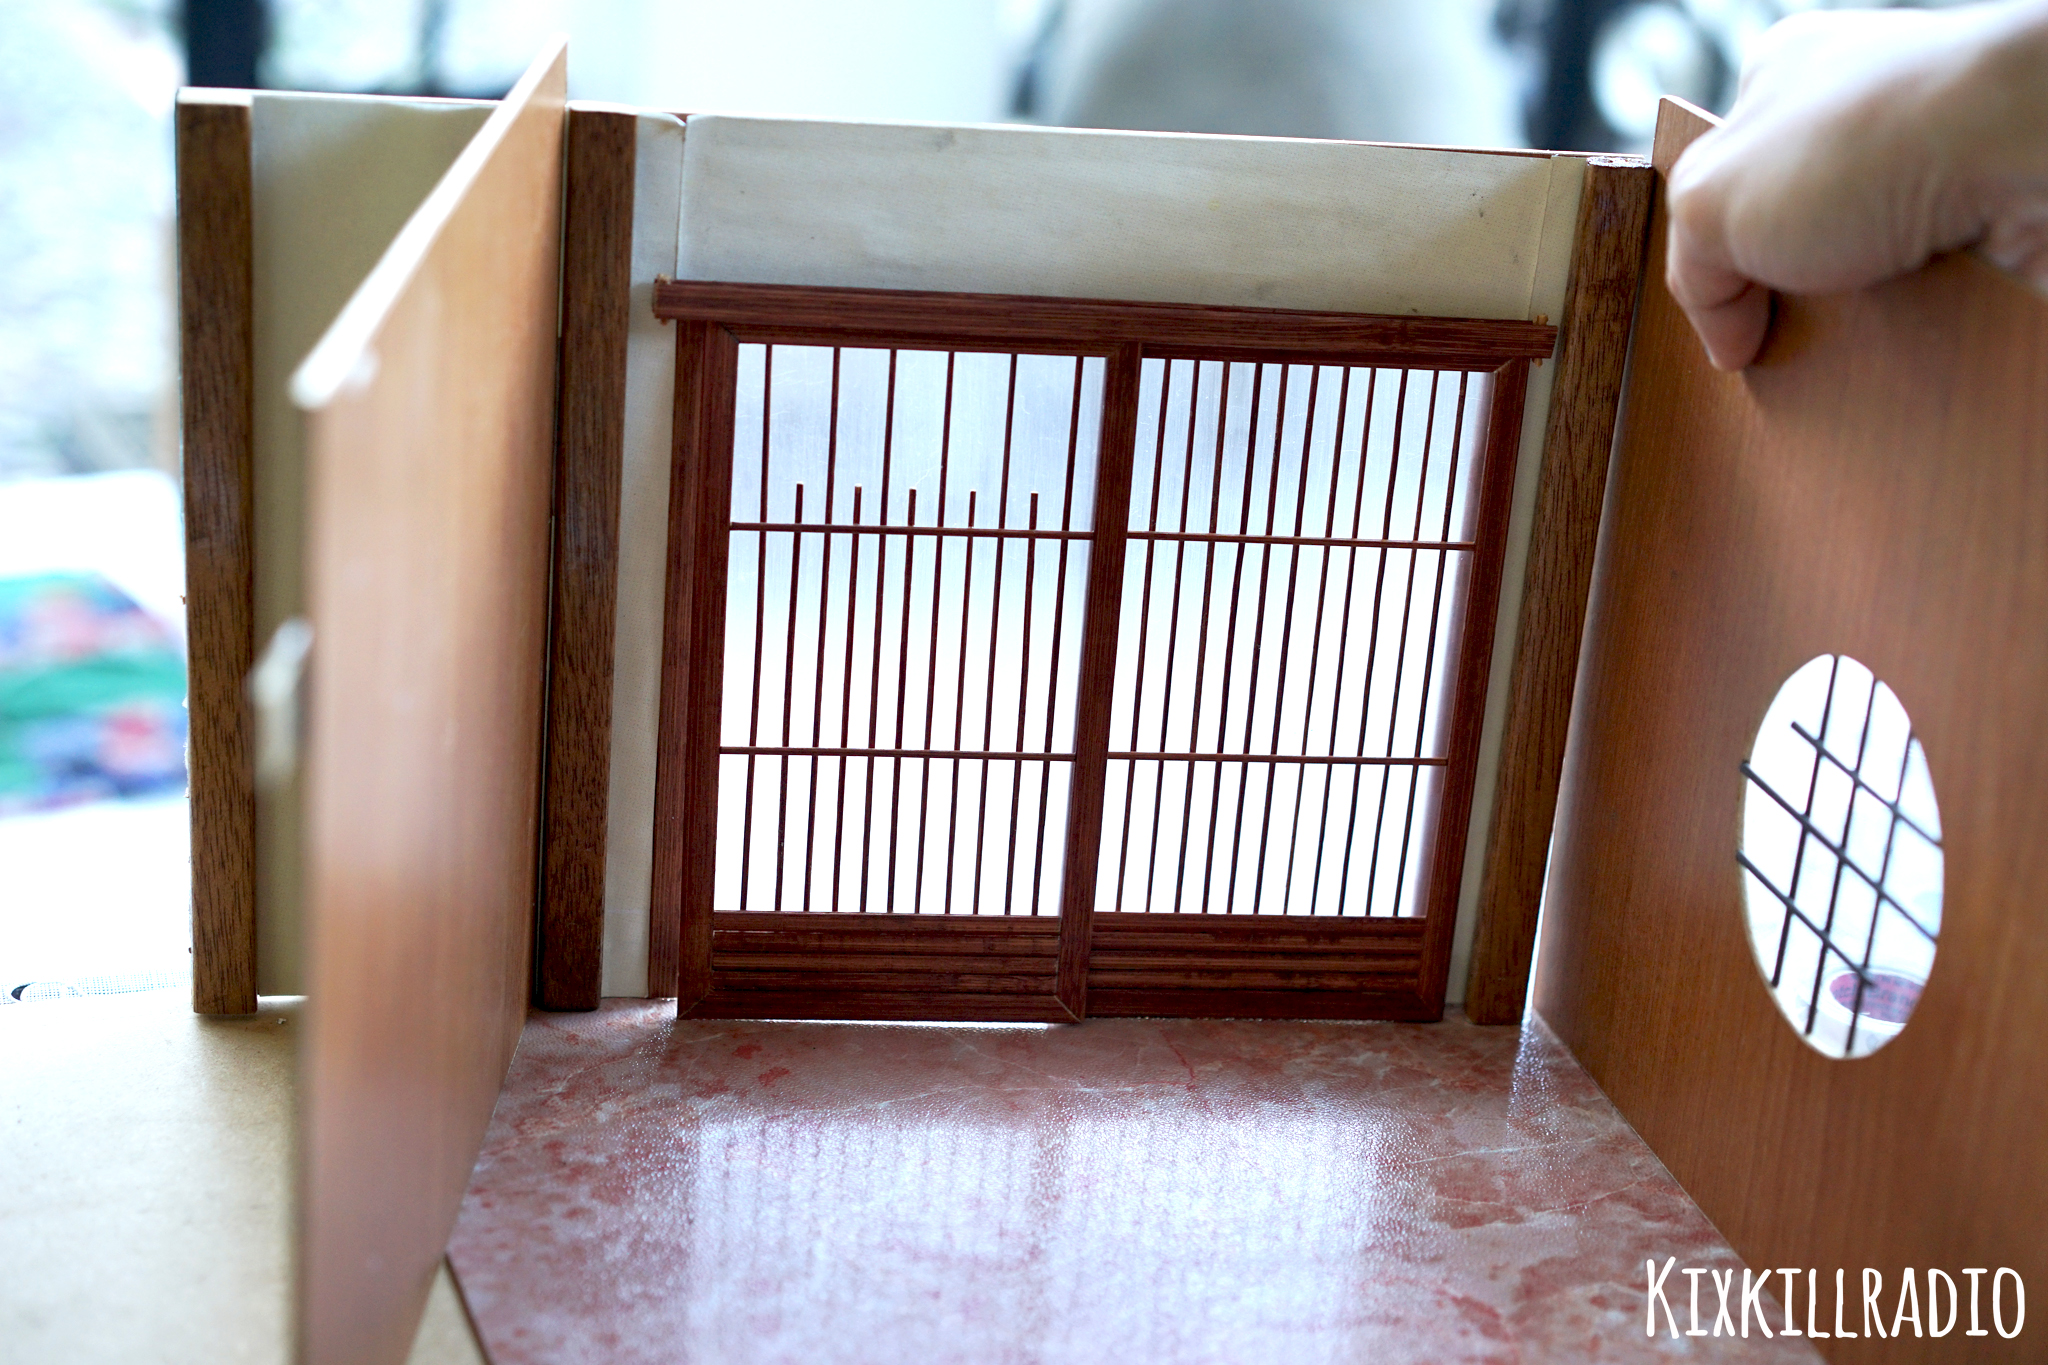
How I made the oval window? I drew a circle pattern. I cut it with cutter and sanded it with Dremel.
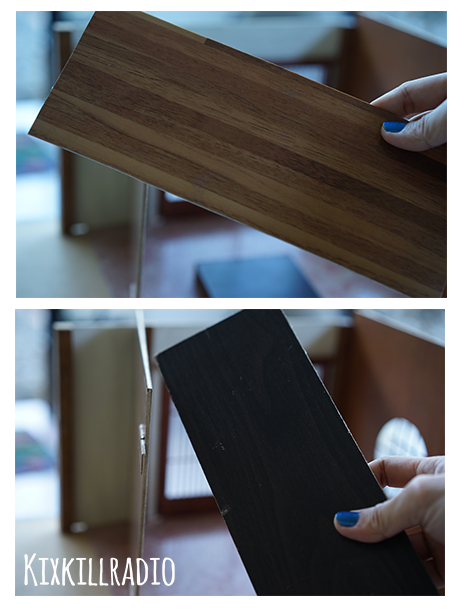
For flooring materials, I bought Vinyl tiles from Hardware store. I looked for a rectangular piece of wood in our storage.
The rectangular wood serves as the main flooring of the house which is elevated from the entrance door.
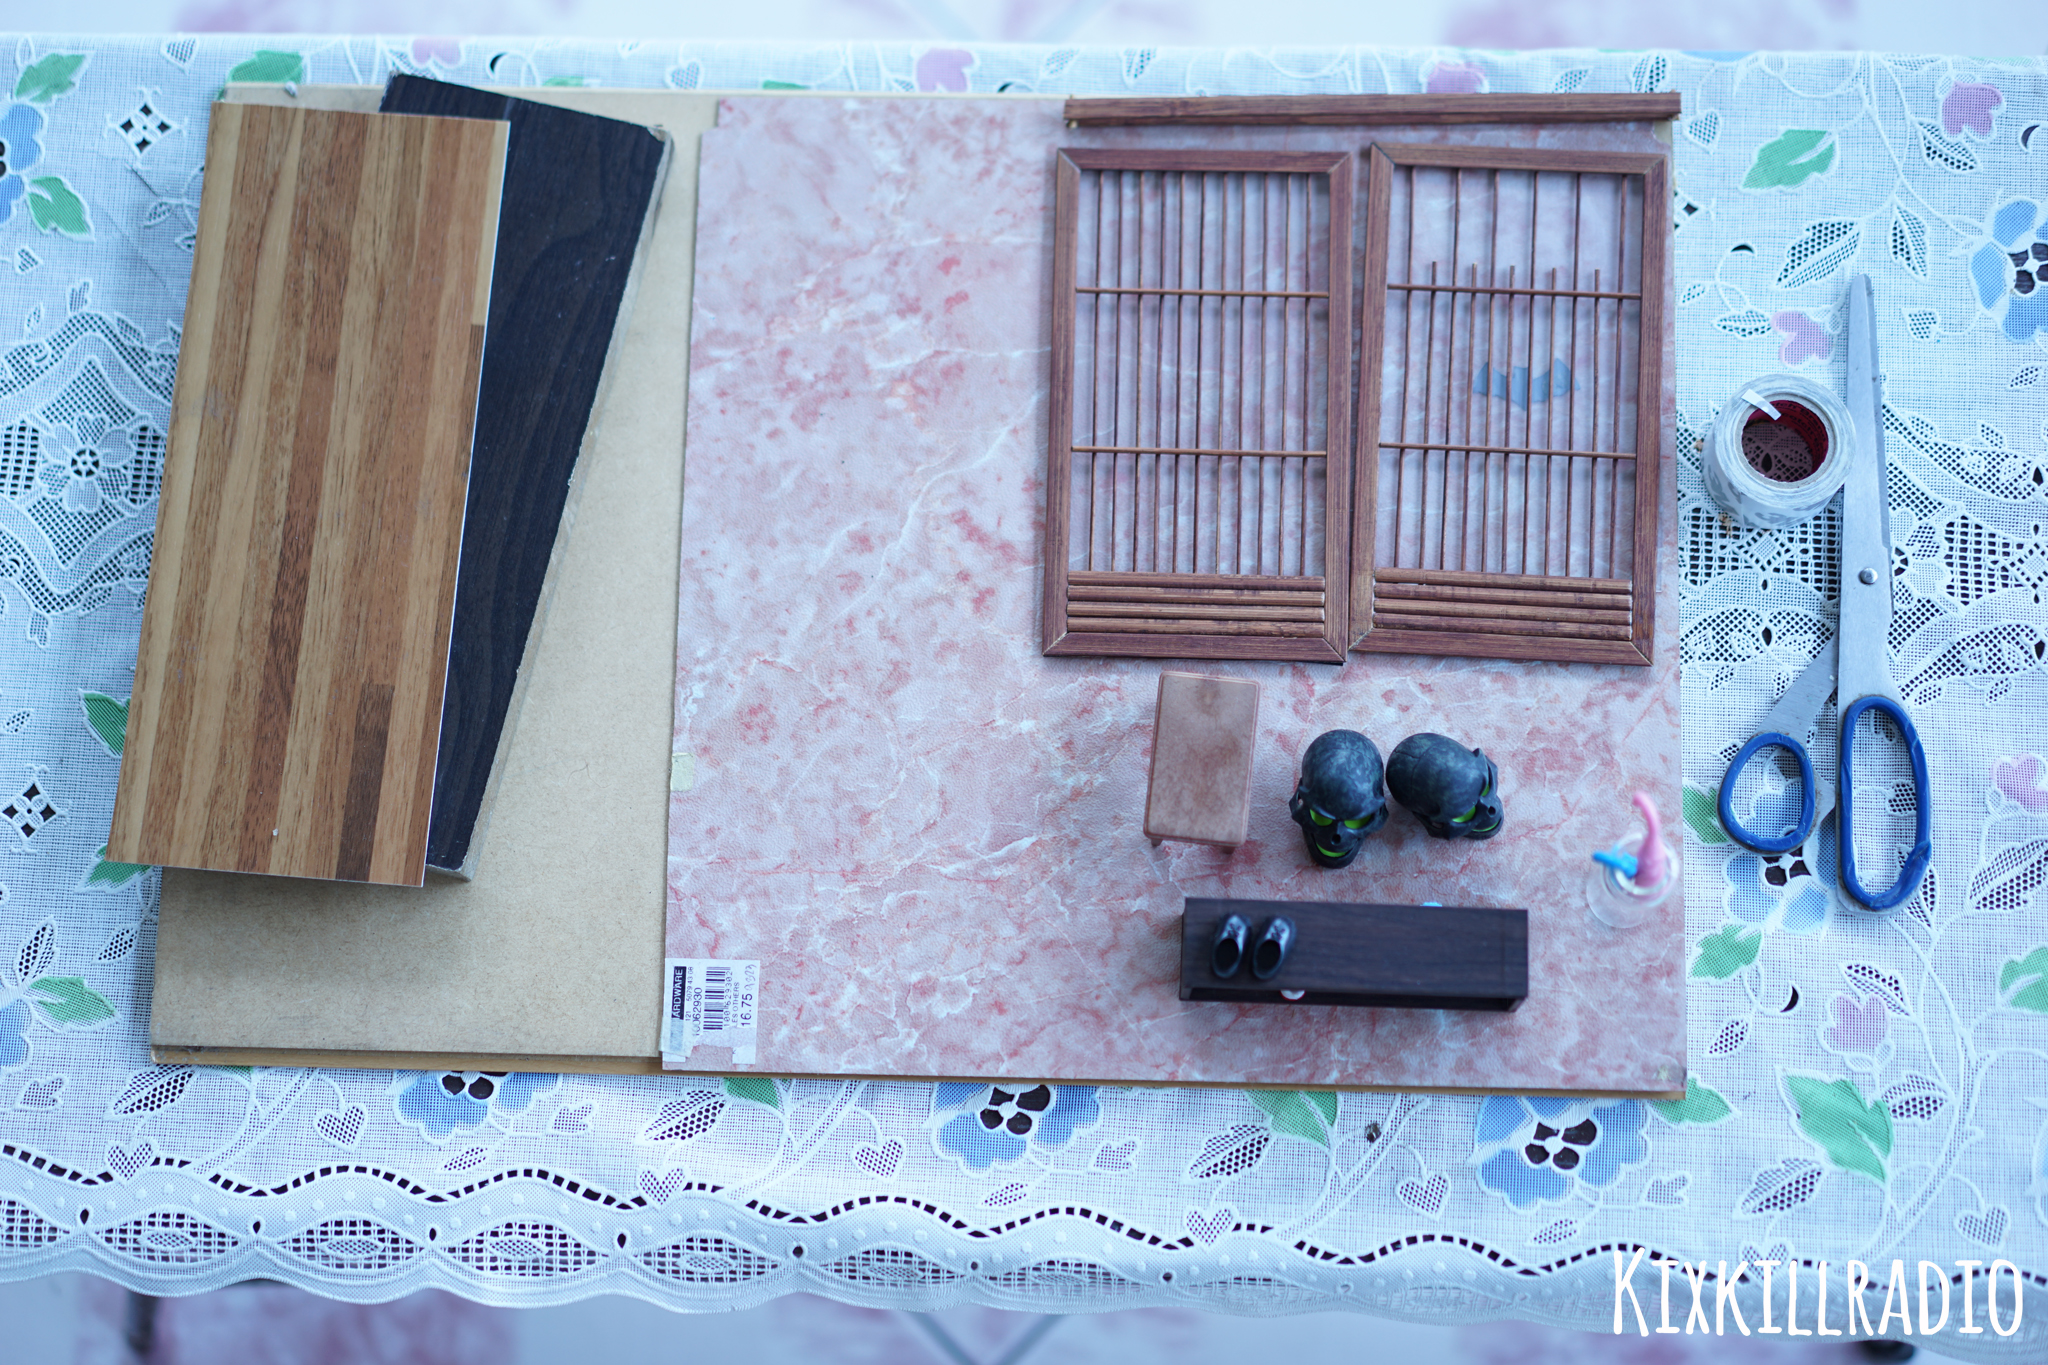
I also have double adhesive tape and scissors handy because these would help me attach them all together.
The door was made recently using cheap table mats I found in our local Home center. The table mat is made of tiny sticks of wood which I believed to be a bamboo type. I used it to design my Japanese door.

Sometimes, you wouldn’t believe what you can find in your local home centers, hardware or craft stores. Some of them may be useful for your diorama projects.
Step 3
Let’s volt in!
Time to assemble the parts.
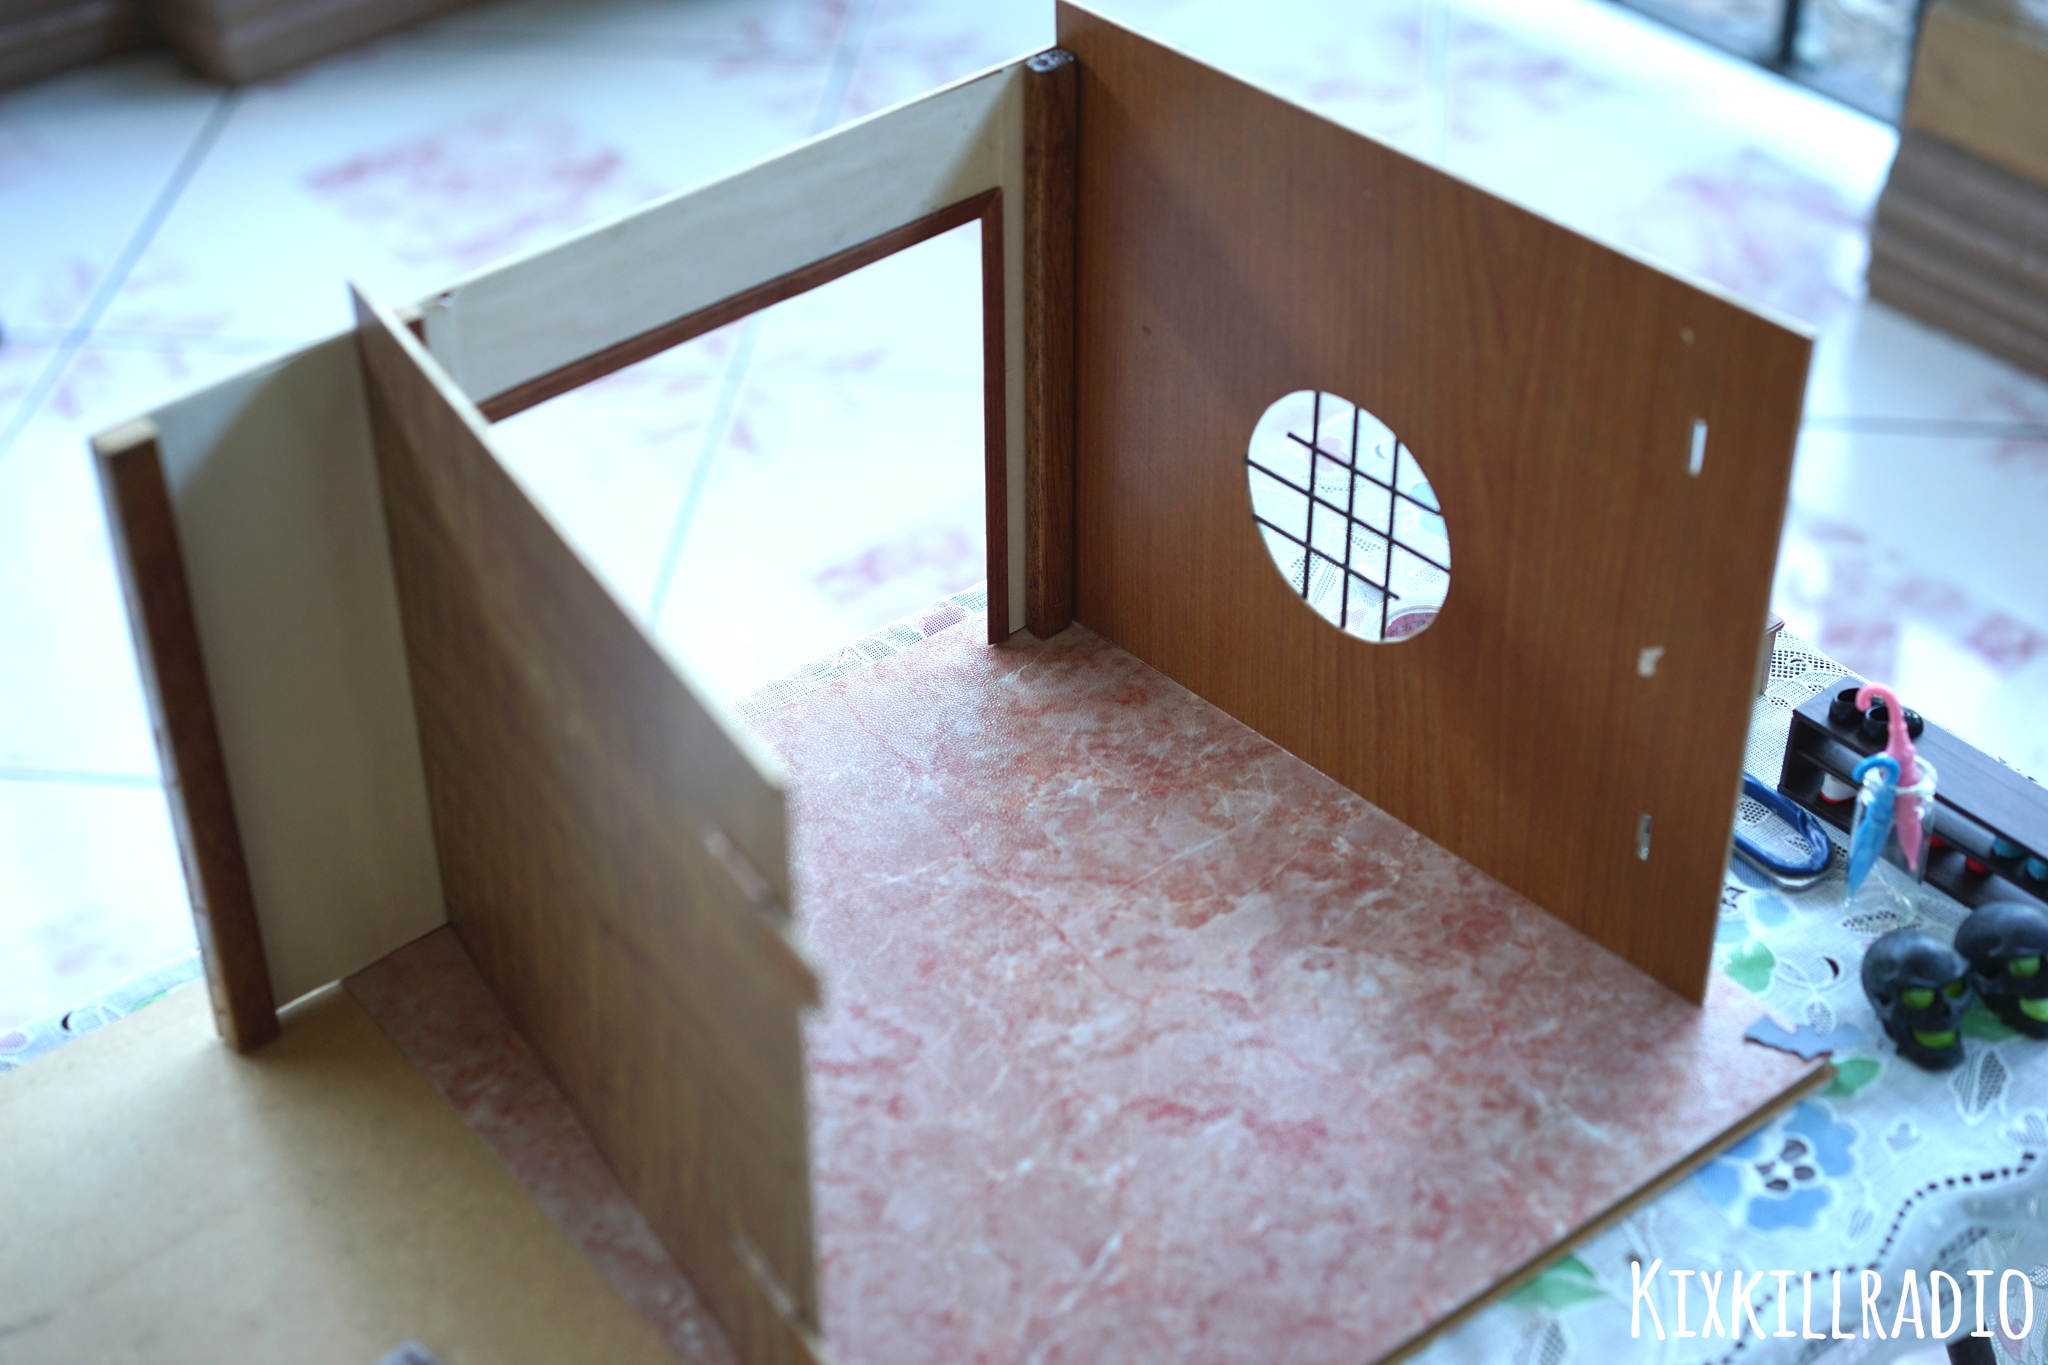
Use the double adhesive tape to attach the wall in each corners.
Step 4
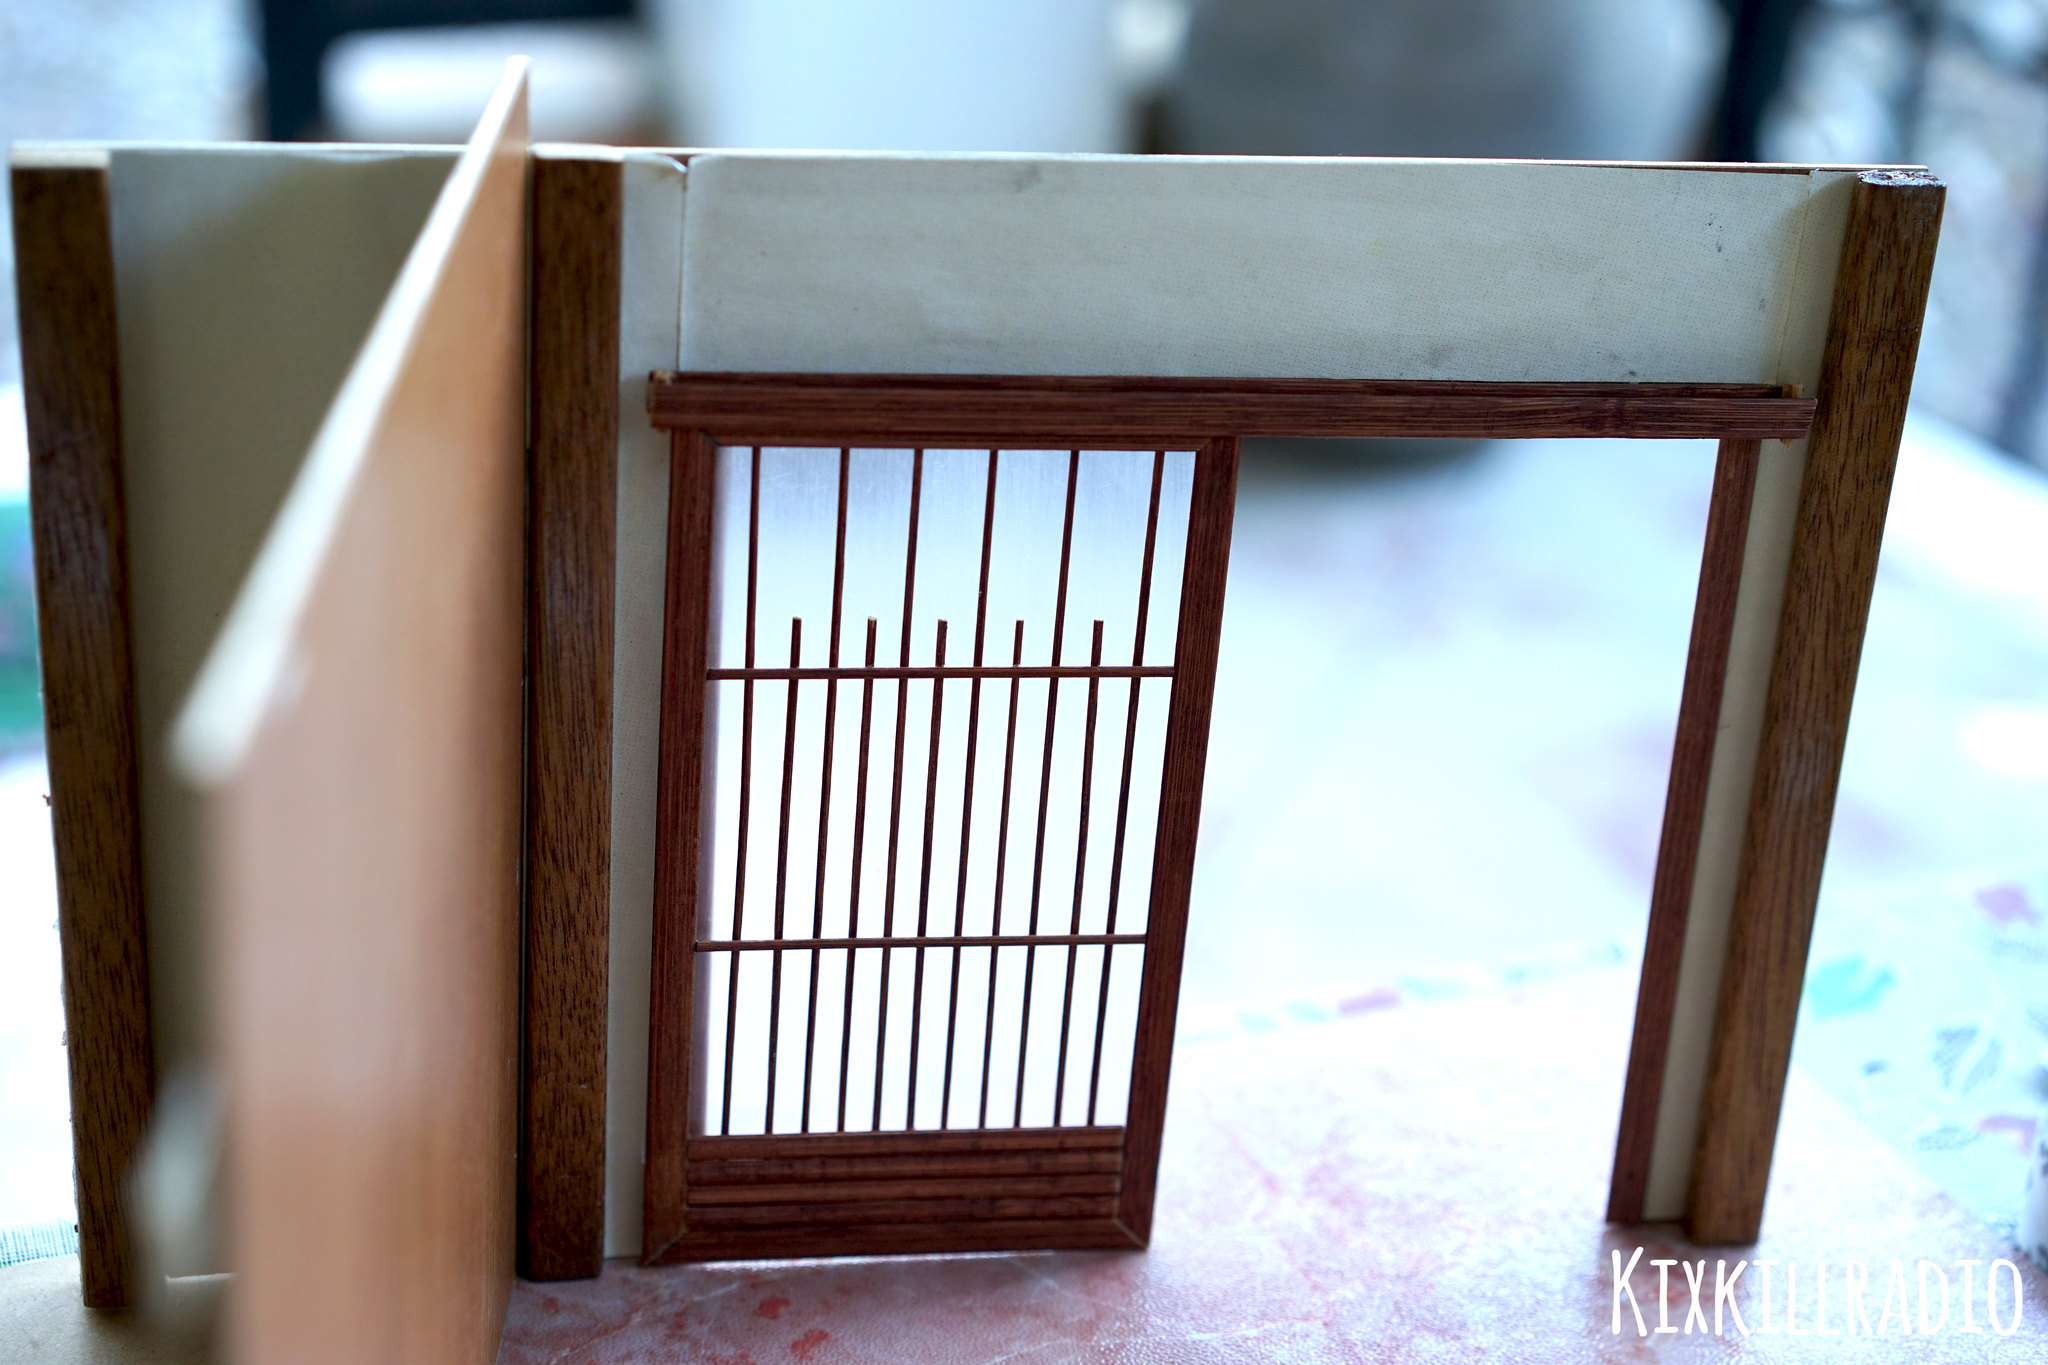
Attach the Door.

In my pattern, the Genkan has a sliding door. So I made this thing for me to able to slide the door. Place it onto the top door frame.

Here’s the left side of the door. I used a transparent plastic (from a folder I found in school supplies) to achieve that glass door. The plastic material is like of those packaging of Nendoroids. I sanded it to achieve a frosted-glass look.
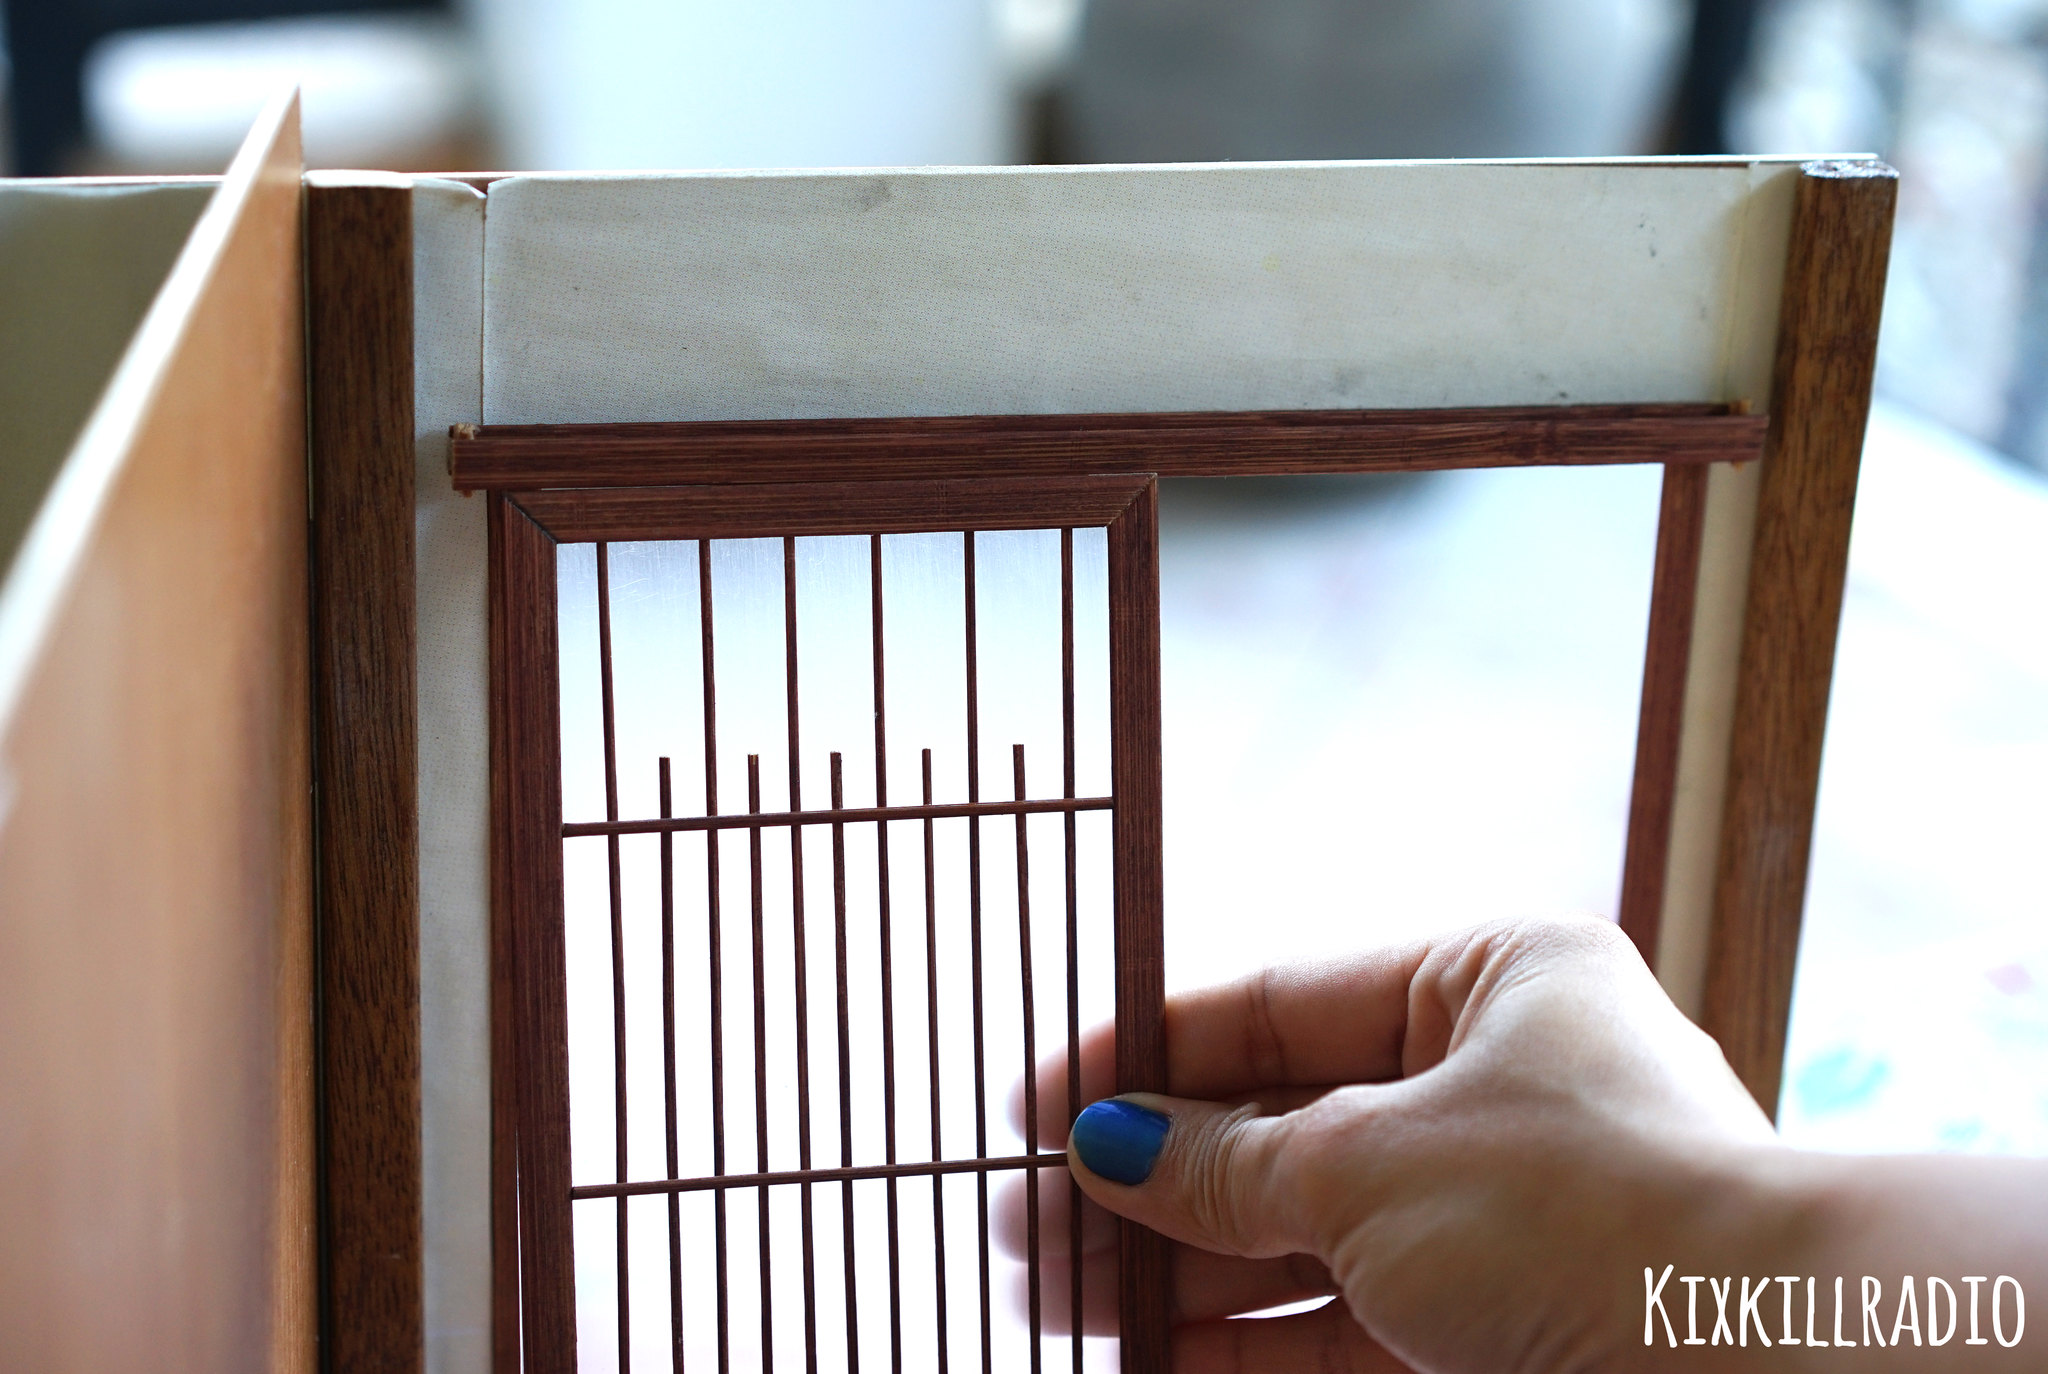
Carefully place it inside the sliding support I made. (See picture 1 of Step 4)
You see, I didn’t make a sliding support for the bottom frame of the door. Simply because, I feel I don’t need to. Besides, I was already running out of time for the Halloween shoot.
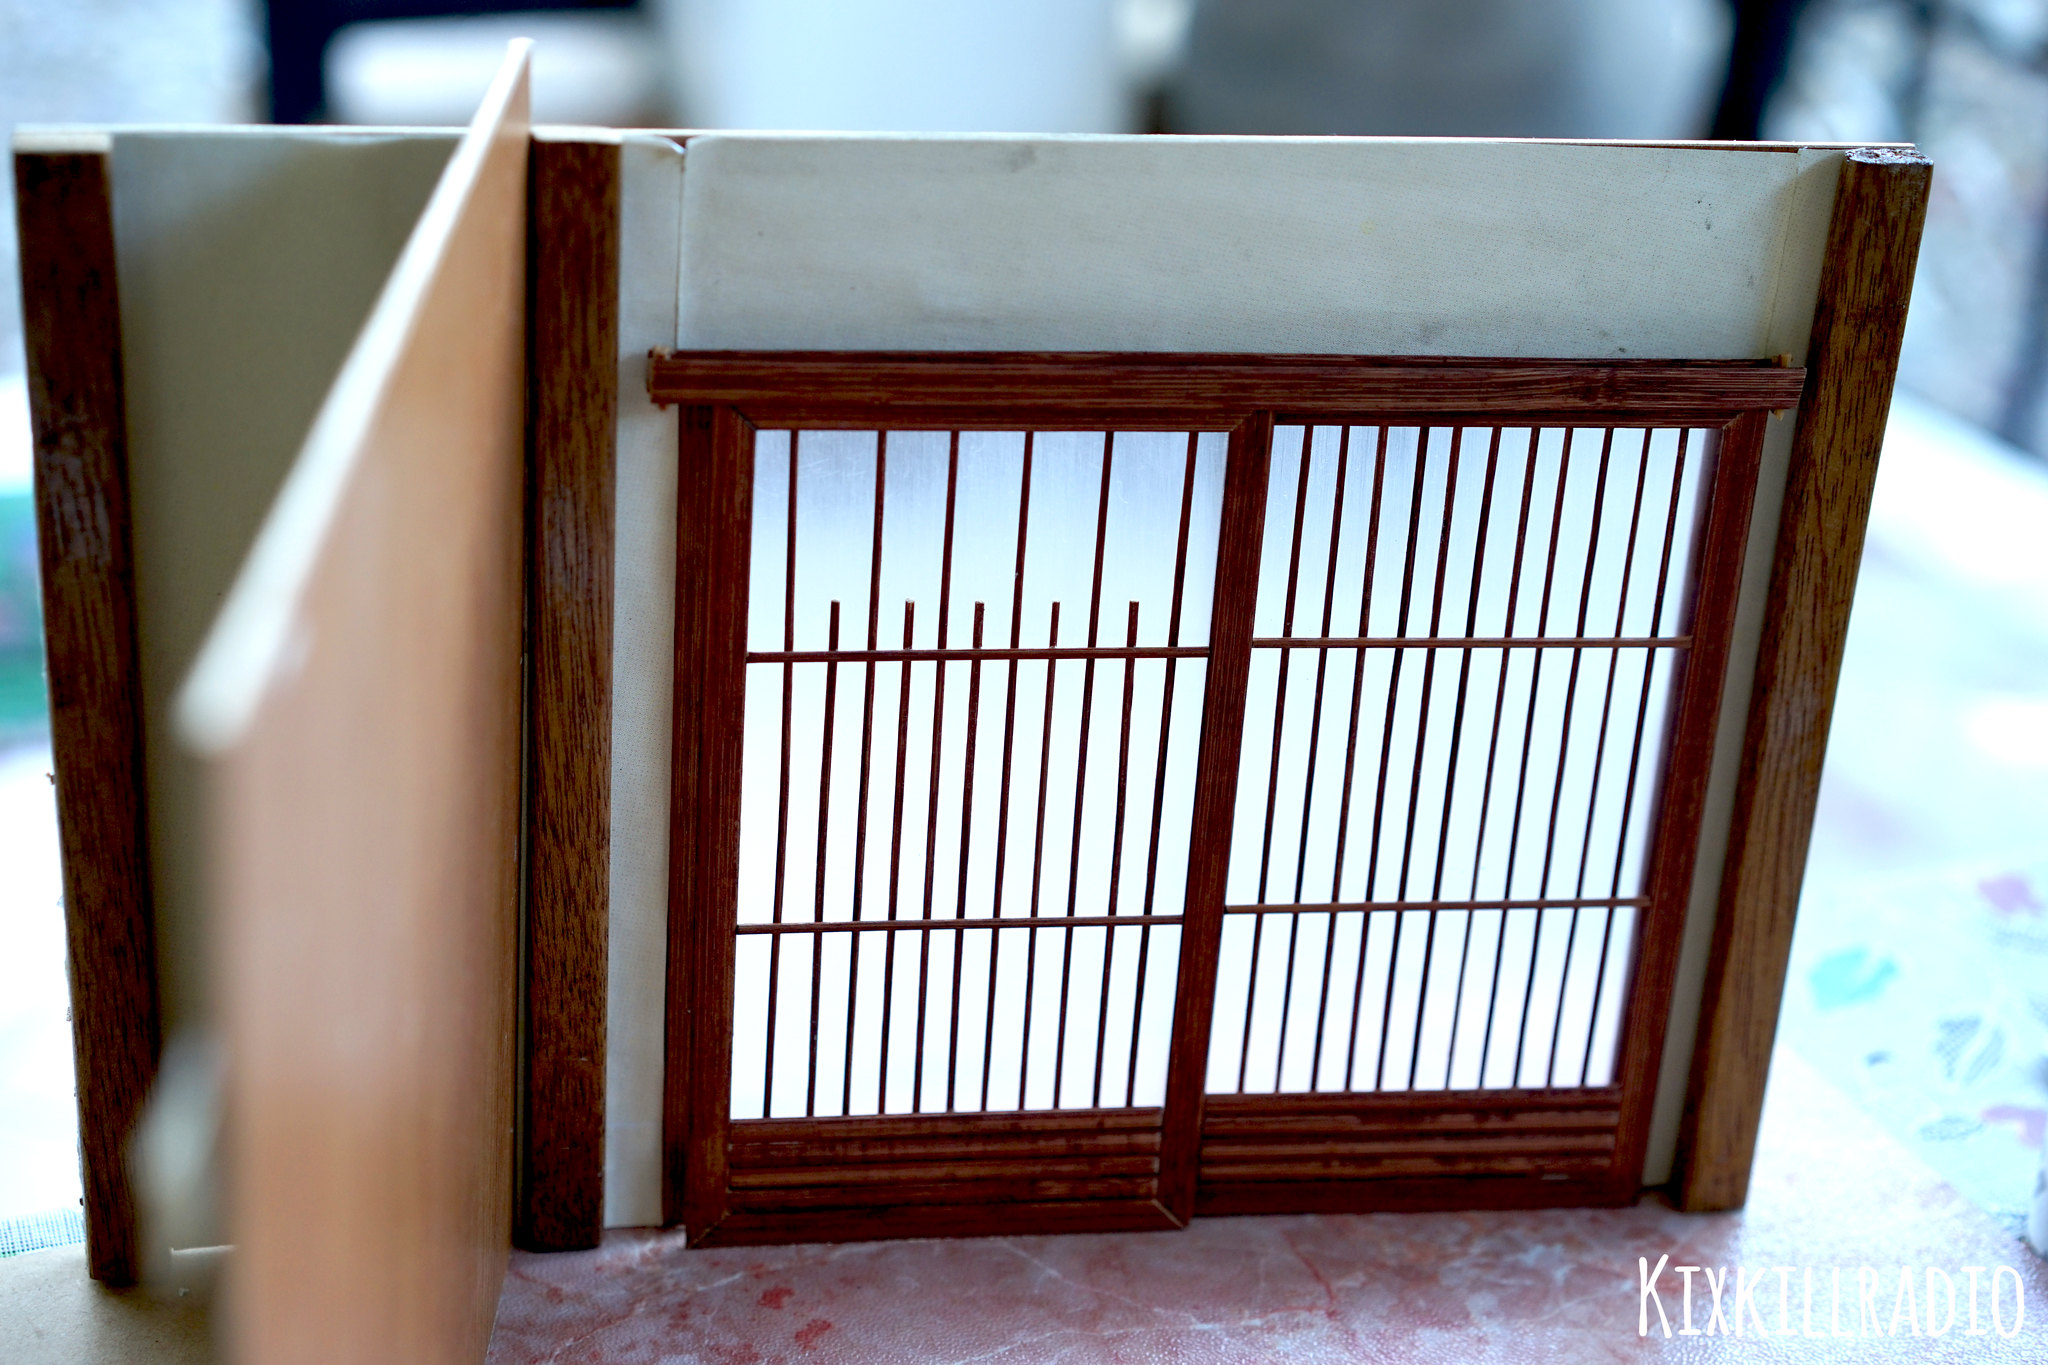
Now the doors were placed together with a little help of double adhesive tape too. 😉
Step 5
Attach the other side of the wall using the double adhesive tape.
Step 6
A piece of rectangular wood and vinyl tile as the main flooring of the house. I only used a little piece of wood because the rest of the house will not be visible in the picture. The only thing that should be visible in my Halloween figure photography is the entryway.
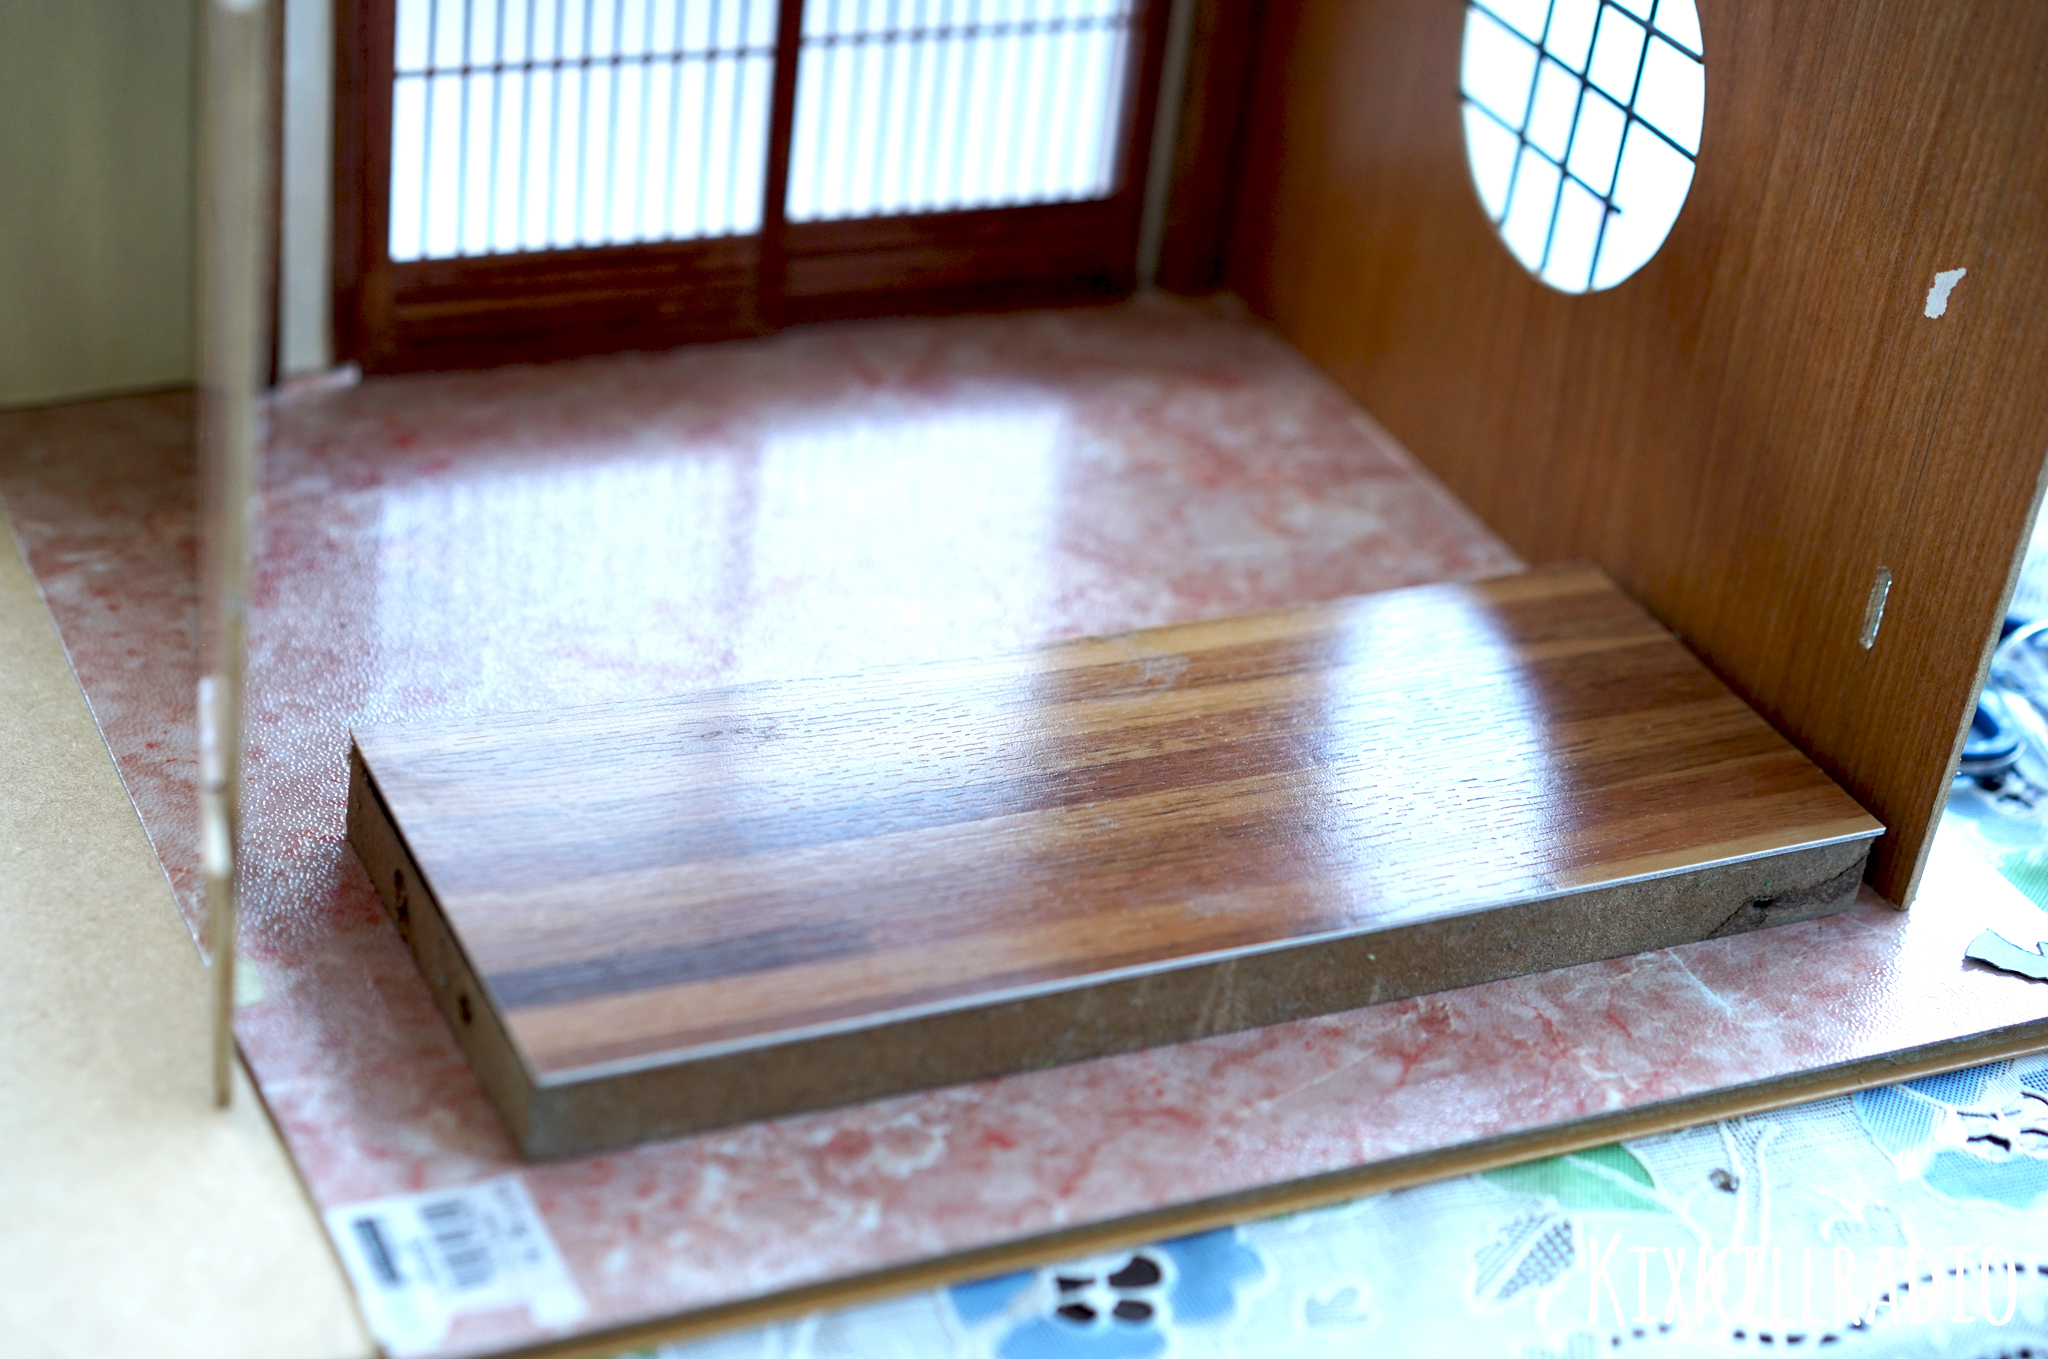
I just placed it right there. I didn’t use the tape so I can just adjust it anytime to get the right composition.
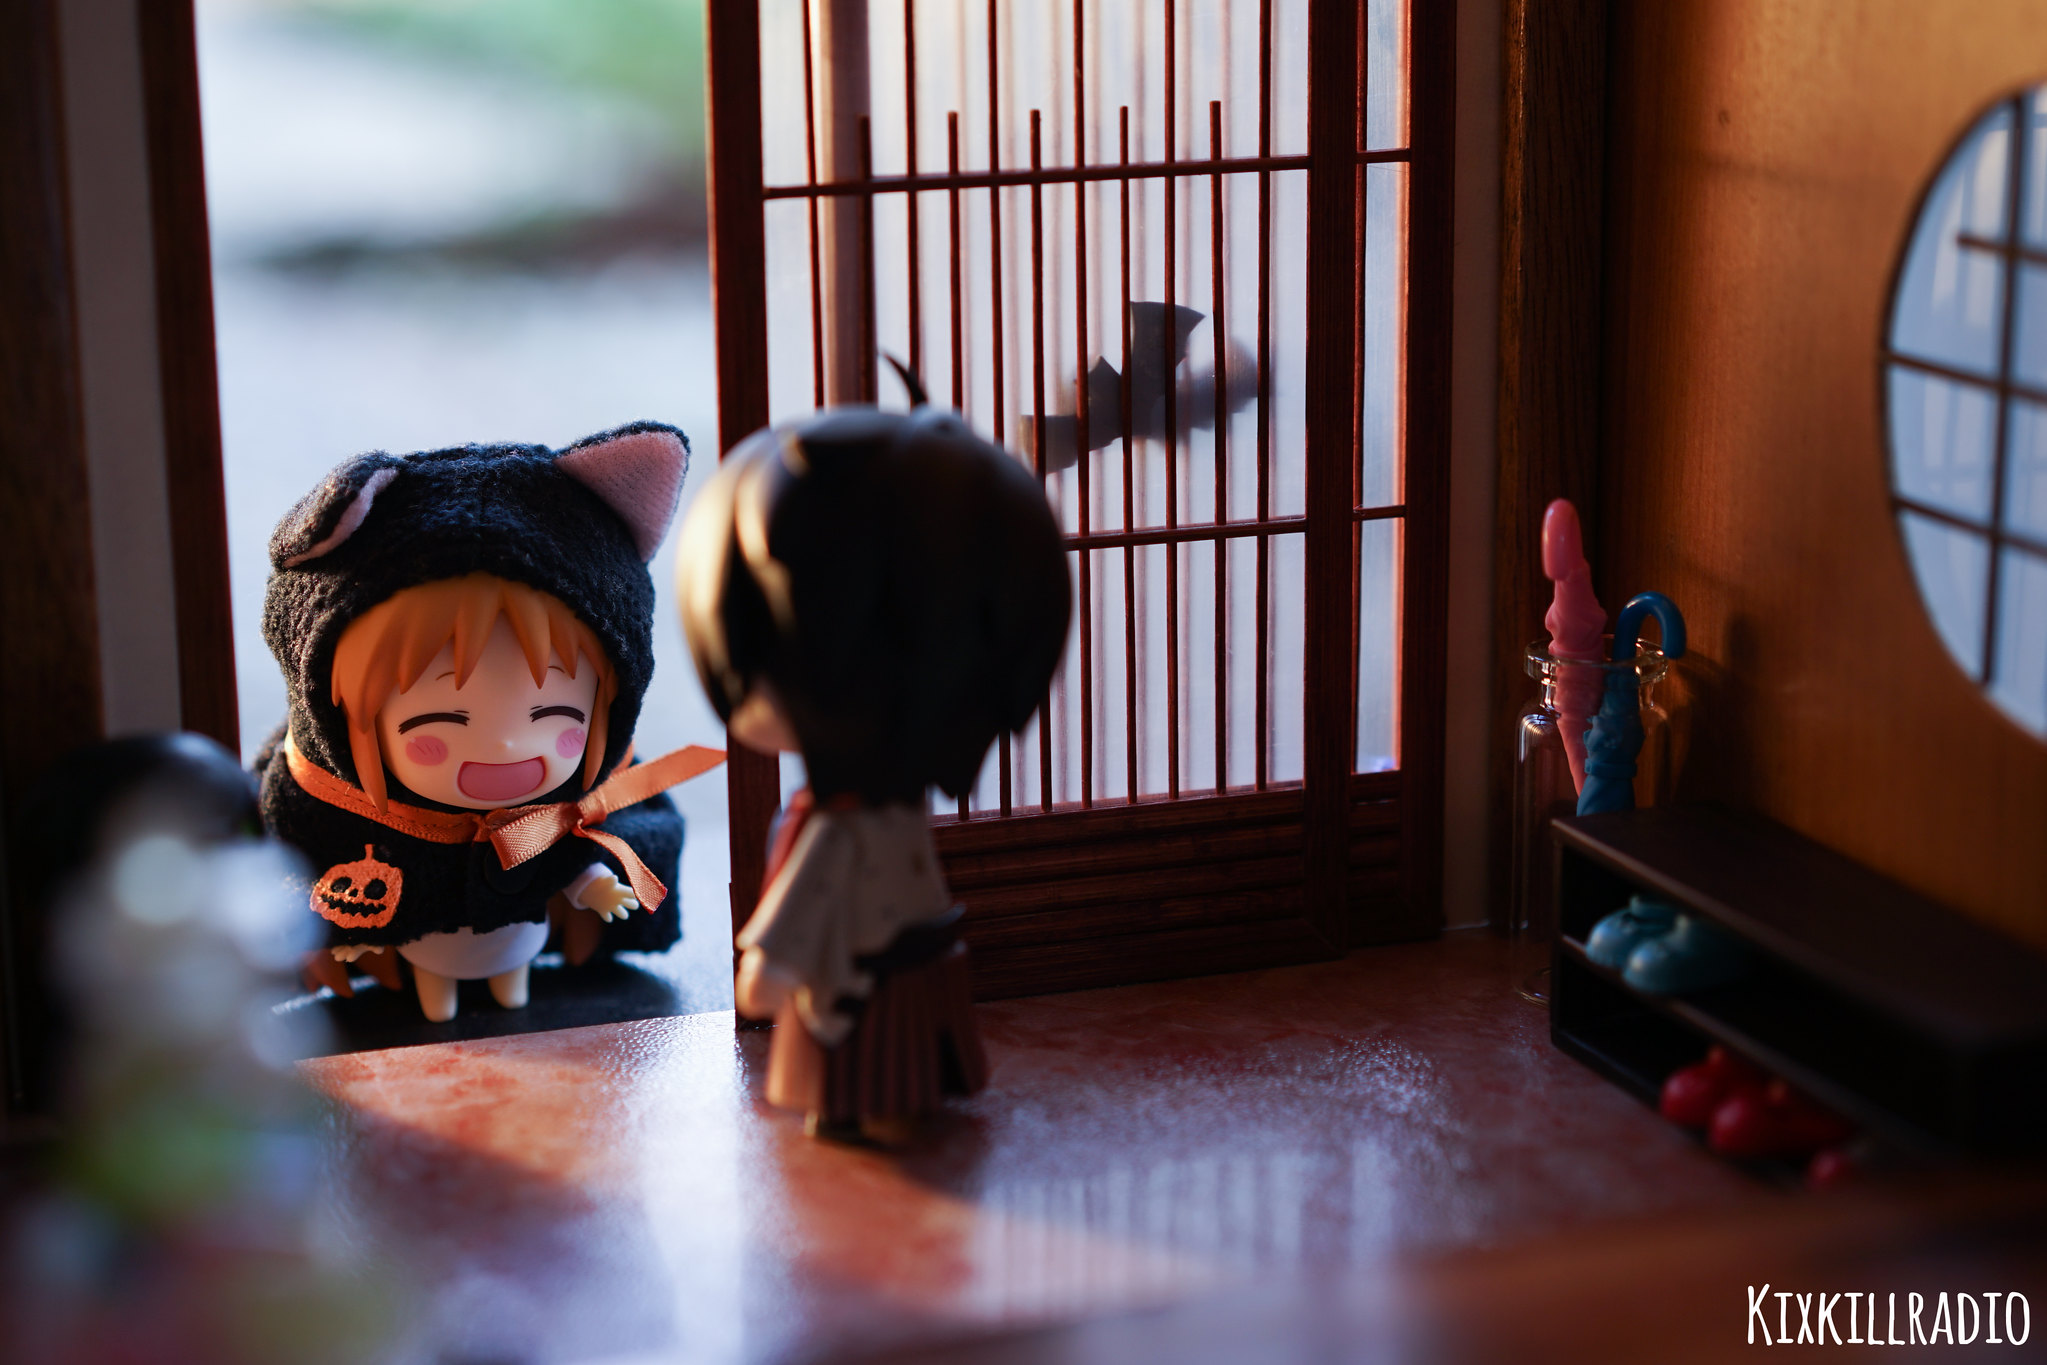
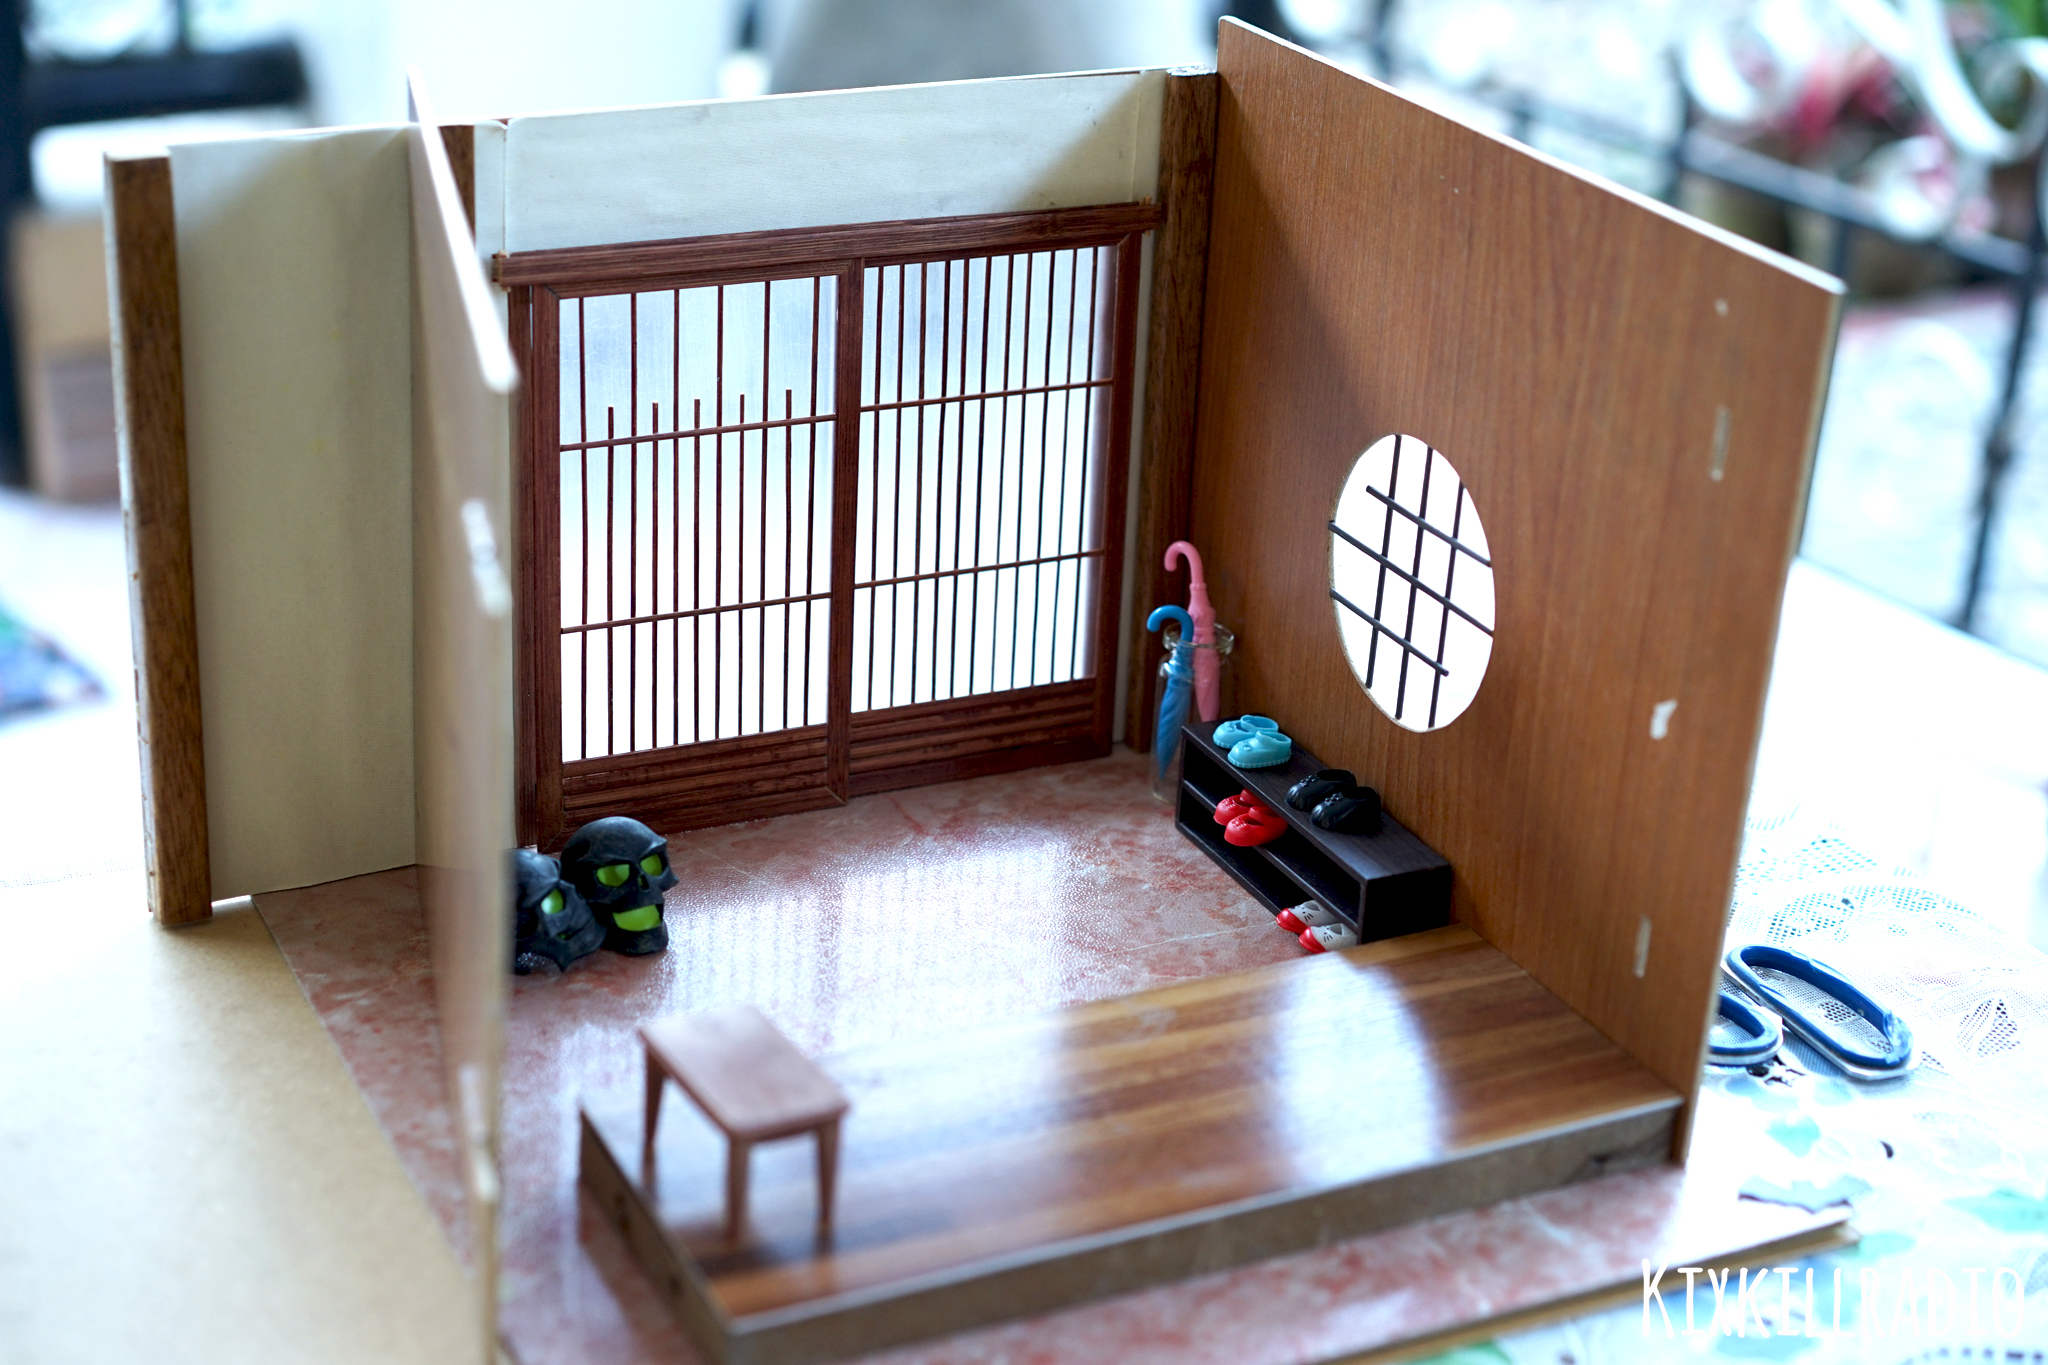
Final Result
After assembling all the parts and adding up the props and other furniture, my genkan is ready for the shoot. Now all that’s missing is the lighting for a natural look.
After shoot, I could just carefully remove the parts and keep them safe in my organizer box.
With Lighting
This was shot in a dark room using 1 desk lamp. I always love to play with lights so you should try it too! ^_^

Most of us collectors and figure photographers do not have extra time to make our own Nendoroid room, that’s why I am sharing you this technique.
You can just simply change your background with a simple printed wallpaper (which you can find in Google images) or a furniture sticker for a different look. You can make 5 doors in different styles for your one already-made background wall. For a starter, you can still use card board and foam board.
It’s refreshing to see something new instead of just using the same old background all the time. There were times that I’ve ended up using the same backdrop and I get frustrated too. I felt like I need to make a change and do something about it. I think of other ideas, theme and possibilities. Imagination is endless..
Sometimes I take a break from figure photography and there I find myself again. Making something, creating a picture that will bring some people smile.
**Photos taken with Sony A7 Mark II

Beautiful!
Thank you 🙂 ❤