Today, I will teach you one of my tricks on how I make my nendoroid jump in my photo shoot. This is actually one of the most common questions I got from friends and followers.
I will use this Nendoroid Mako jumping into the bed scene as an example.

To achieve a shot like this, these are the things you will need:
DSLR/ Digital Camera
Tripod (this is important!)
Adobe Photoshop (I have CS6)
Adequate Lighting environment
Step 1
Since I’m using a DSLR, I set it in Manual at:
Aperture: f/3.2
Shutter Speed: 1/13
ISO: 100
Flash Off
Position your camera and focus on the subject.
You can set them whatever choice of aperture level you like, shutter and ISO. I only used this as example because these were my settings during the shoot. You can use your camera’s self-timer or shutter release remote.
For Digital Camera (Point and Shoot) users, have your camera mounted on a tripod and use self-timer to avoid blur and camera movement.
Step 2

With my camera mounted on a tripod, I took two pictures. The first shot is the one with Nendoroid Mako in it and the second shot is the one without her. Note: Carefully remove the Nendoroid from the scene, before taking the second shot.
Step 3
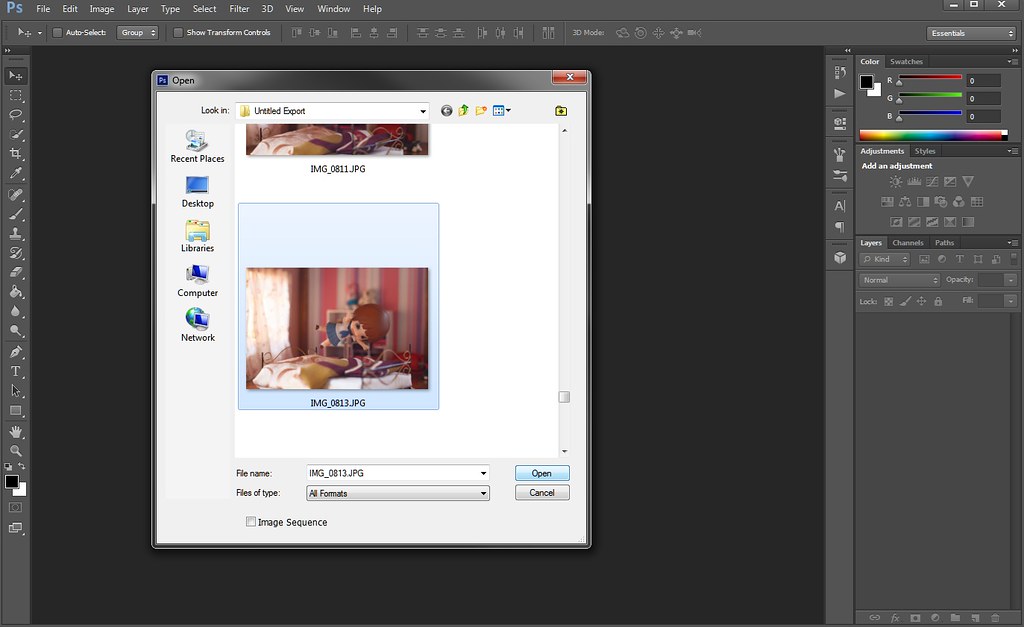
Open Adobe Photoshop CS6.
Go to File menu, and open the image with a figure or nendoroid in it, then open the image without the figure.
Step 4
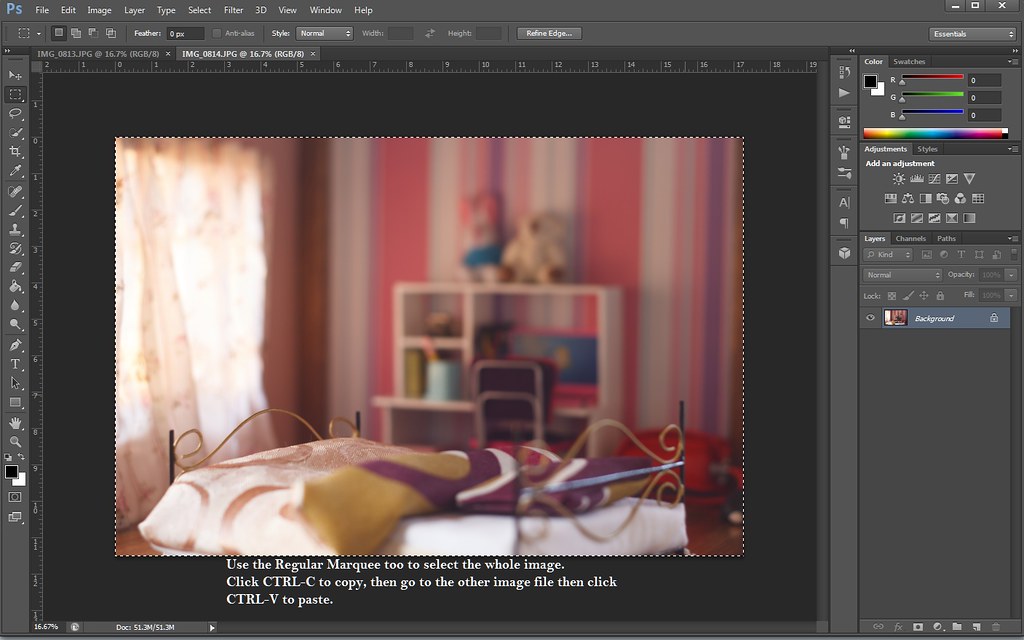
When you opened the 2nd image, use the Regular Marquee Tool to select the whole image. Click CTRL-C to copy. Then go to the first image file then click CTRL-V to paste.
Step 5
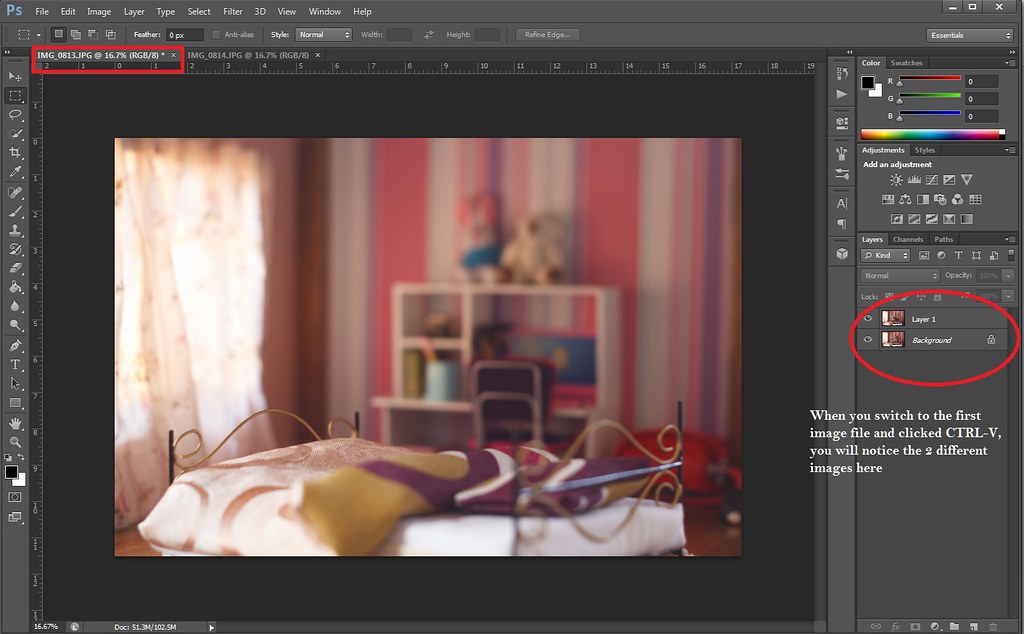
When you switch to the first image file and have pasted the 2nd image. Here’s what it would look like:
Step 6
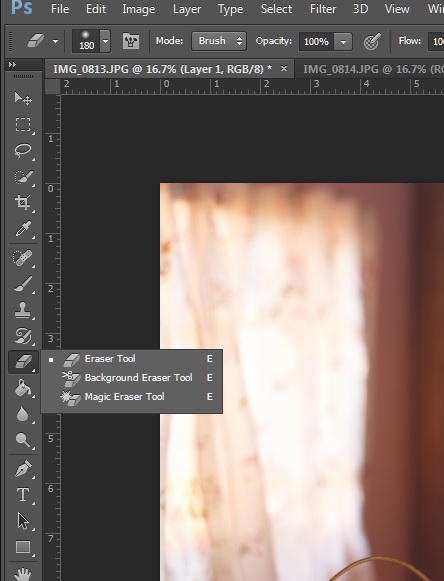
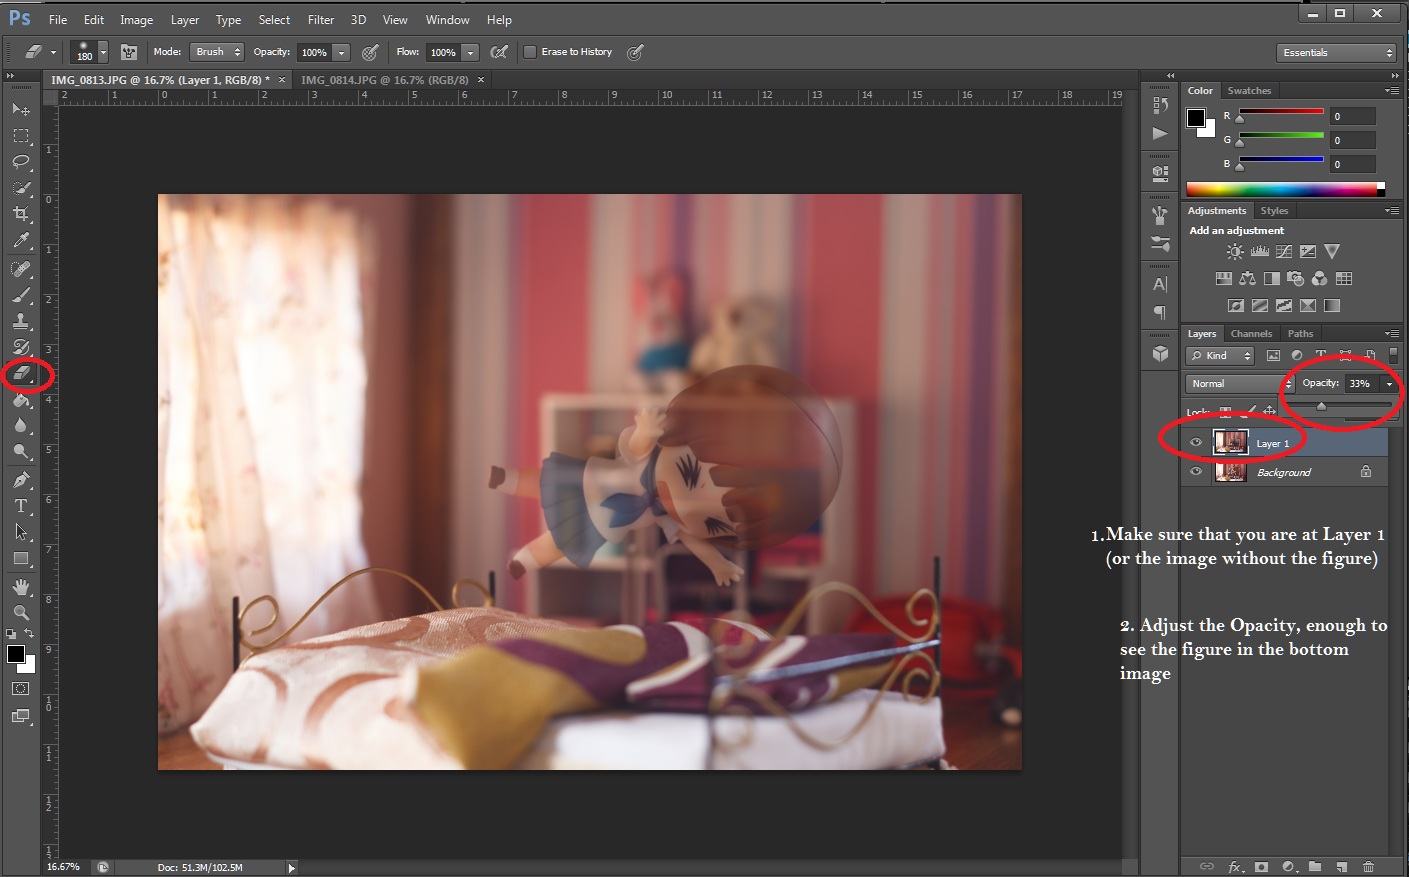
Select the Eraser Tool
Step 7
- Make sure that you are at Layer 1 (or the image without the figure)
- Lower down your Opacity upto 30%, enough to see the figure
Step 8
Using the Eraser tool, carefully apply it to the area where the figure is slightly visible.

Step 9
After applying the Eraser tool to the area, turn the Opacity back to 100%. You will no longer see the stand in the picture. Yay! Then save your file as .jpeg.

There will also be a video tutorial uploaded in my YouTube.
If you have a more easier way to do this, please do share! I want to know too.
That’s all for today guys! See you on my next post! ❤

Thanks so much for this! 😀
You’re welcome! 😀
Thanks for the tips!
welcome! ^_^
Thats nicely explained and I love this certain example of a jumping Mako ;).
manual focus is also essential to such pictures, it’s actually similar to the method you use for special Dollfie poses. I should try this already ^^
Reblogged this on Le blog de GranolaWitch.
So that’s how you did it. I always thought you just threw Mako and took a quick shot. Ha ha. Nice tutorial, and very impressive (and cute) shot.