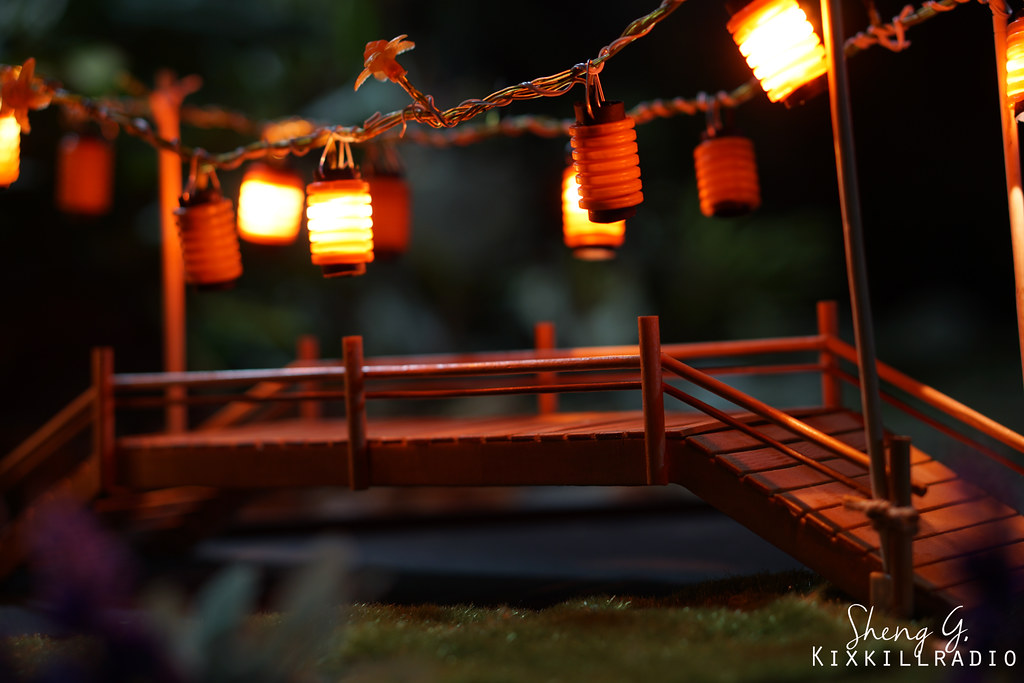
I always wanted to try a summer festival themed toy photography using lantern for backdrops.

There are many kinds of traditional Japanese lantern and I’ve been trying to figure out how to make one that can be used for festivals. I have searched the Internet and I just couldn’t find anything at all. All I could find is an origami lantern.
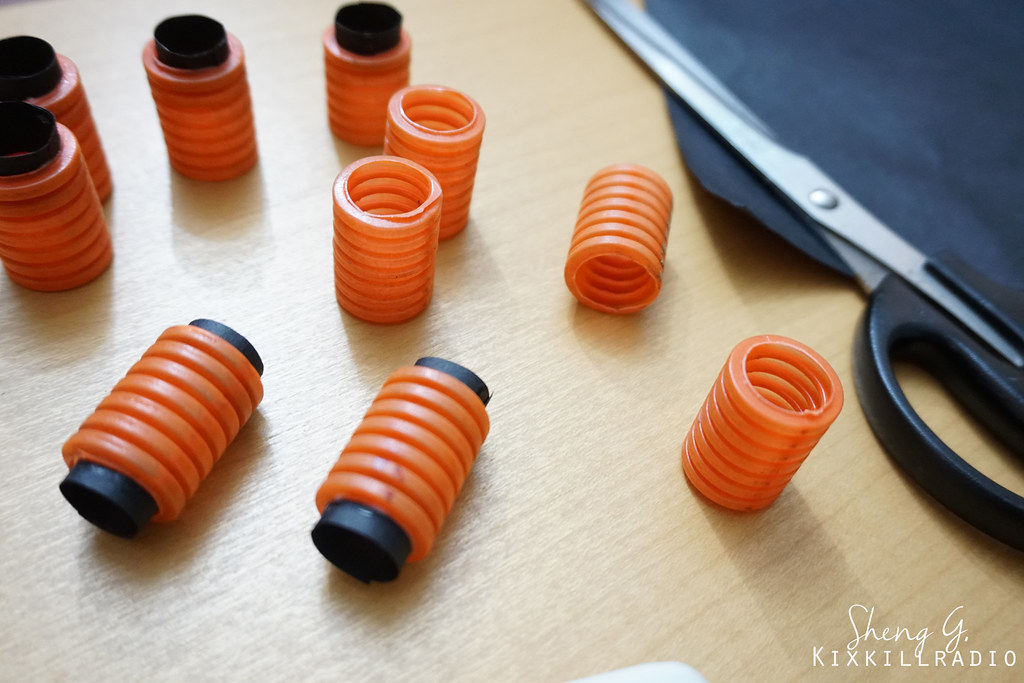
Until one day as I was cleaning up our storage area, I found a PVC flexible corrugated electrical conduit pipe in orange color. I thought it could possibly work if I cut it into several pieces, big enough to put it on the Christmas lights.
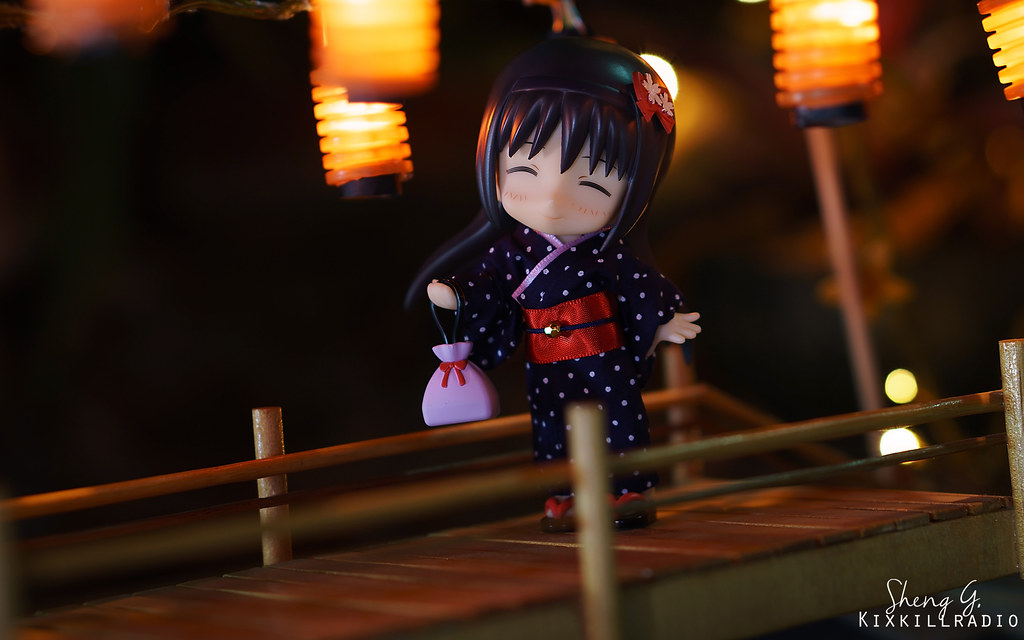
In today’s post, I am showing you how to turn this corrugated electrical conduit pipe into a lantern based on an anime photo above. It may not look exactly like the traditional Japanese lantern but I think this works for me. You can see my toy photography Cu-poche Festival Photo Session with these lights here.
These materials are available at your local hardware and school supplies.
Materials Needed:
– PVC flexible corrugated electrical conduit pipe (orange)
– Black construction paper
– Glue and Scissors
– Christmas lights
Step 1
Cut the corrugated electrical conduit pipe at least 1 inch in size.
Step 2
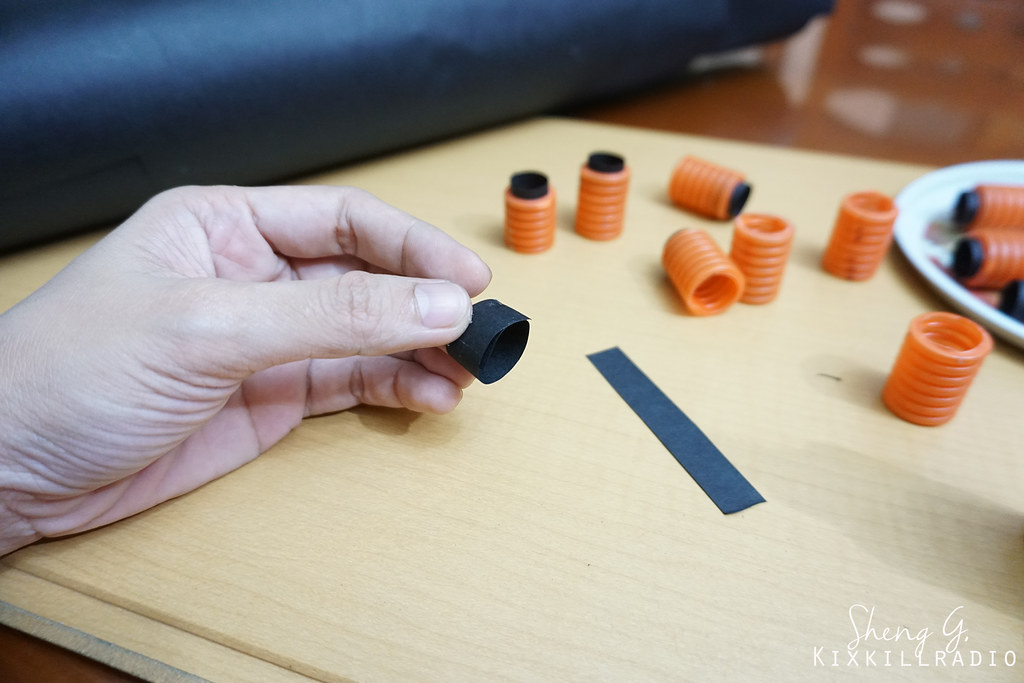
Cut the black construction paper enough to fit around the pipe.
Step 3
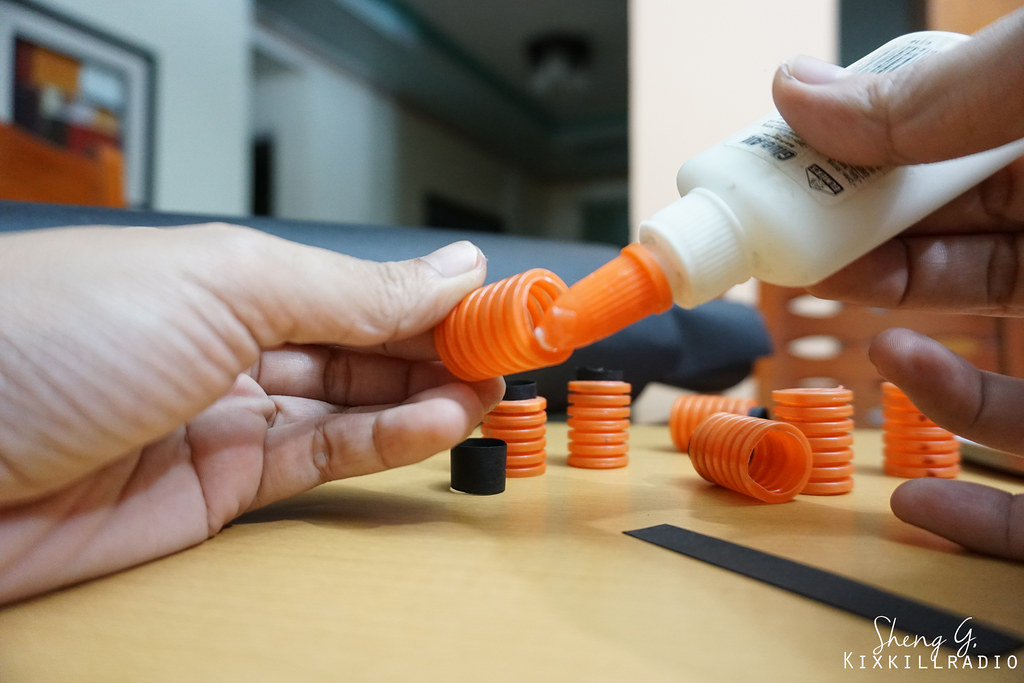
Put some glue on the tip of the pipe.
Step 4
Glue the black construction paper on each side.
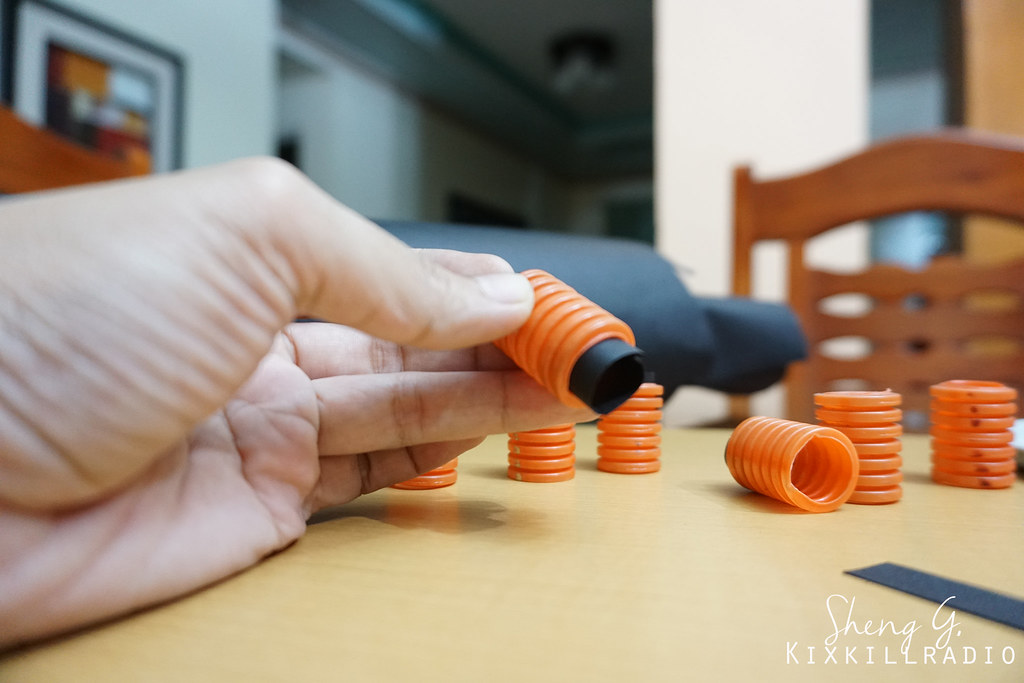
Let it dry.

Step 5
Get your Christmas lights and poke each light into the miniature lantern. You can either use a hook wire or thread to set the lantern in place.
Ta-dah! It looks great with the lights on!
I hope this tutorial gave you an idea on making miniature lanterns for your next toy photography project. See you guys next time! 😀

What a fantastic idea, thank you for sharing!
Thank you for sharing the lantern idea. Brilliant! That’s one of the things I love about miniature stuff – the problem solving.
hi we are doing an art project and we have japan as our country and with your blog it has been a great help.