February is a month to celebrate love and one thing that comes into my mind every Valentine’s Day is Cupid. In classic mythology, Cupid is the god of desire, erotic love, attraction and affection. Cupid is also a popular symbol during the love month.
So today, I am showing you how to make Cupid’s bow and arrow for your nendoroids, cupoche, figma or dolls. It is fun to dress up your Nendoroid as Cupid for Valentine’s inspired figure photography just like what I did with Nendoroid Mako last week.

The materials I used for bow and arrow are the following: Wire (which I found at my brother’s tool box, it’s soft and can easily bend), crochet thread, ribbon, heart shaped cut outs (or crafted heart design), thin stick, glue, scissor and needle nose pliers.
It is much better if you don’t need to buy these materials and find something at home. Remember, be resourceful and creative. 😉

How to make an Arrow
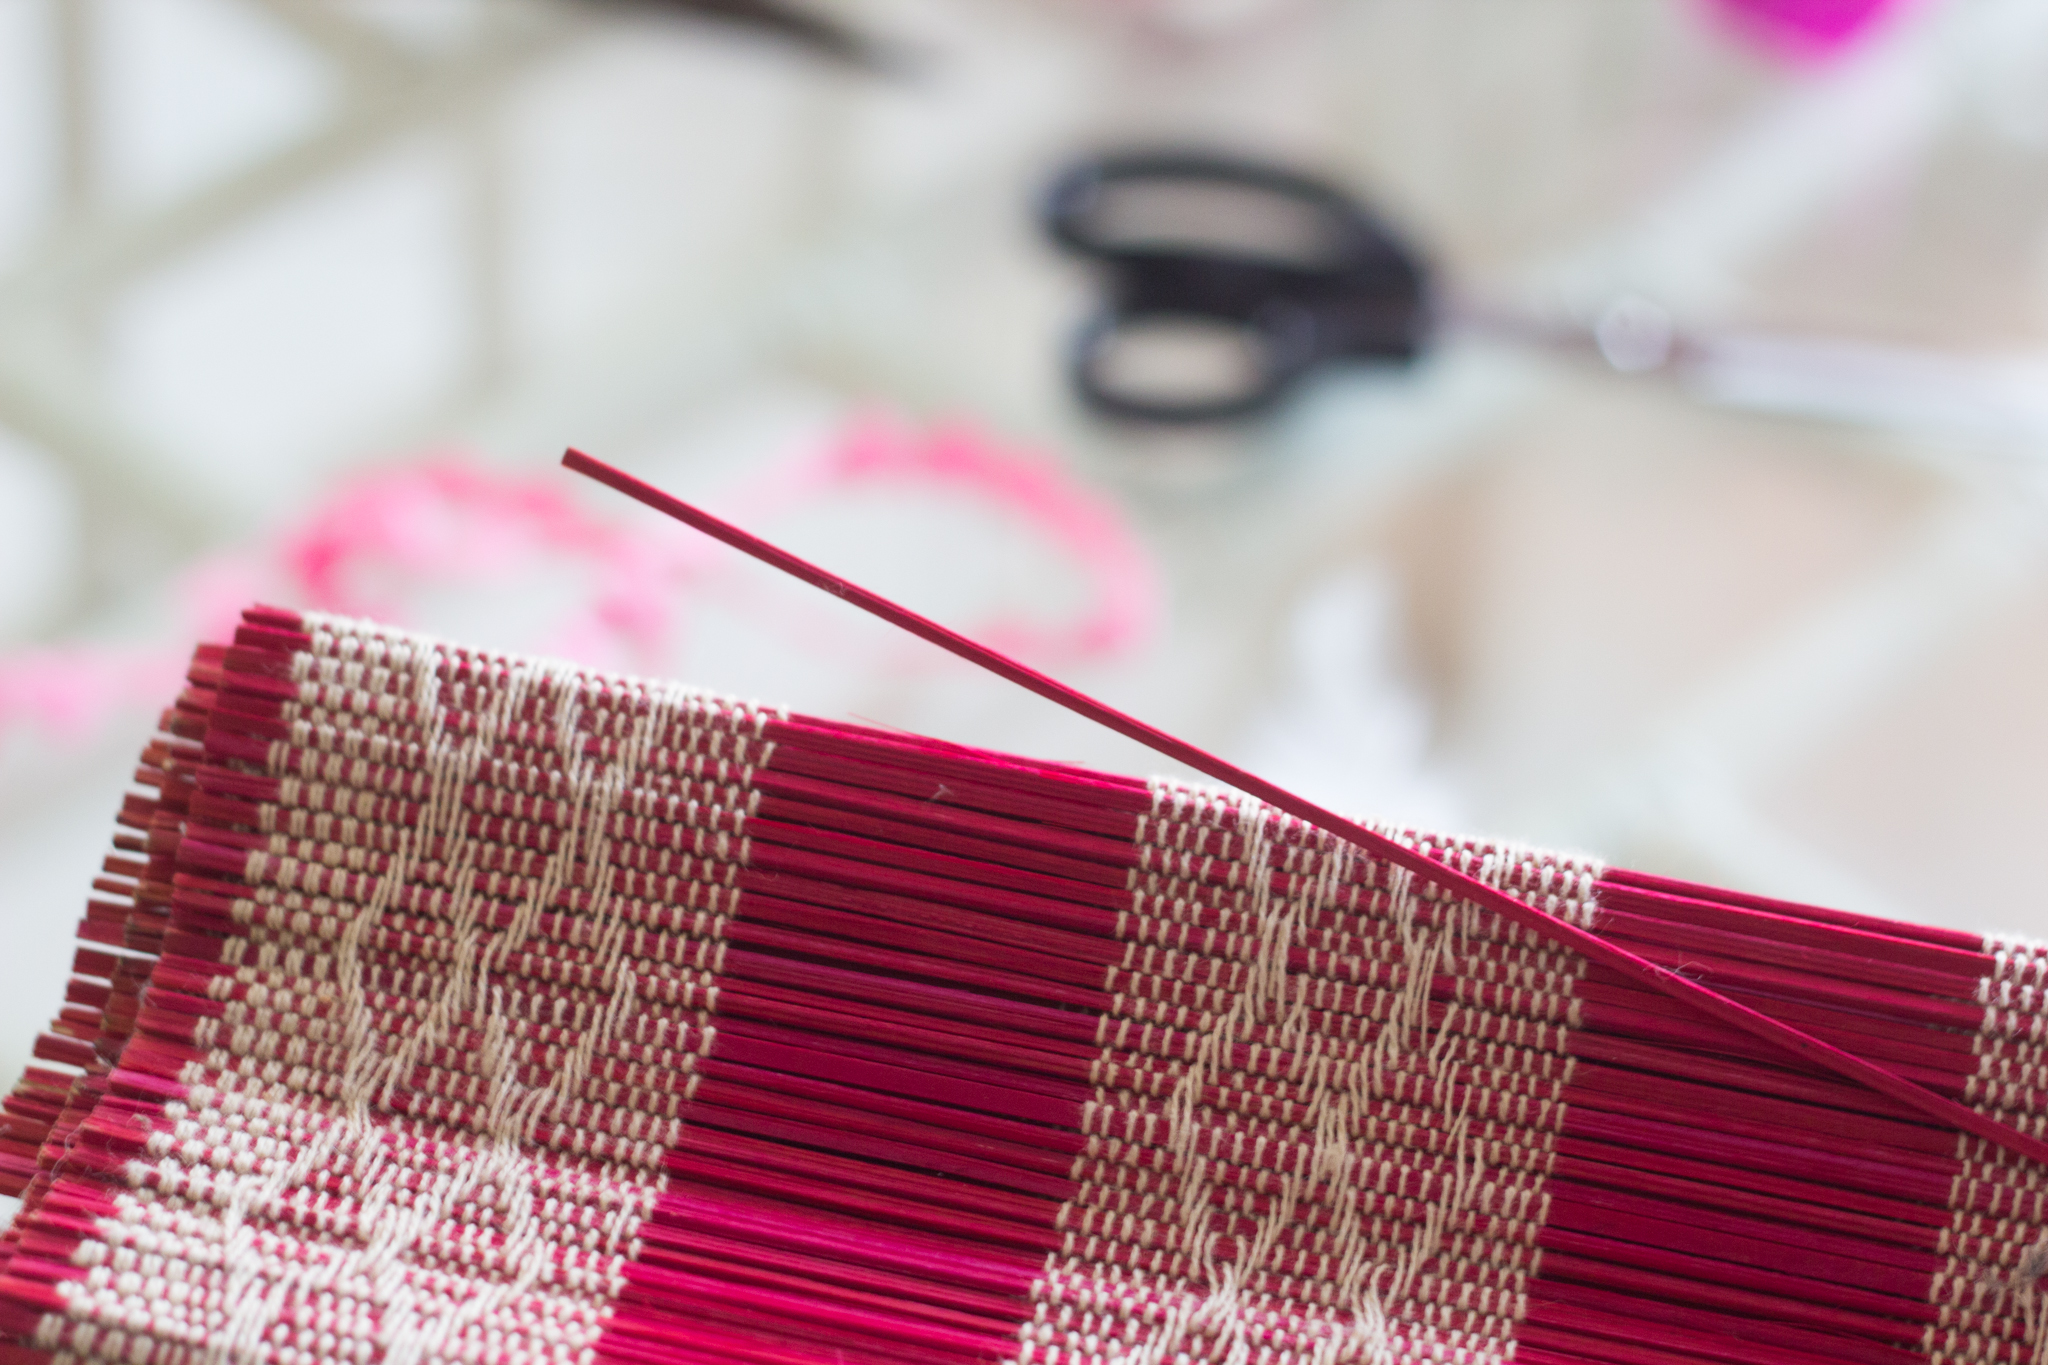
I found an old table mat that’s made of thin wooden sticks in our stock room, so I grabbed one to use for the arrow’s shaft. Good thing that the color is appropriate for the theme, so I didn’t have to paint it pink. Don’t worry, you can also use toothpicks instead of messing your mom’s table mats. 😀
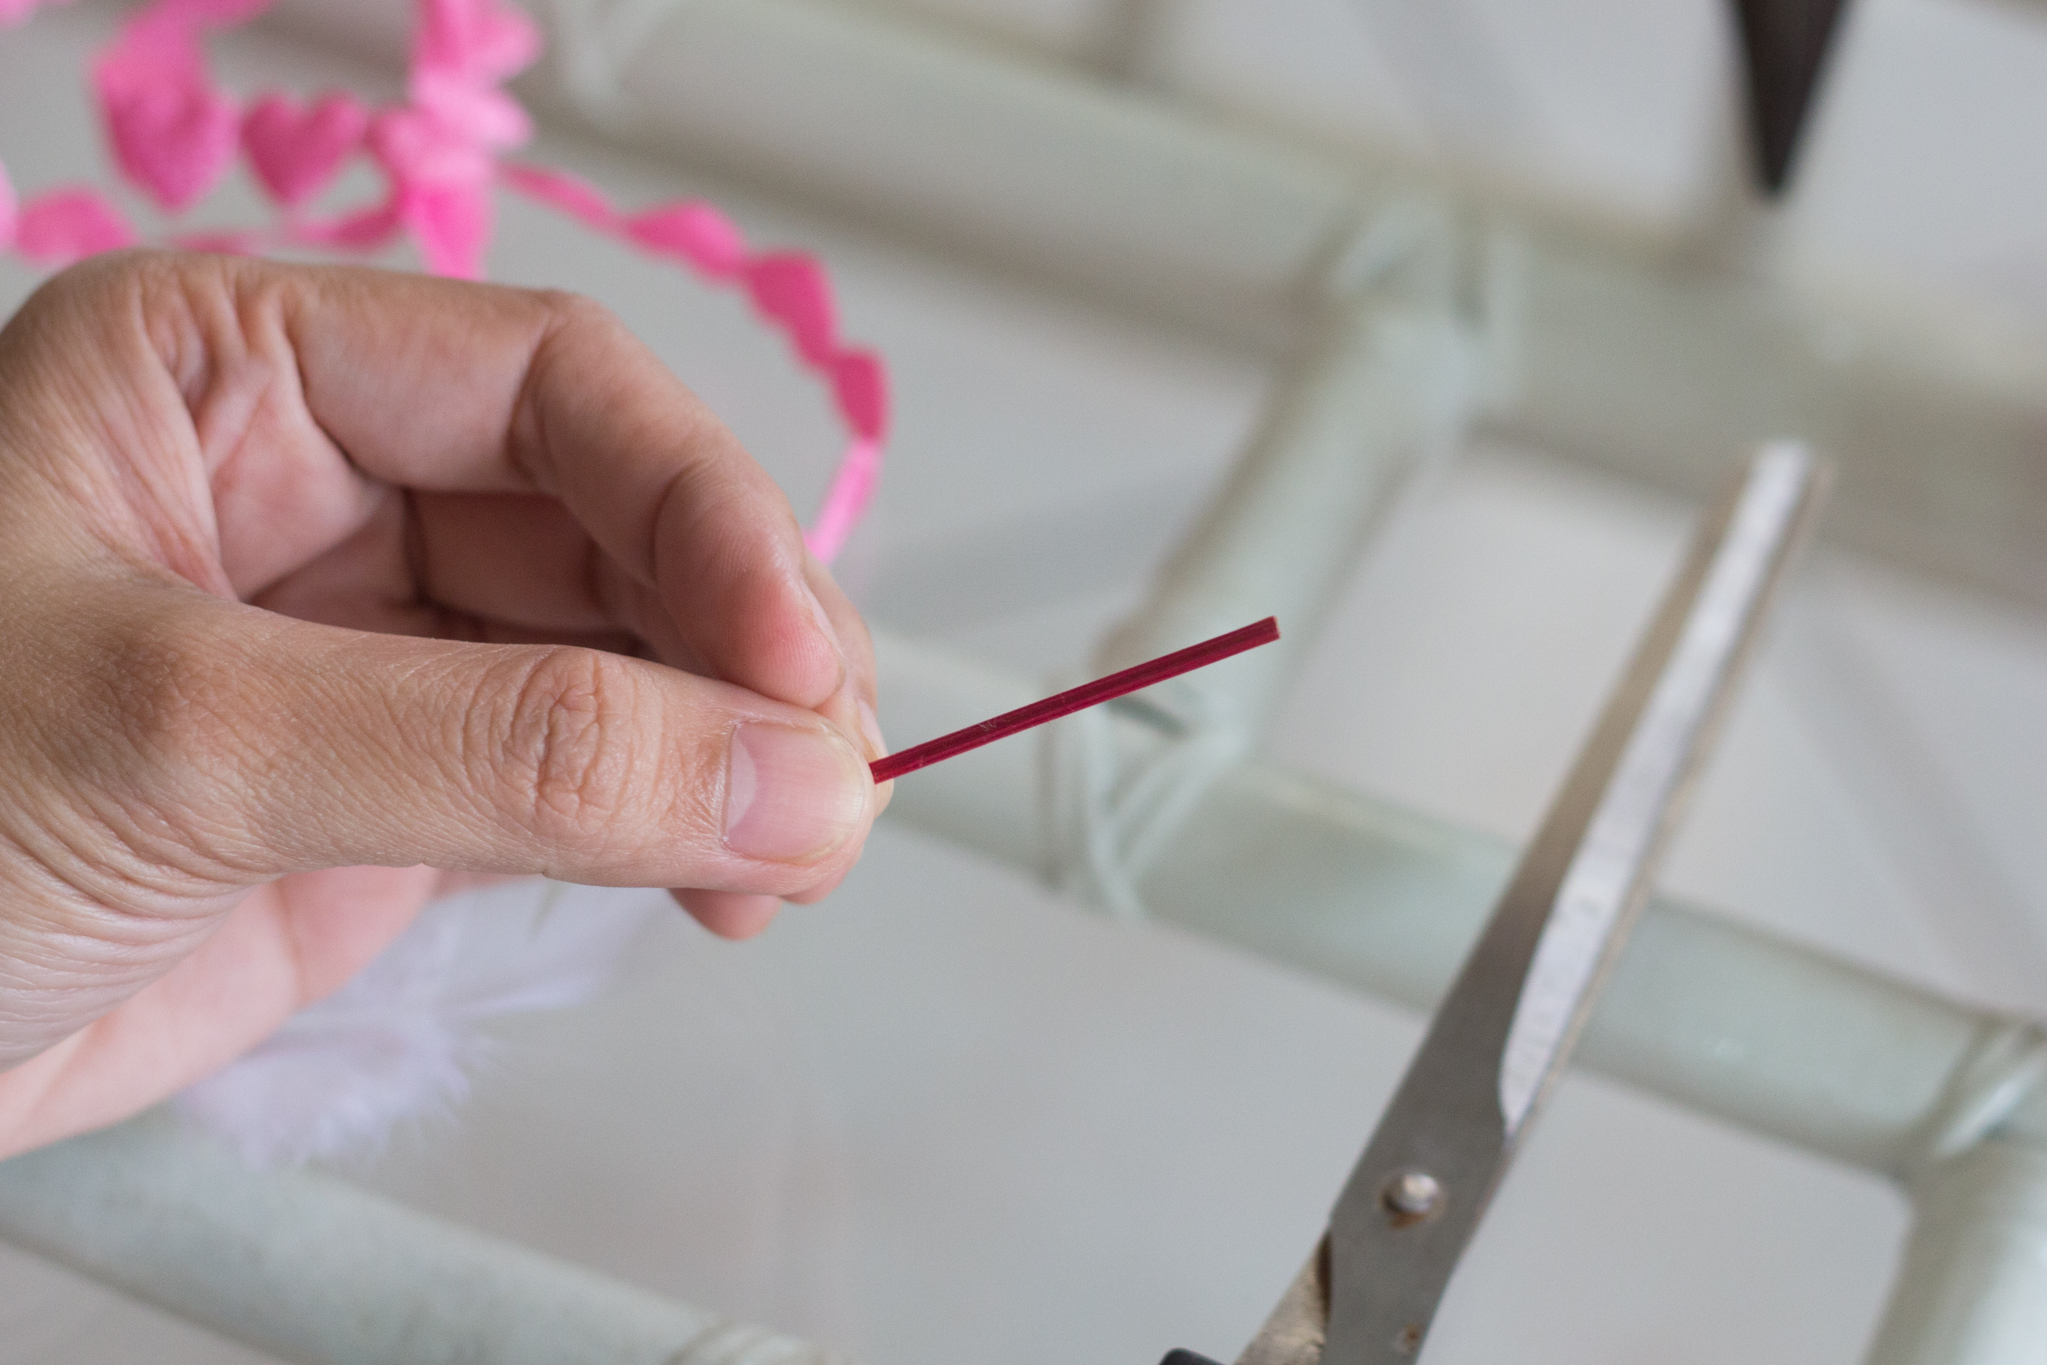
 Cut at least 1.5- 2 inches (scaled to Nendoroids and CuPoche)
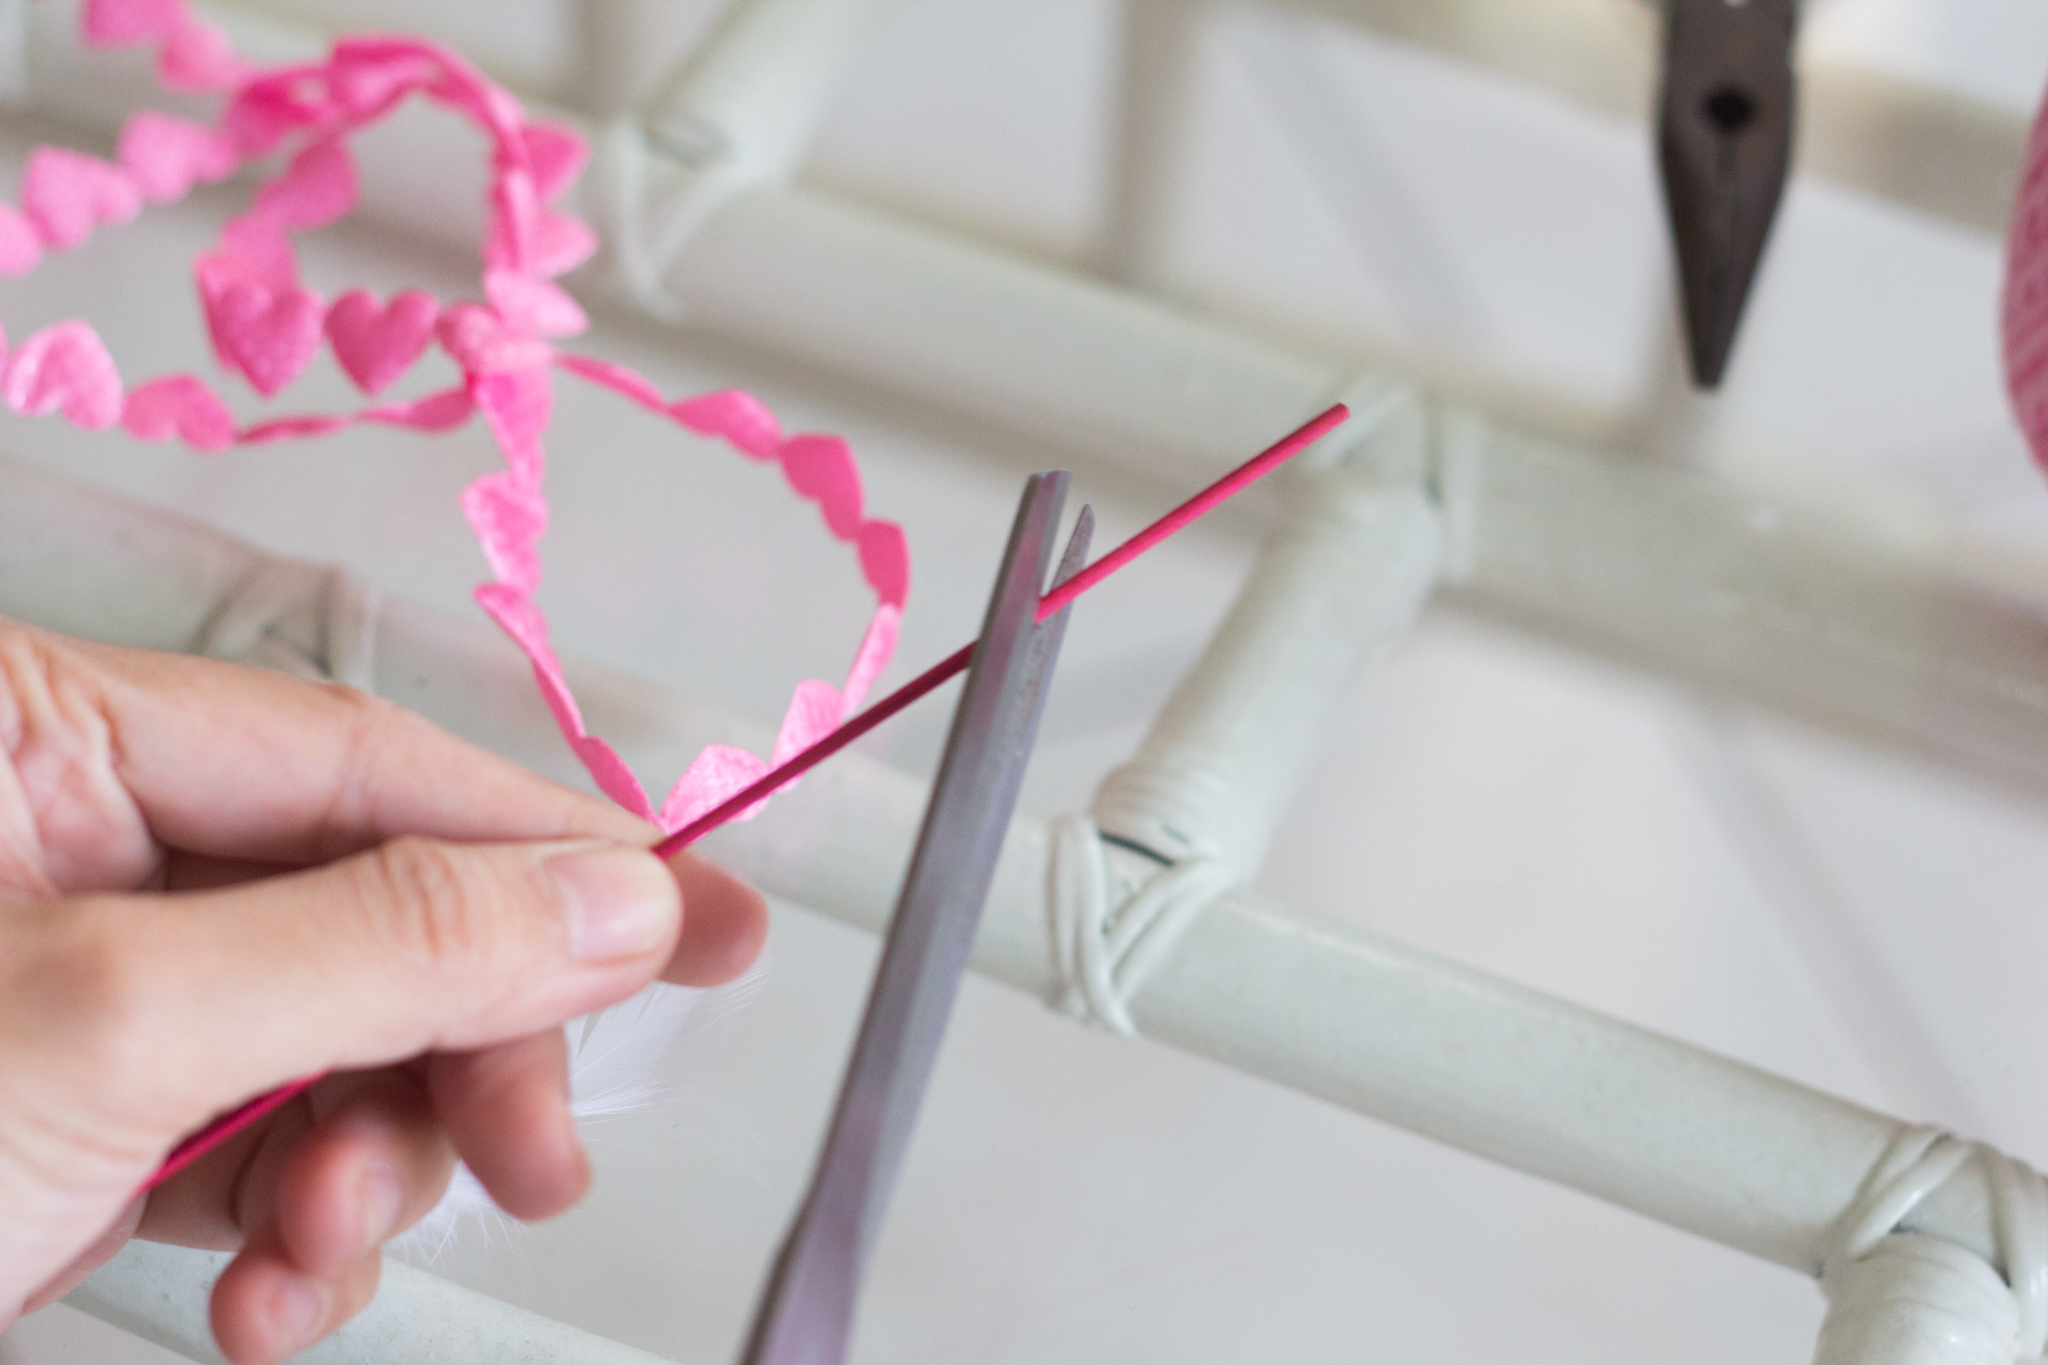
 Since I have this crafted heart design for years now, I decided to use it again as the arrowhead. Heart-shaped head is very Valentine’s Day-ish and suits perfectly to Cupid Mako-chan. You can use red/pink cartolina or color cardboad.
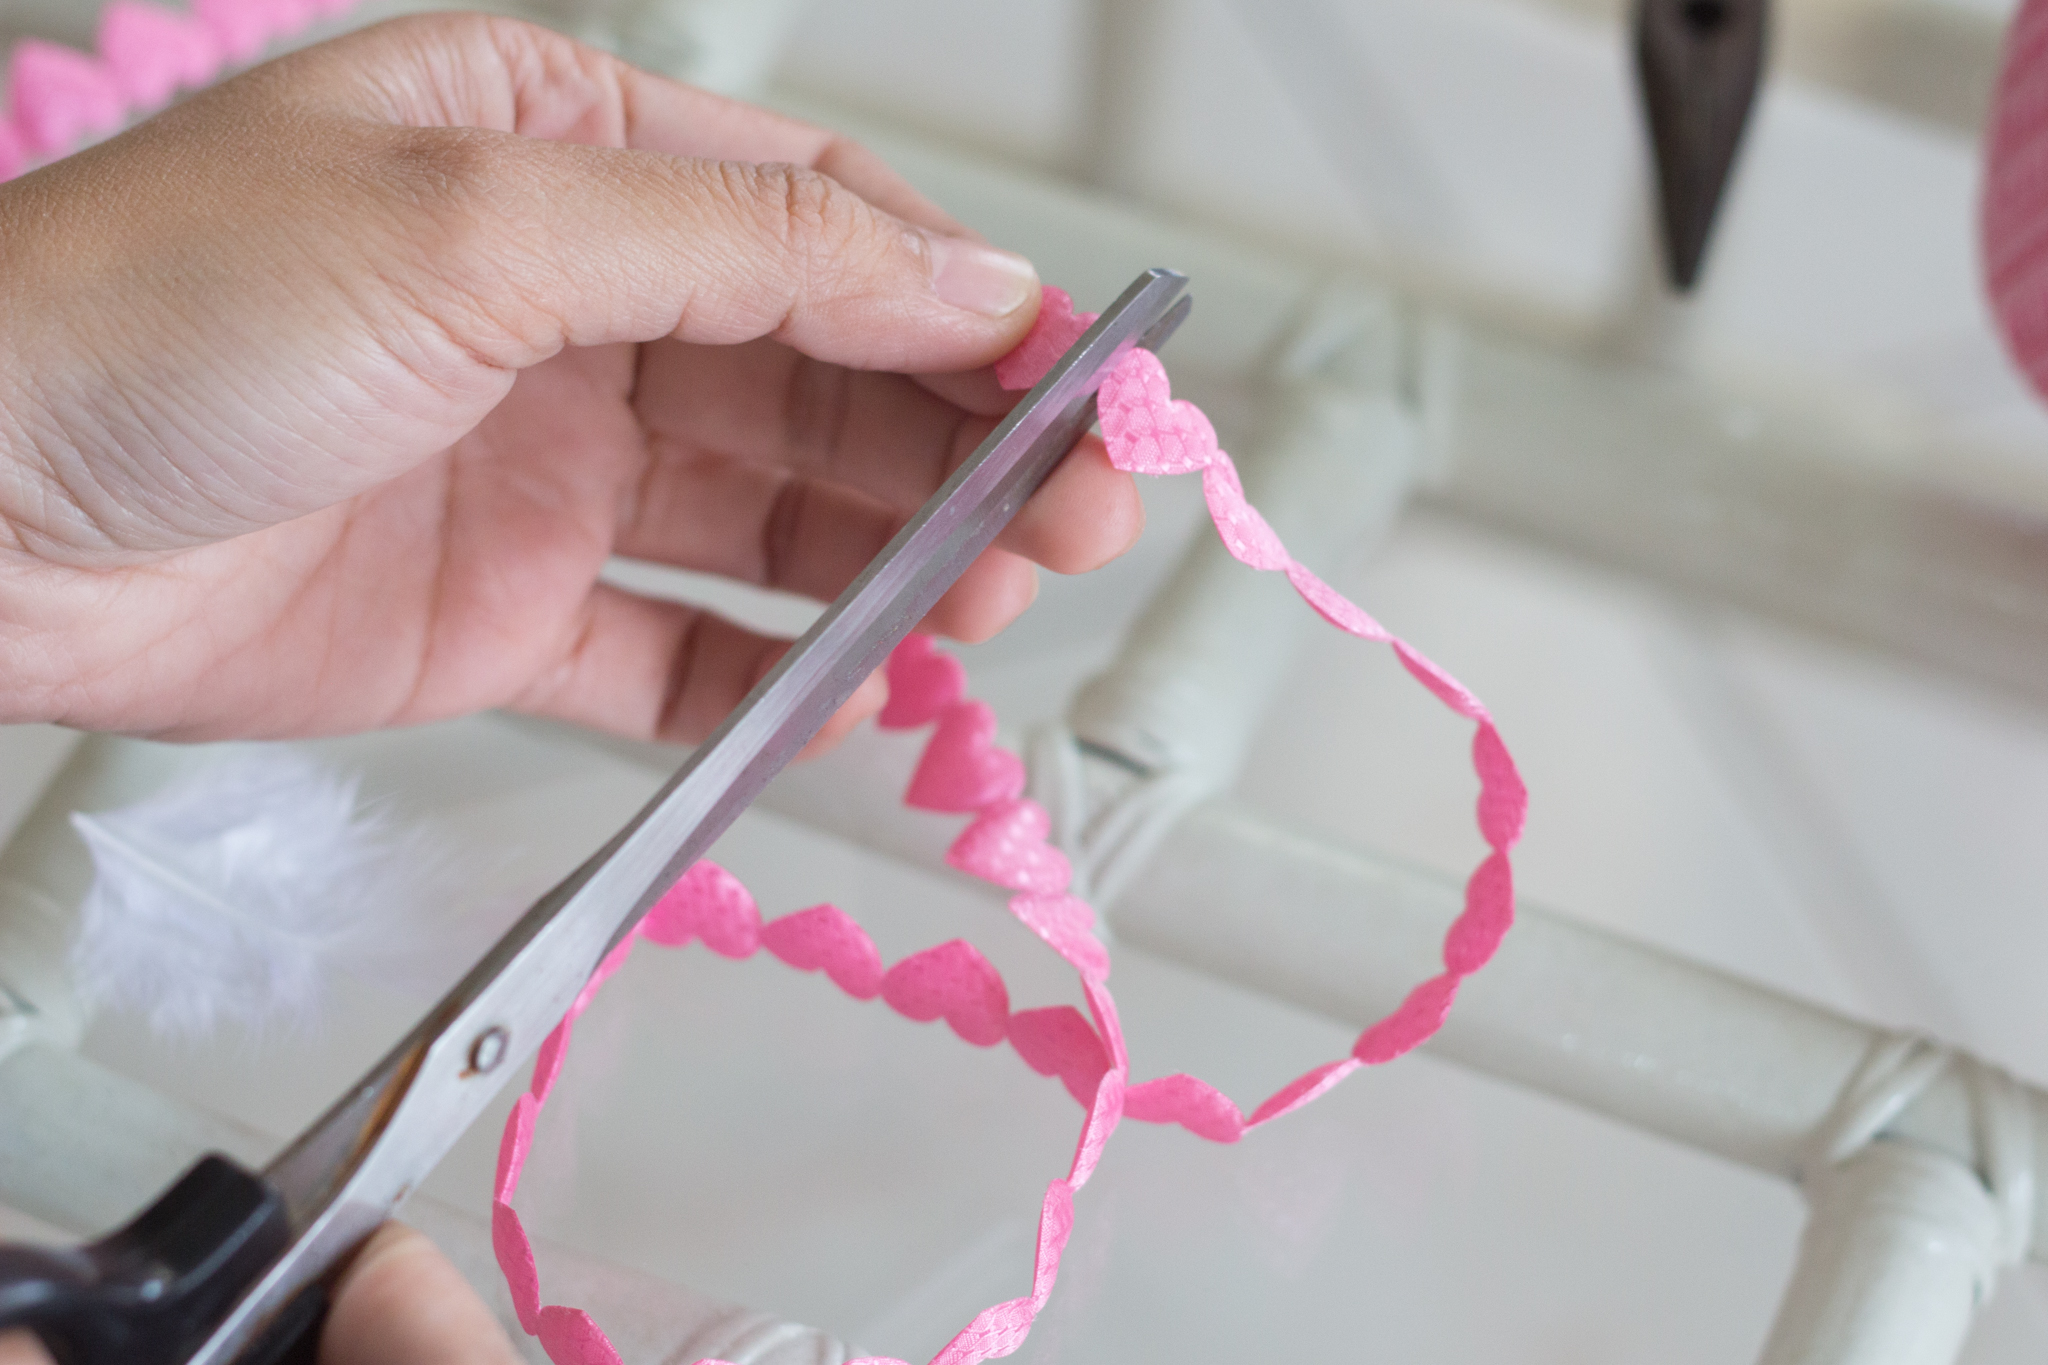
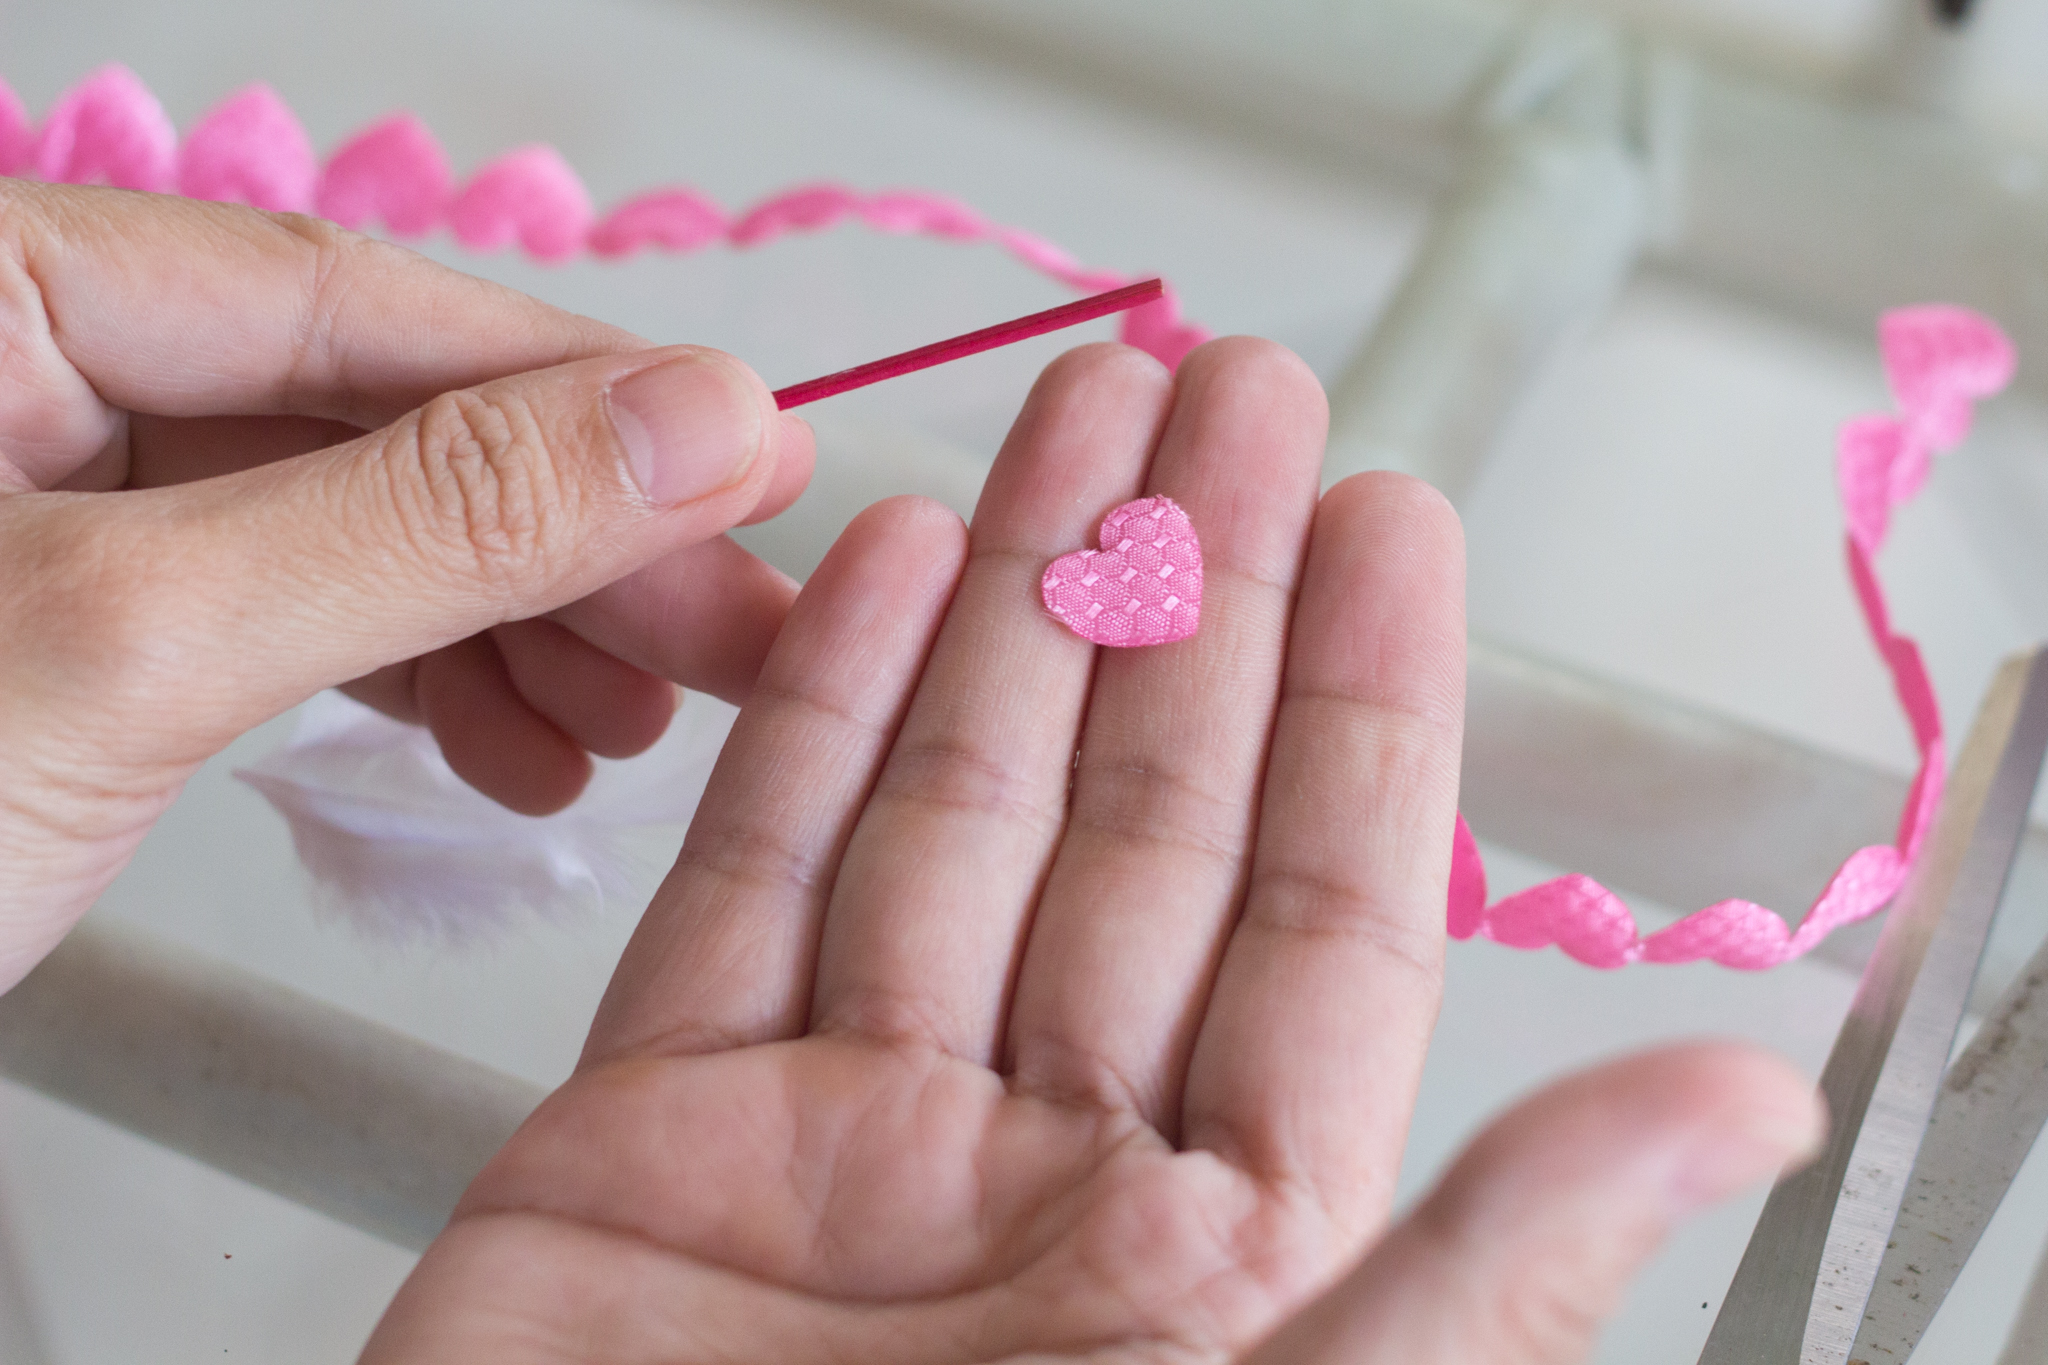
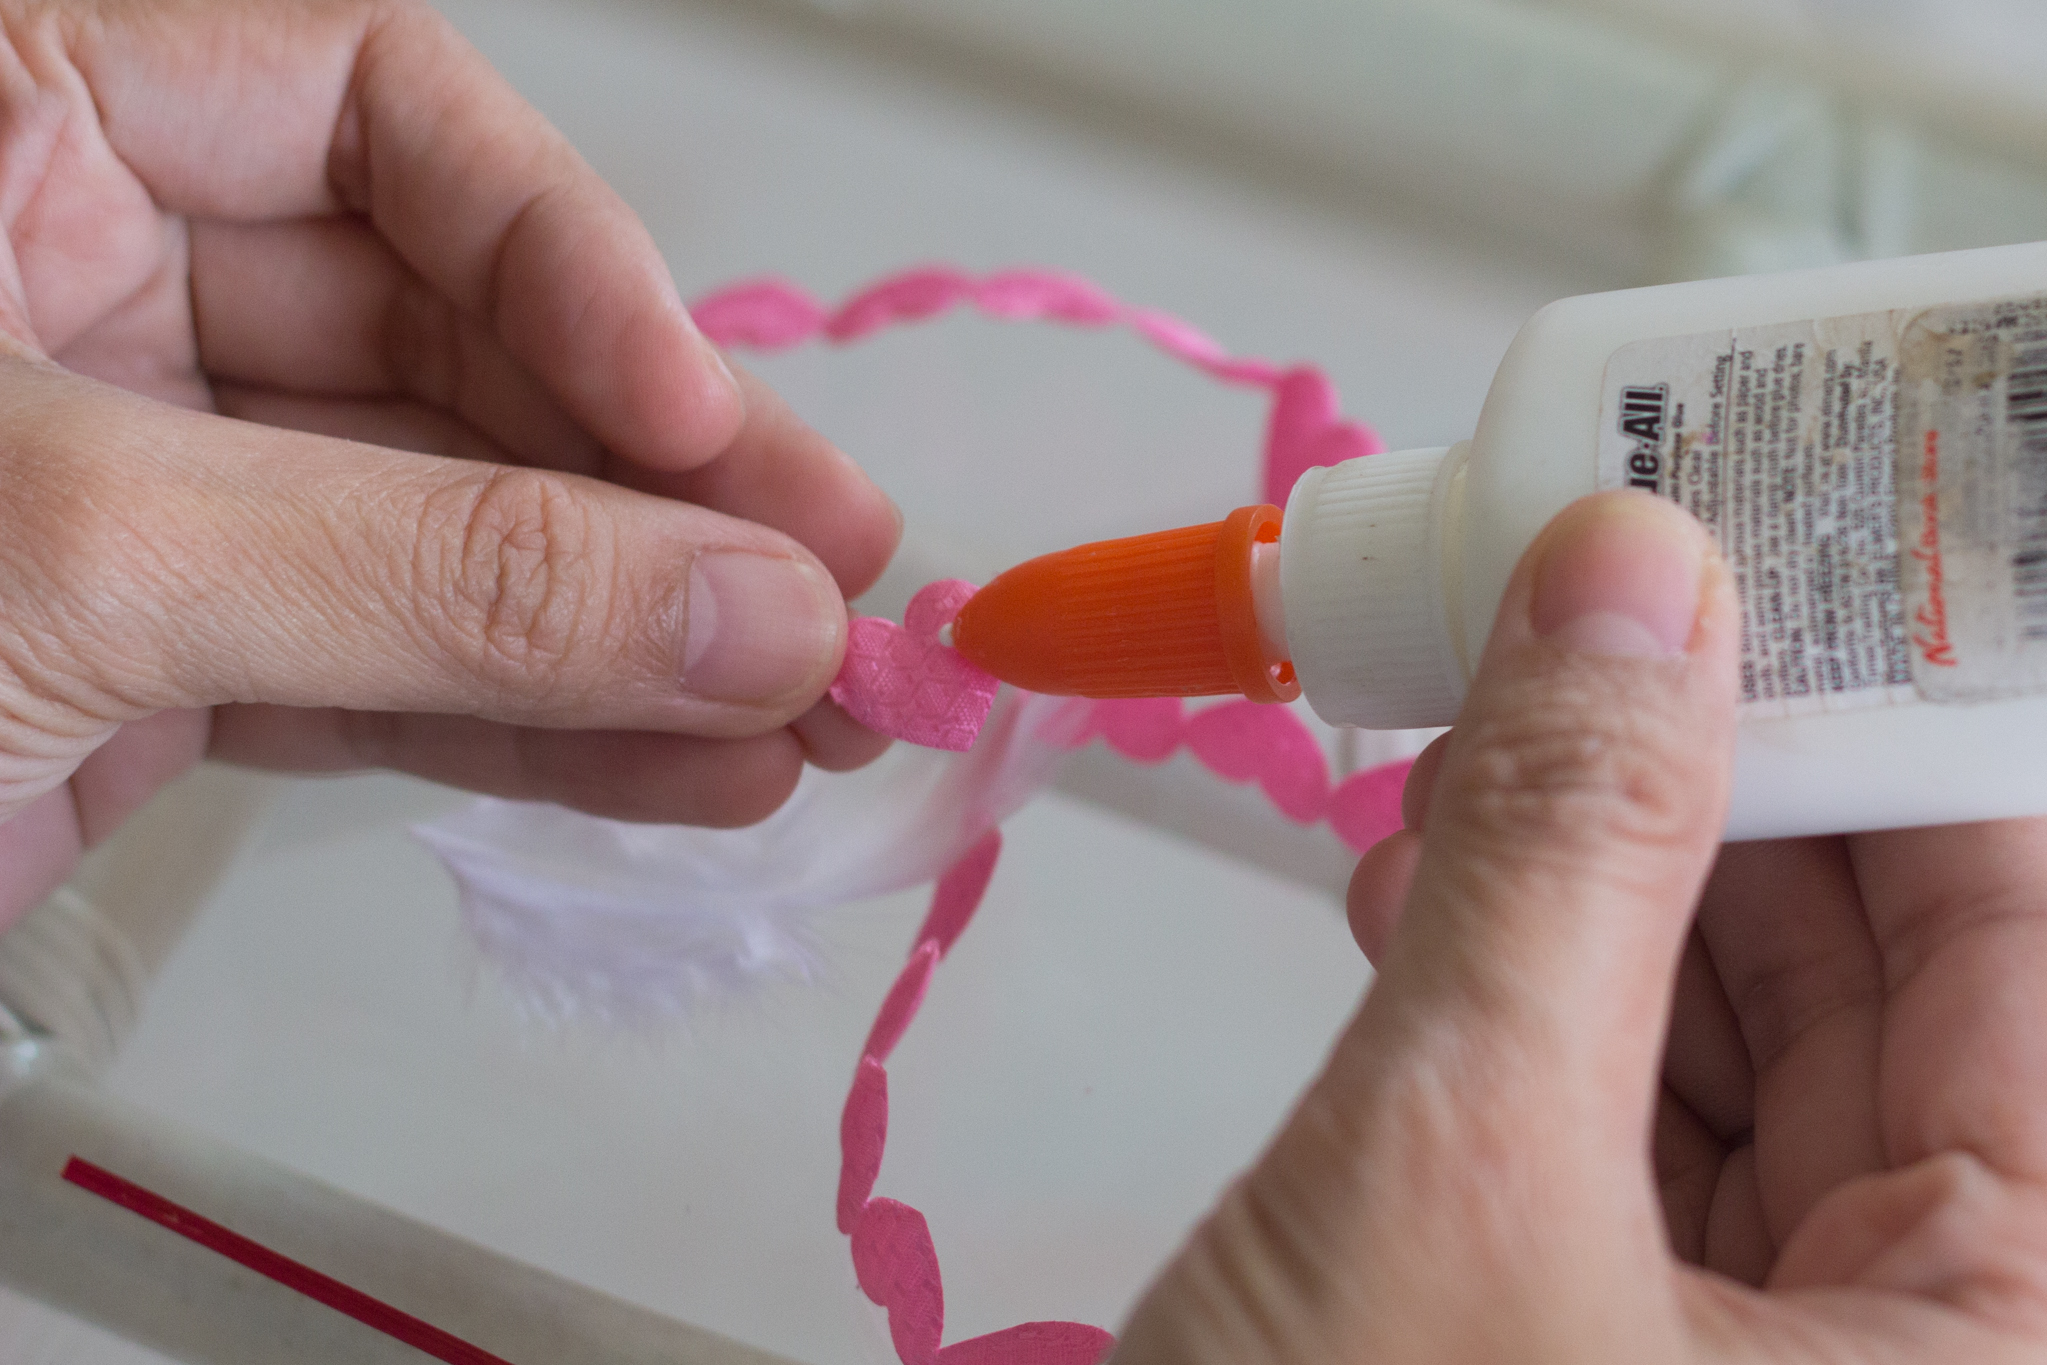
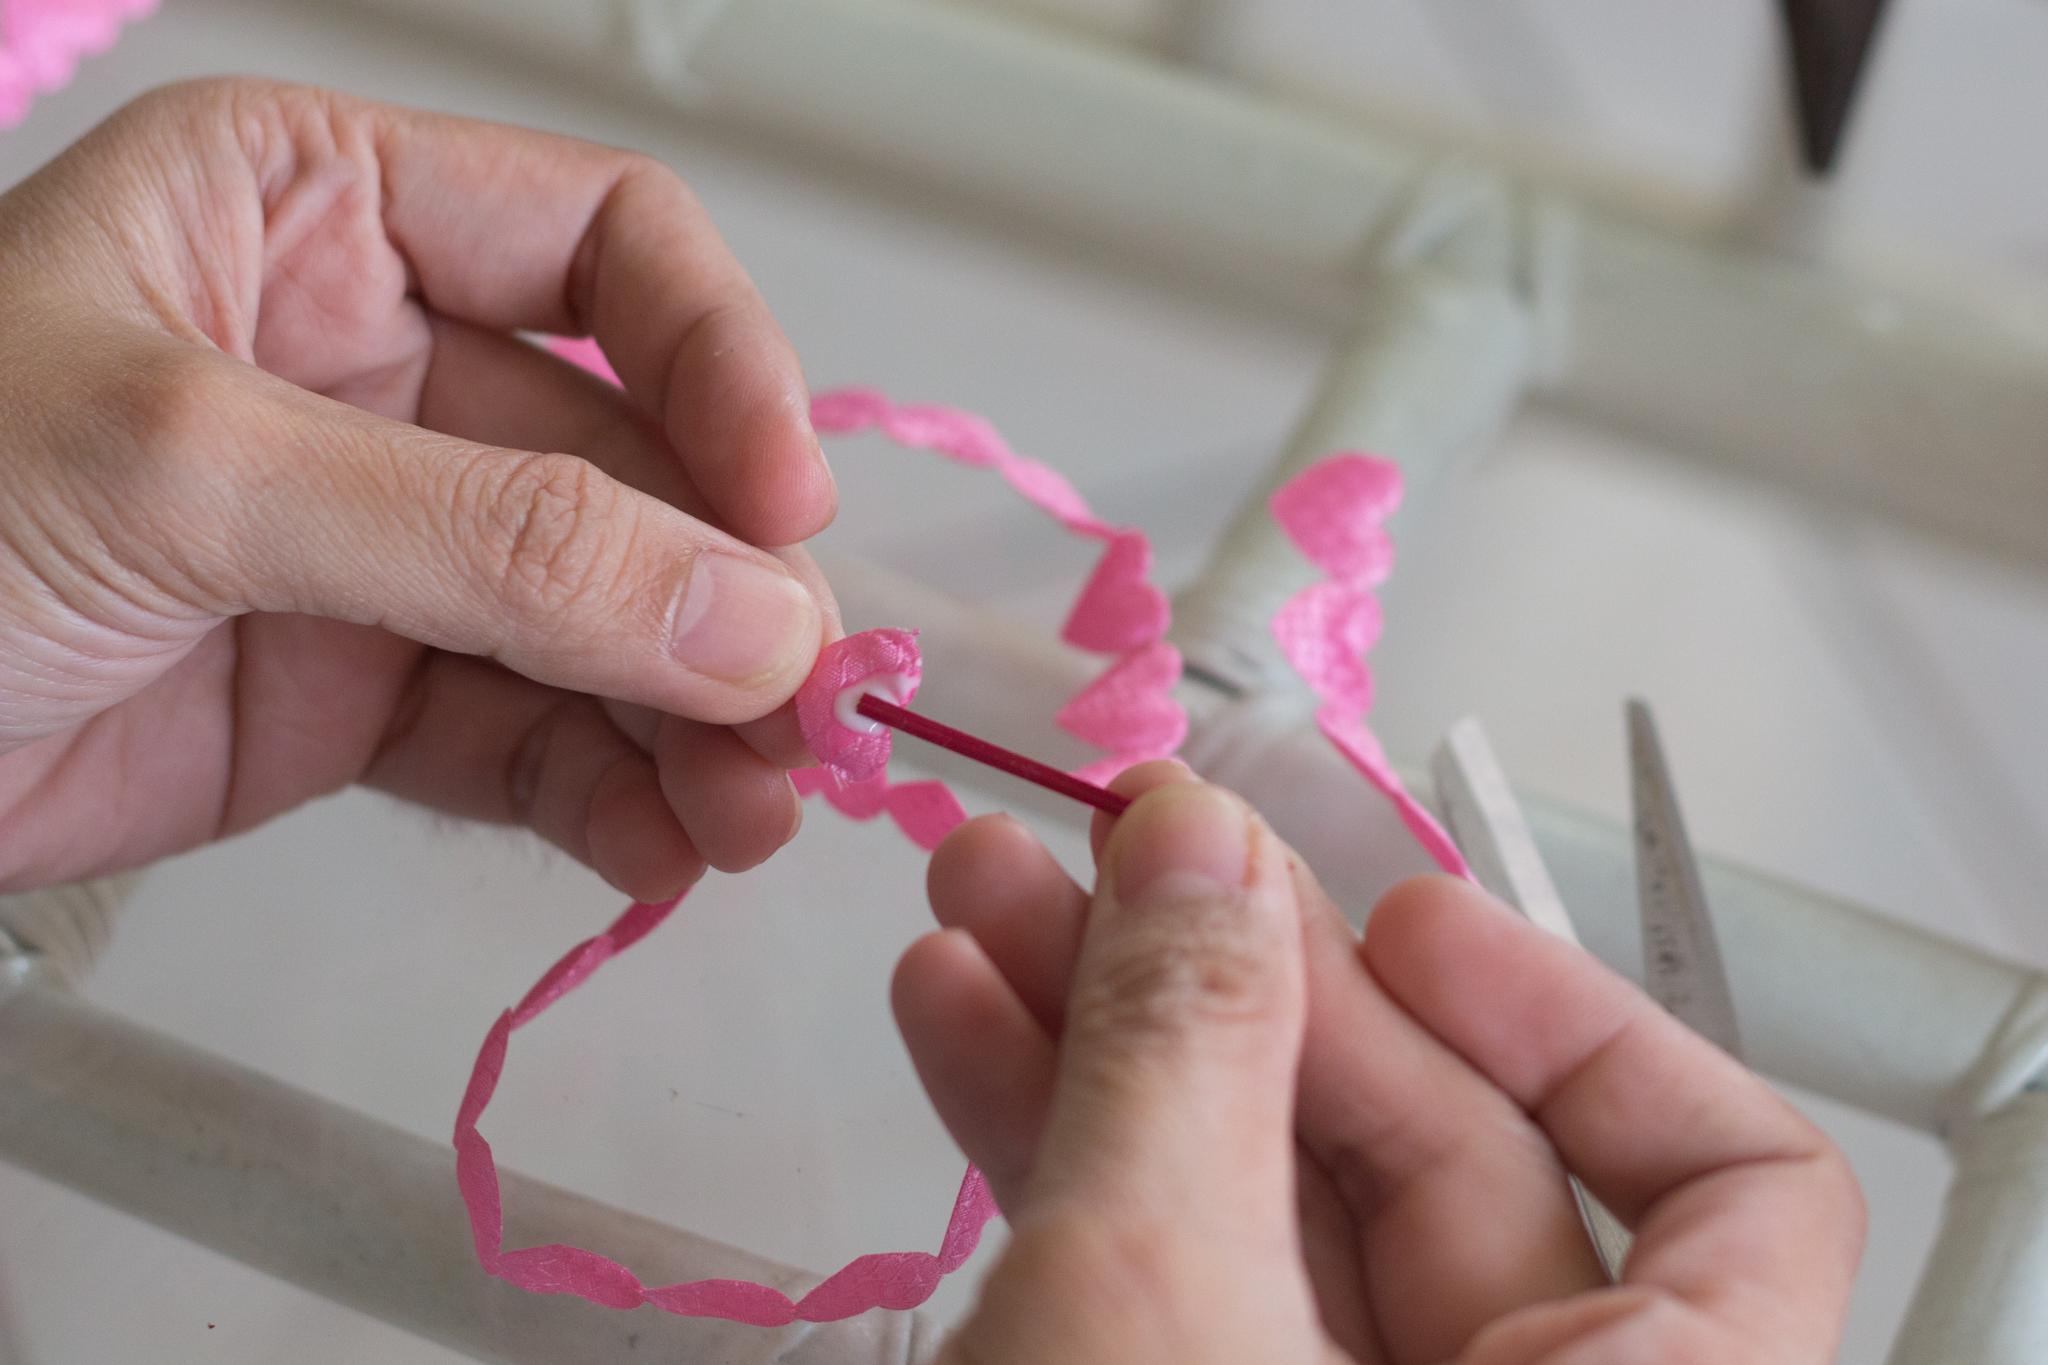
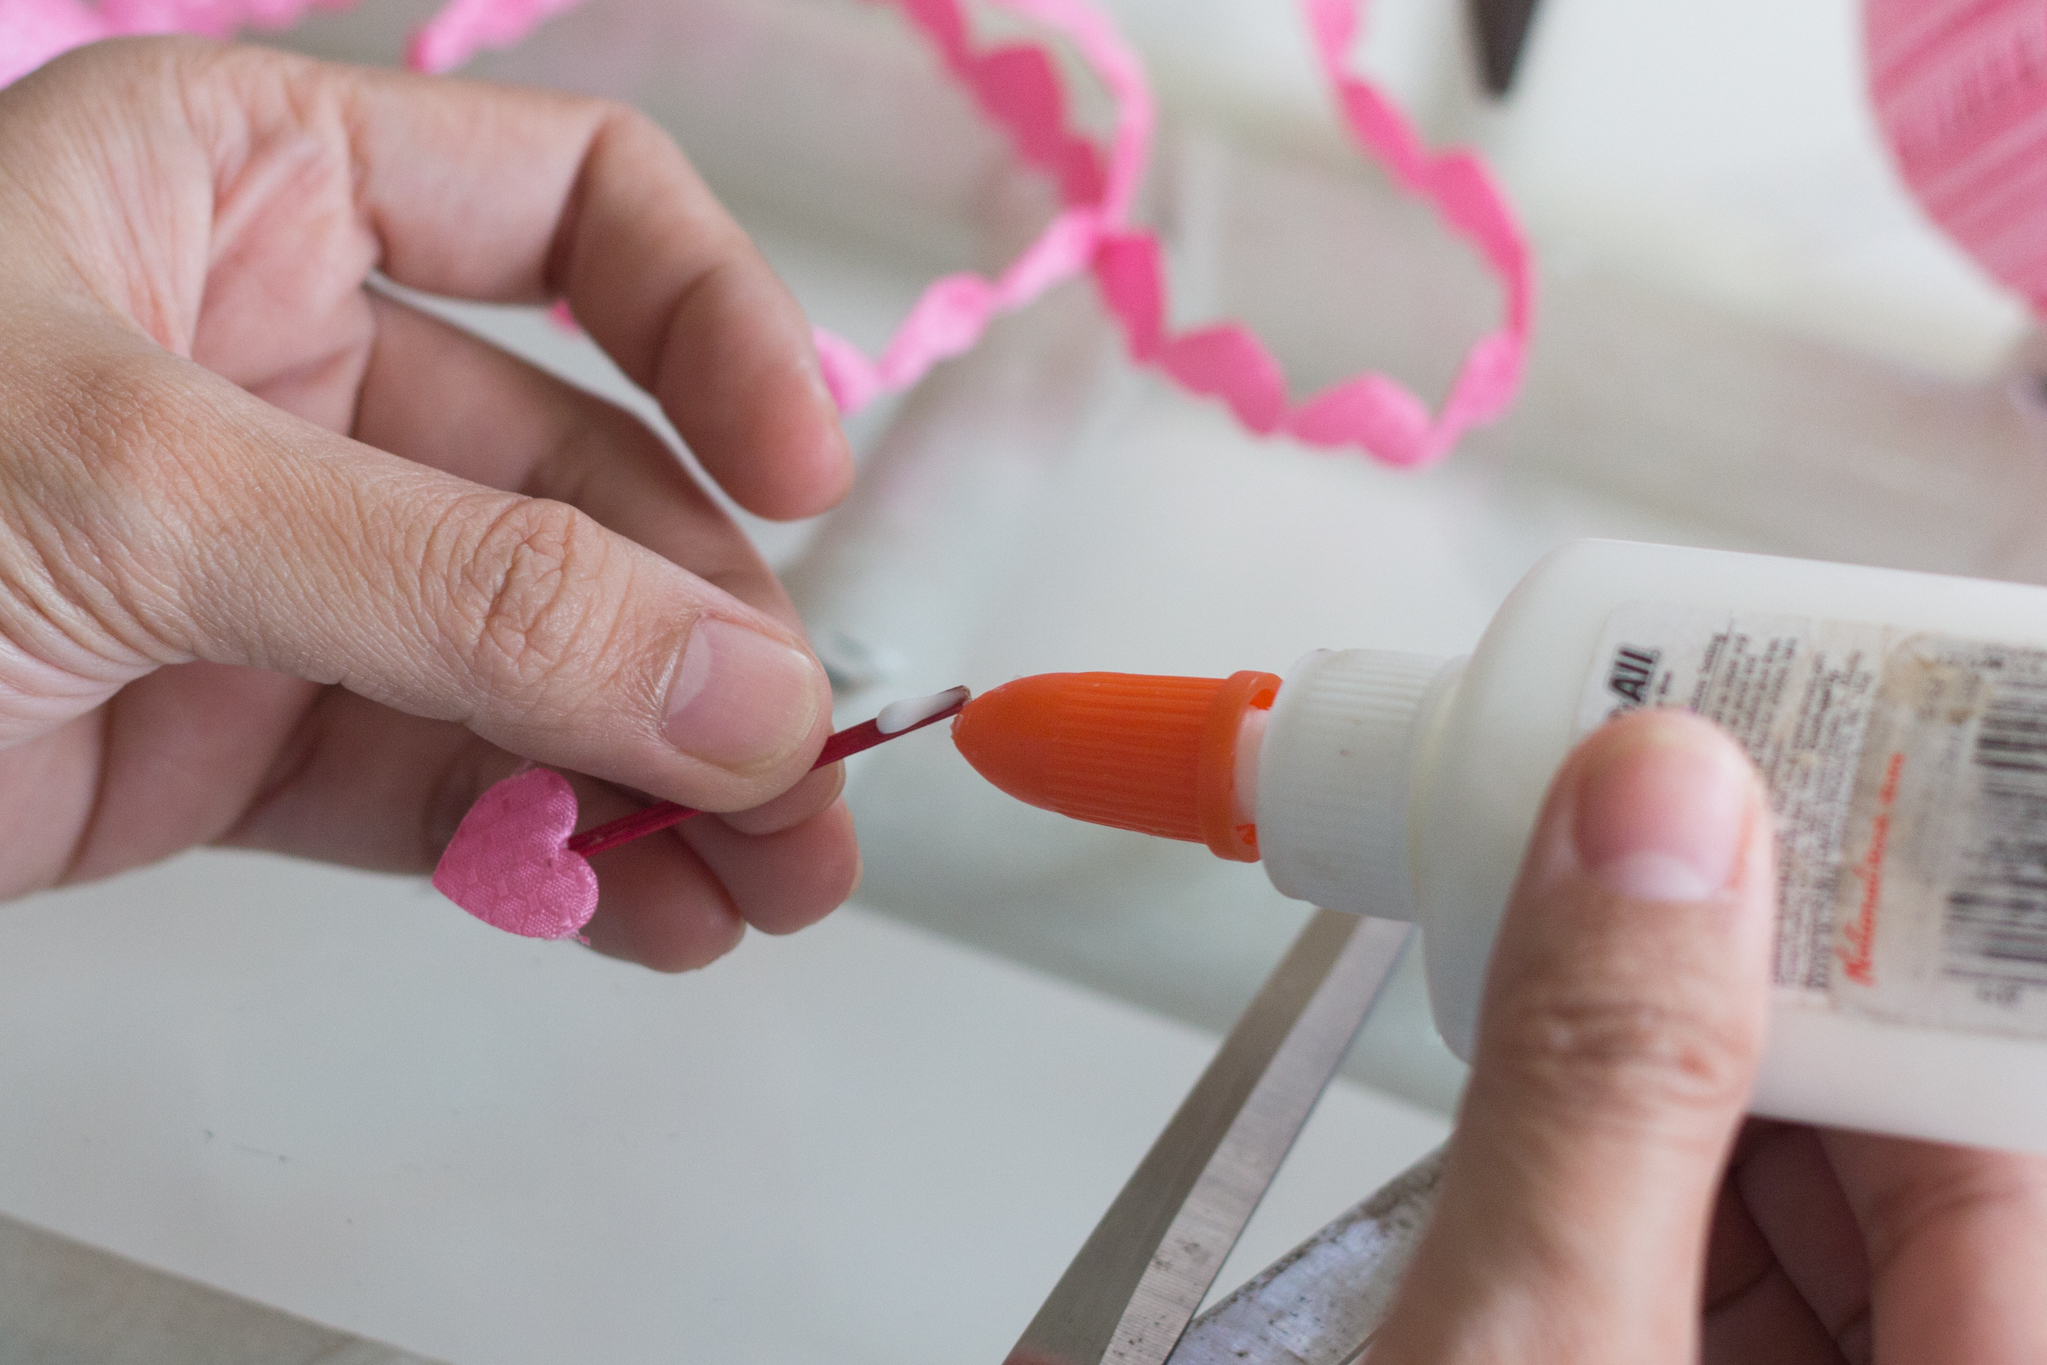
Attach the heart-shaped head to the shaft using glue and set it aside.
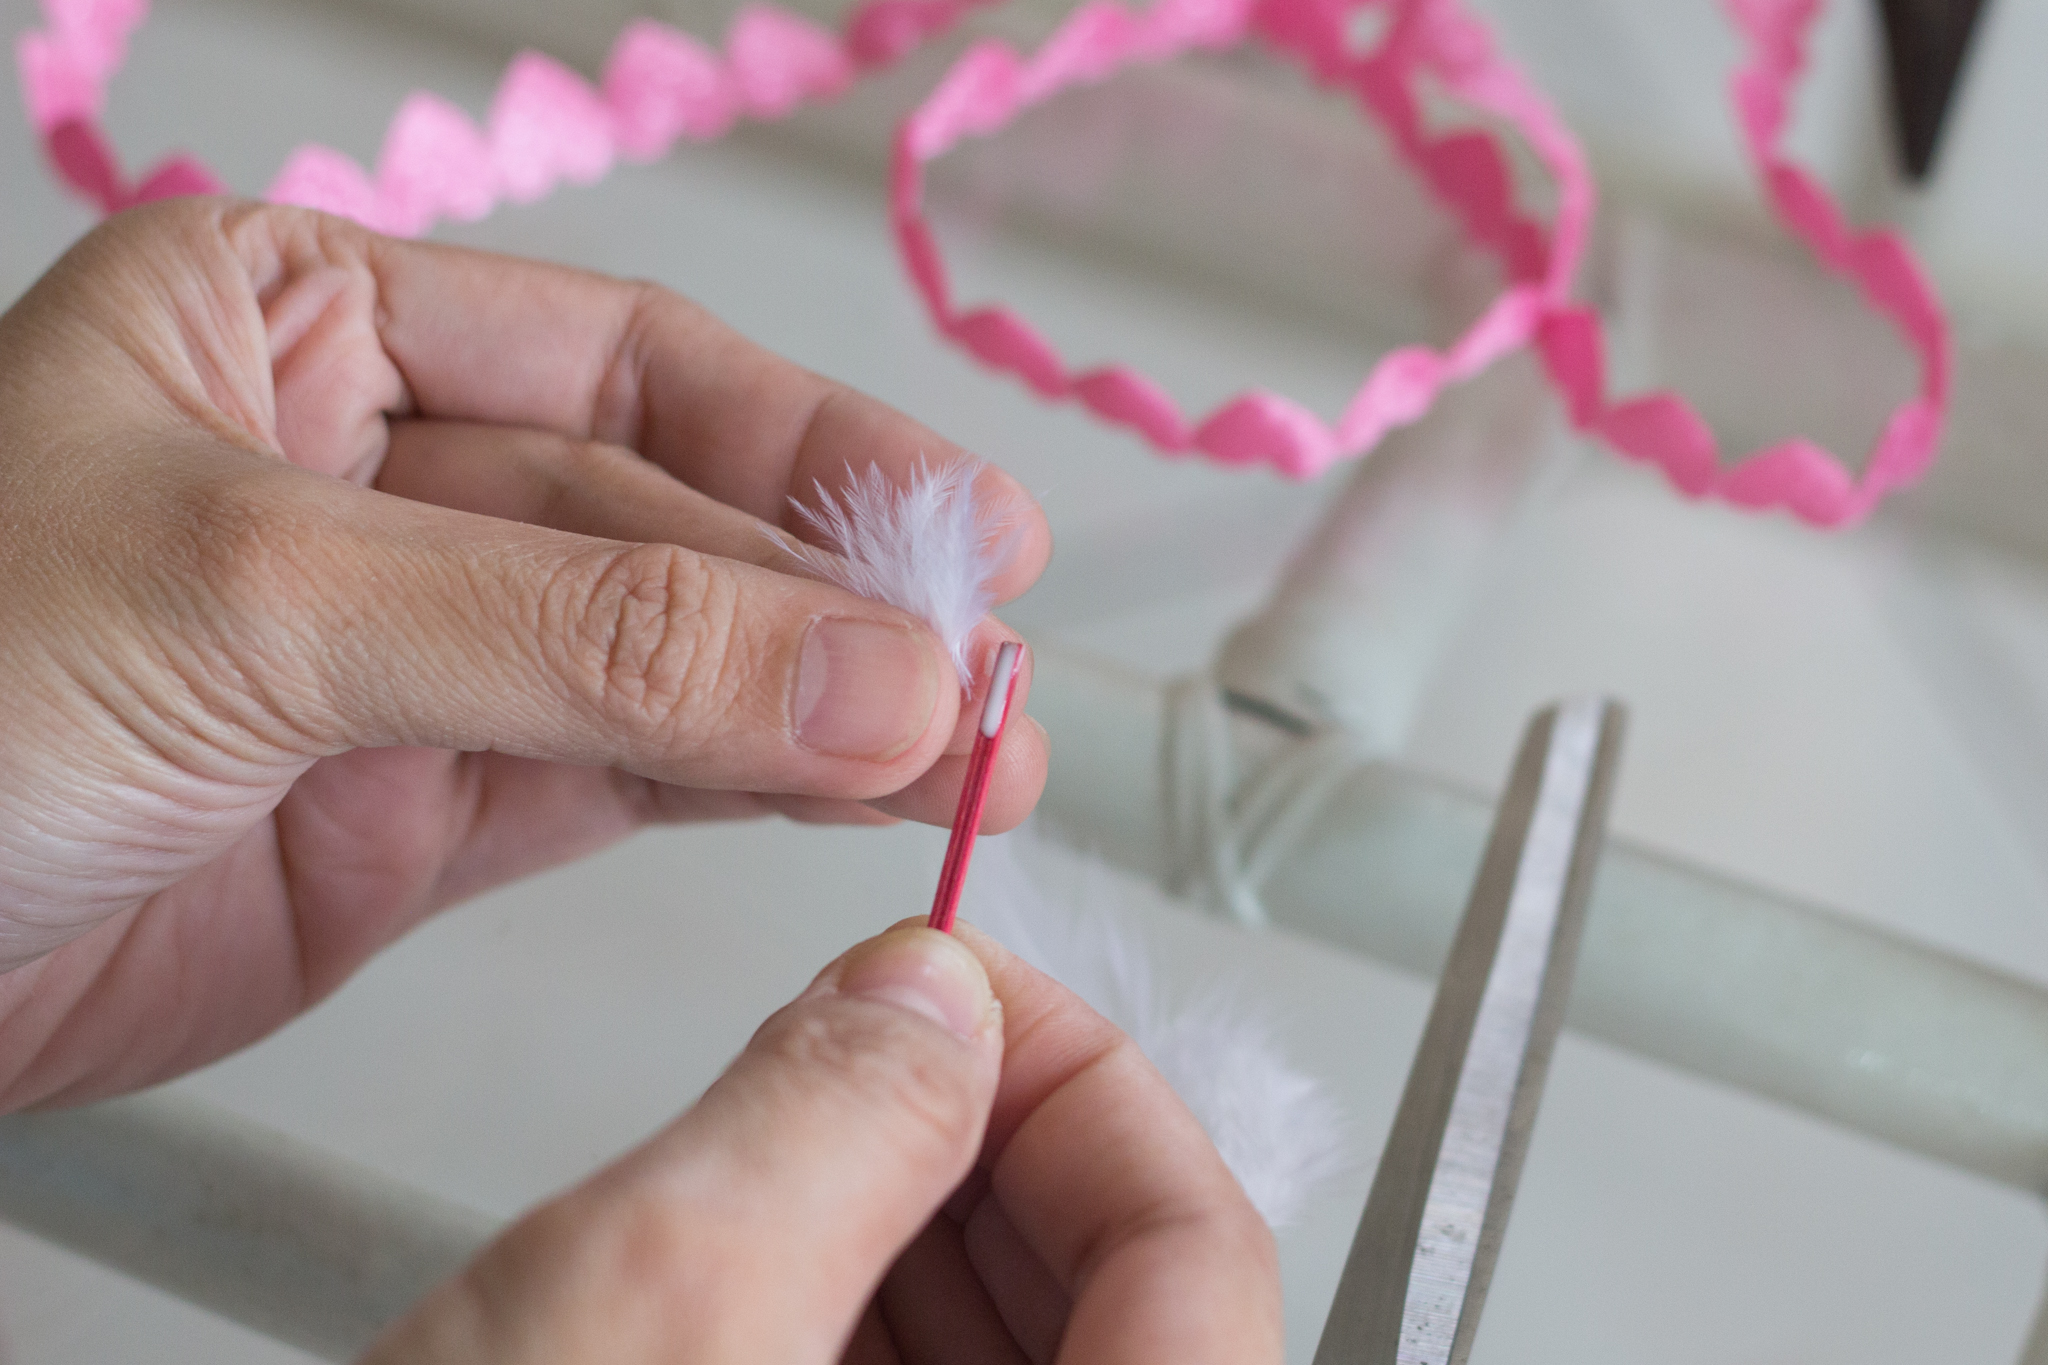
 If you have a feather, it can serve as the arrow’s fletchings for a cute touch.
 Cut a small portion of the feather enough to decorate the tail part of the arrow.
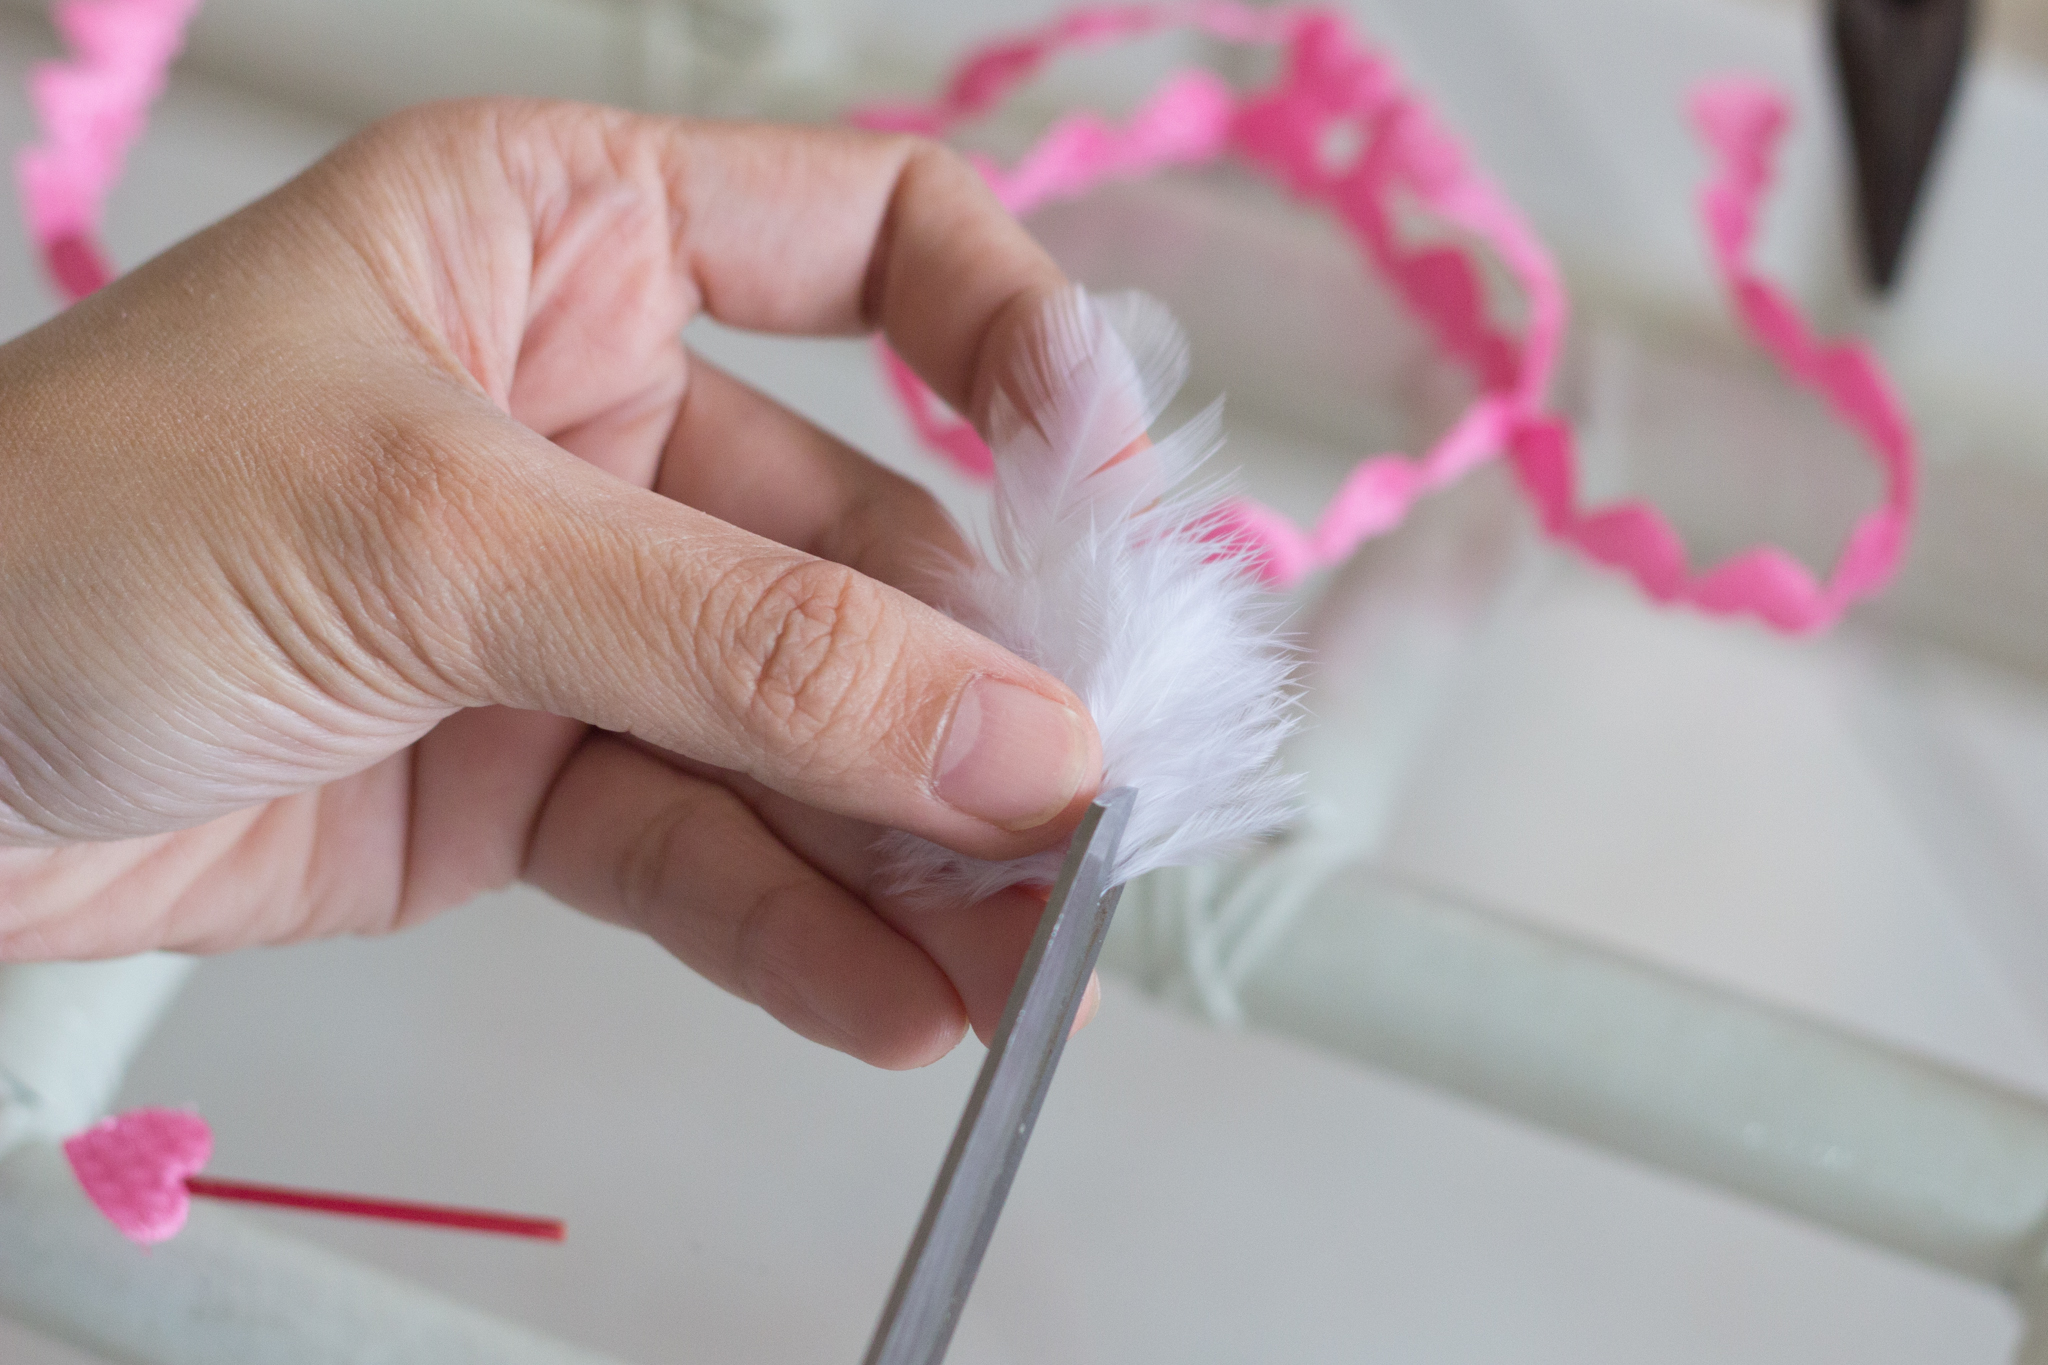
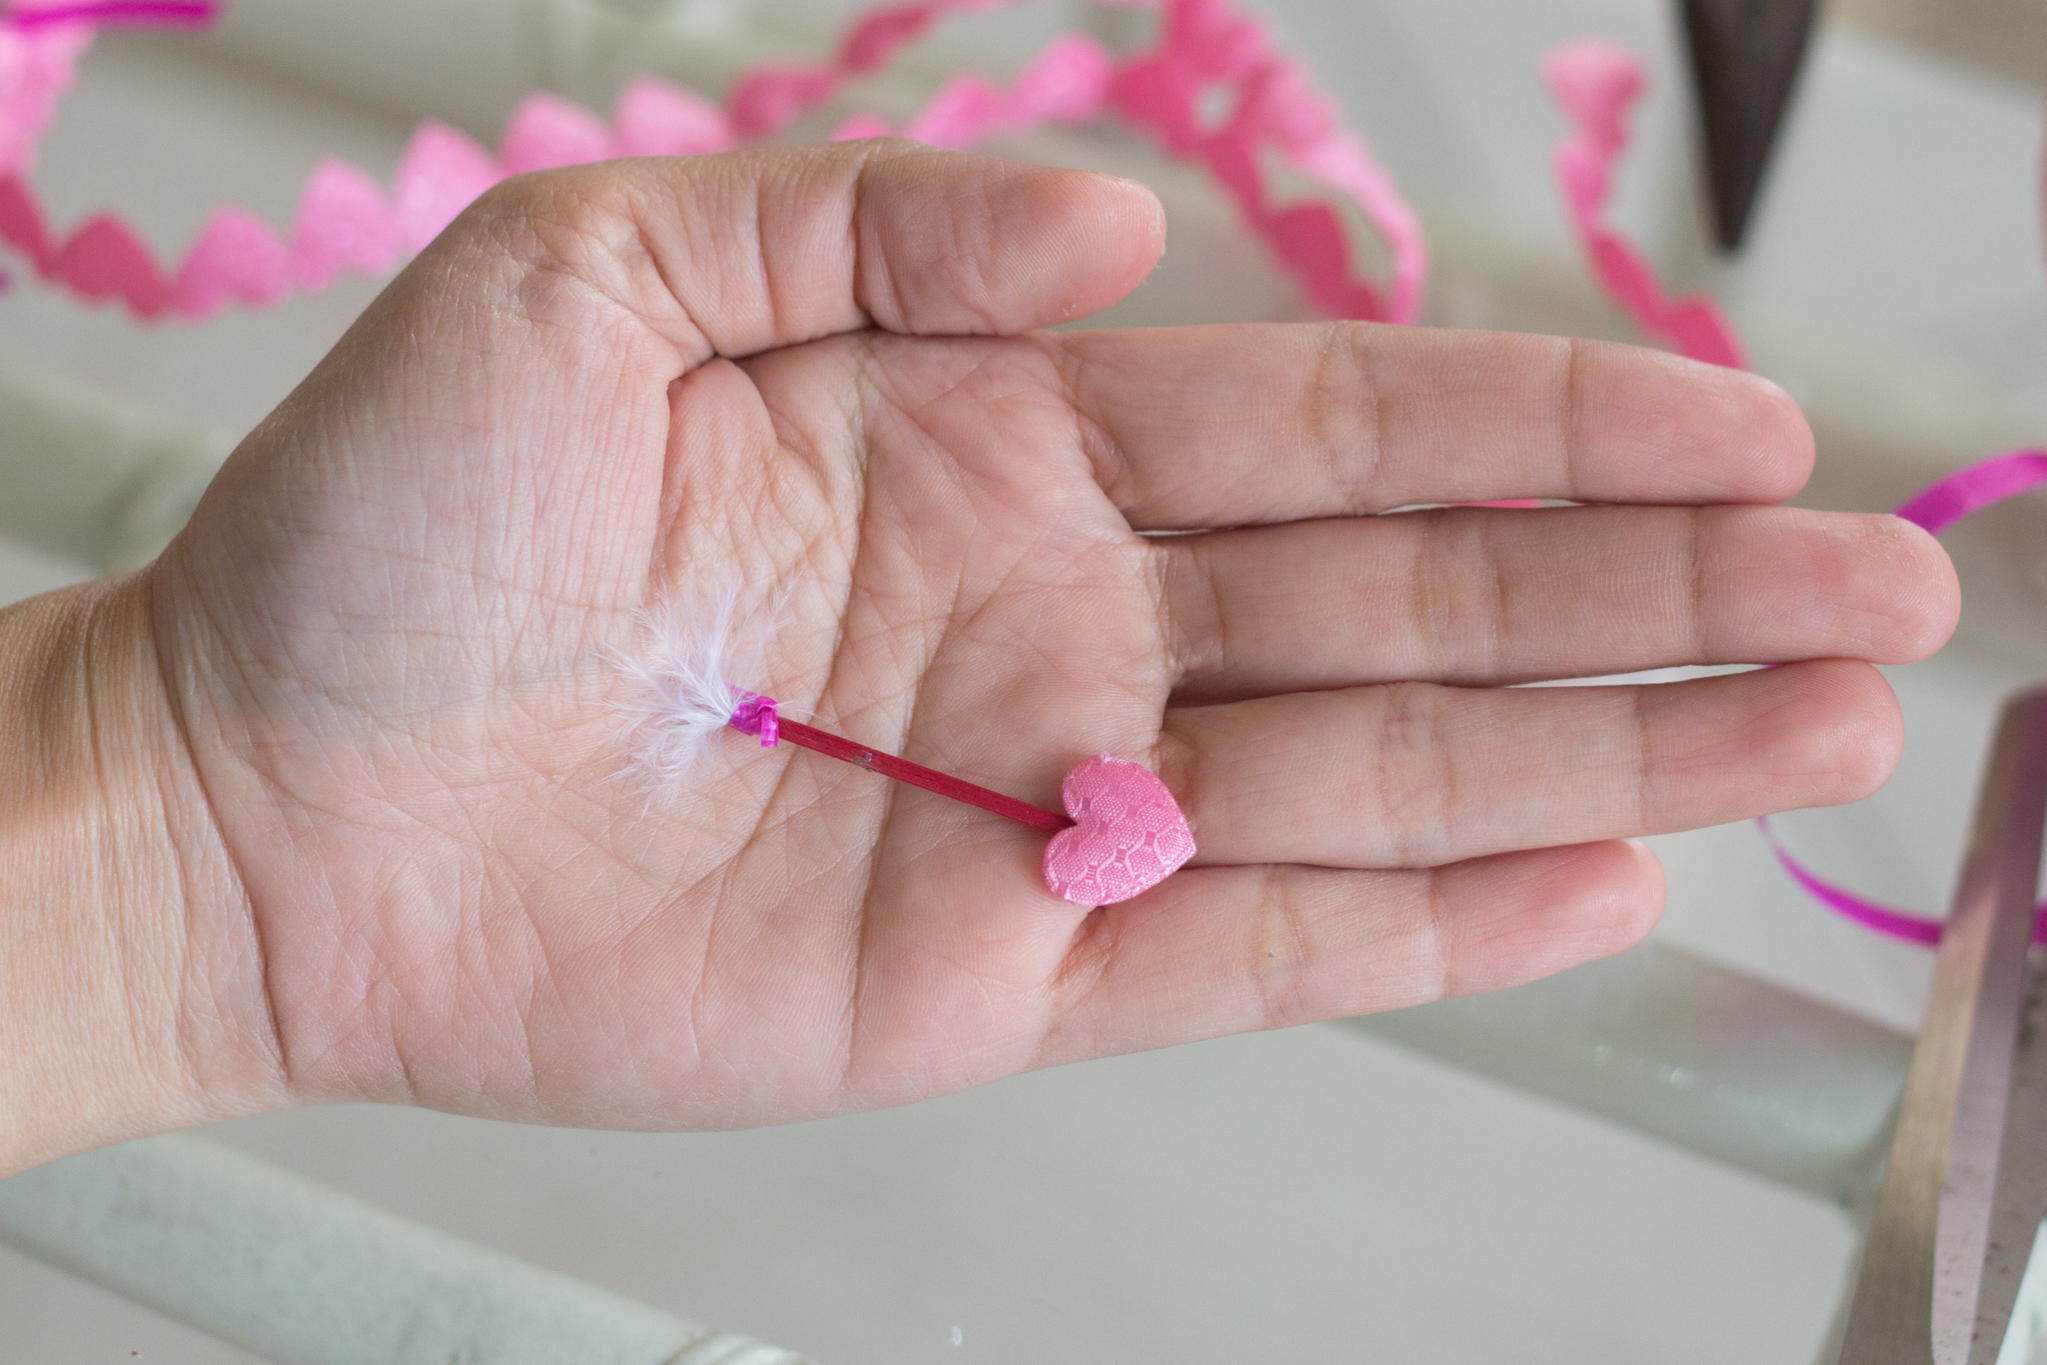
 Cover up the glued part of the feather using a ribbon.

How to make a Bow

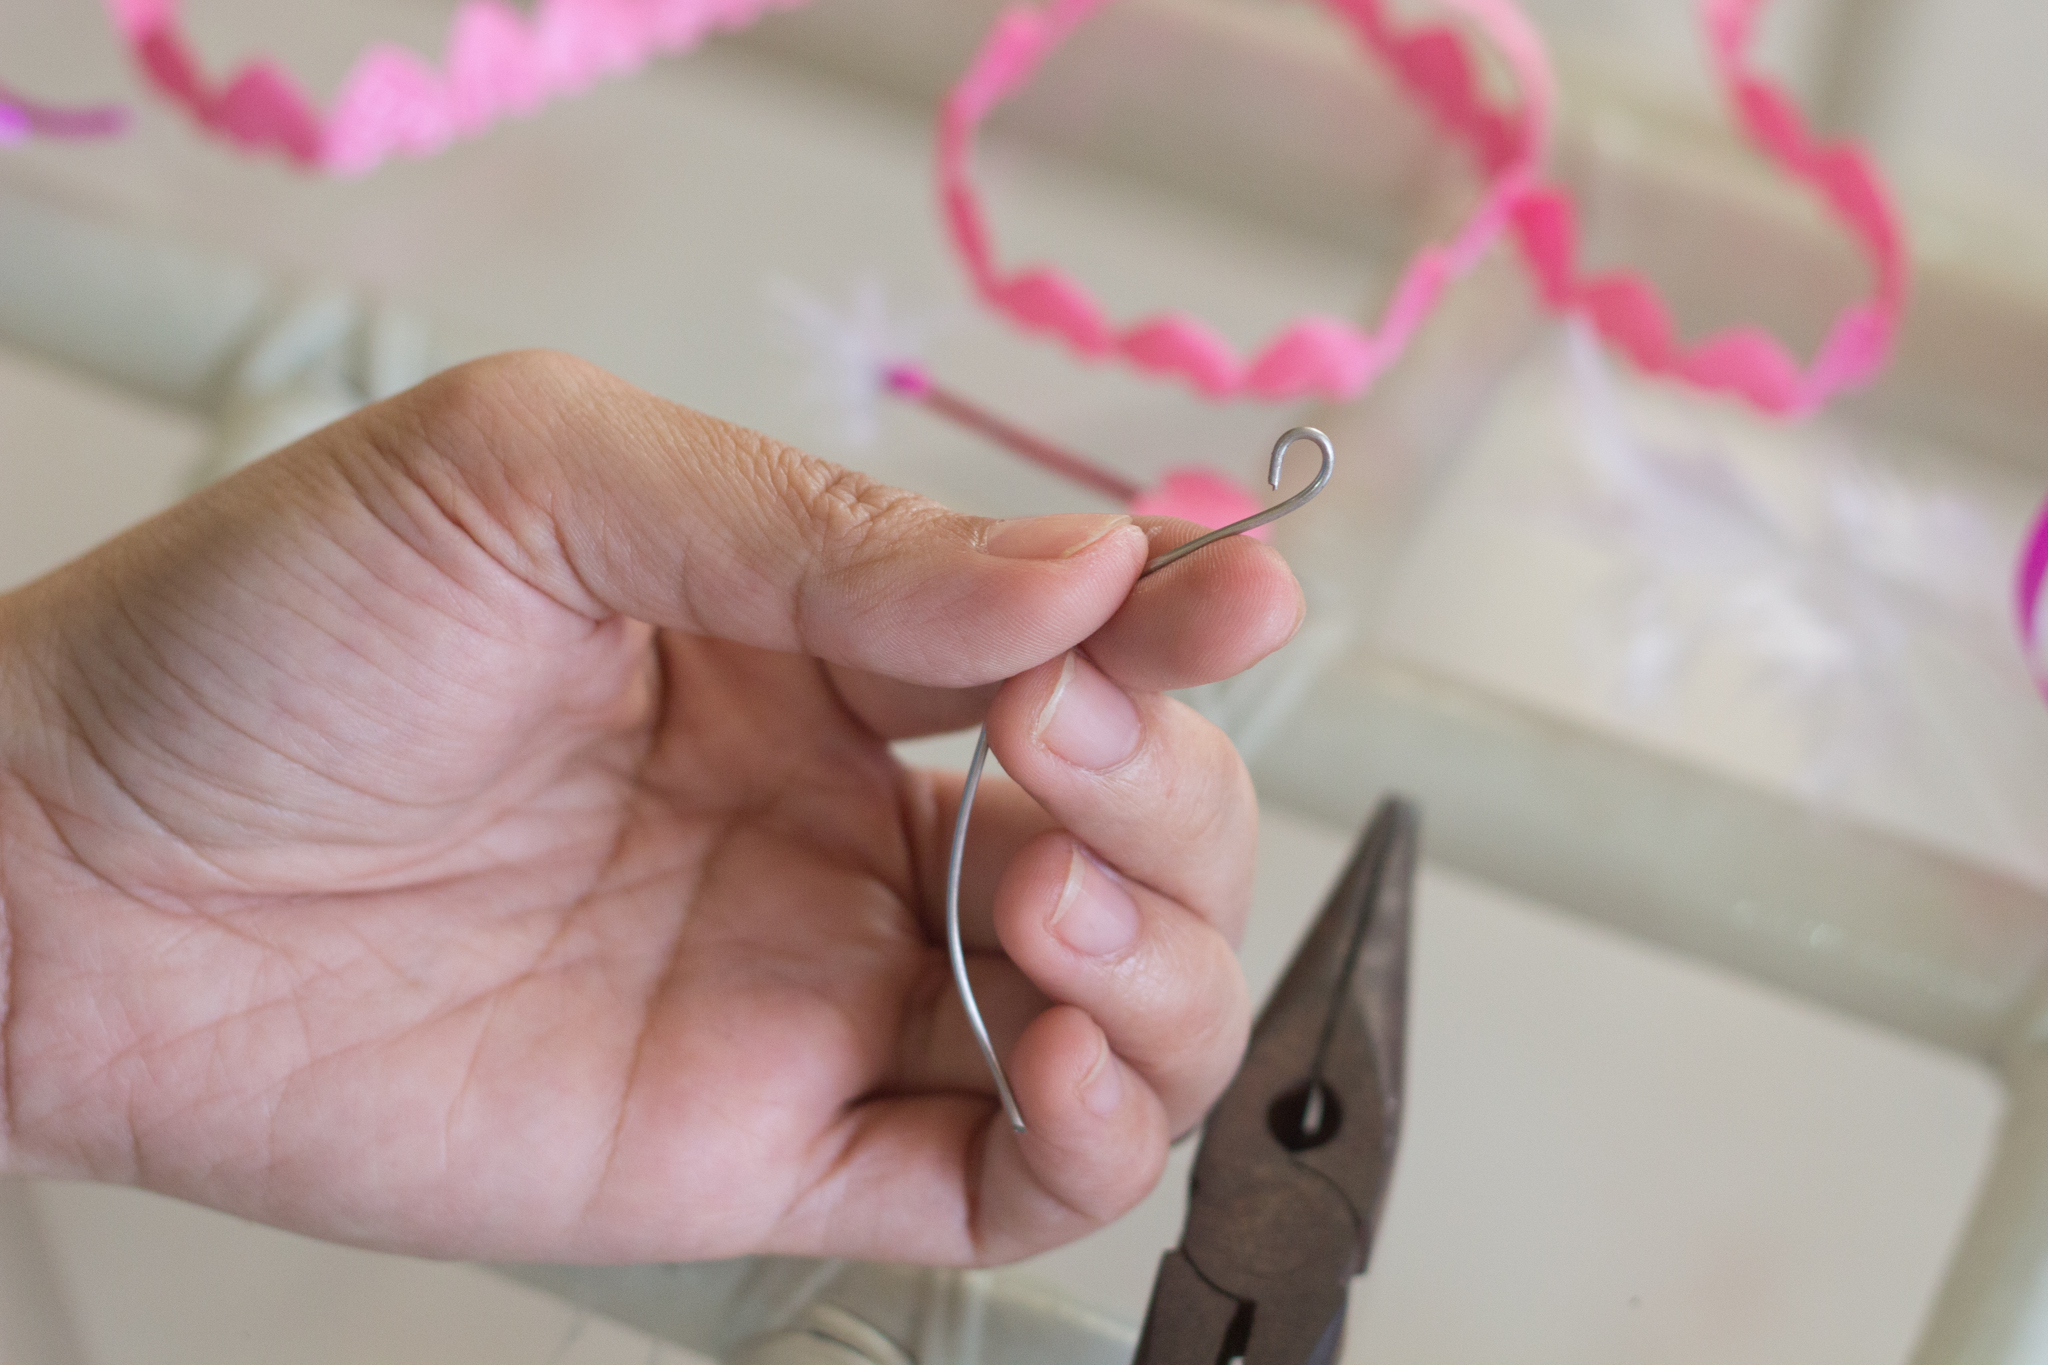
Cut 4 inches long

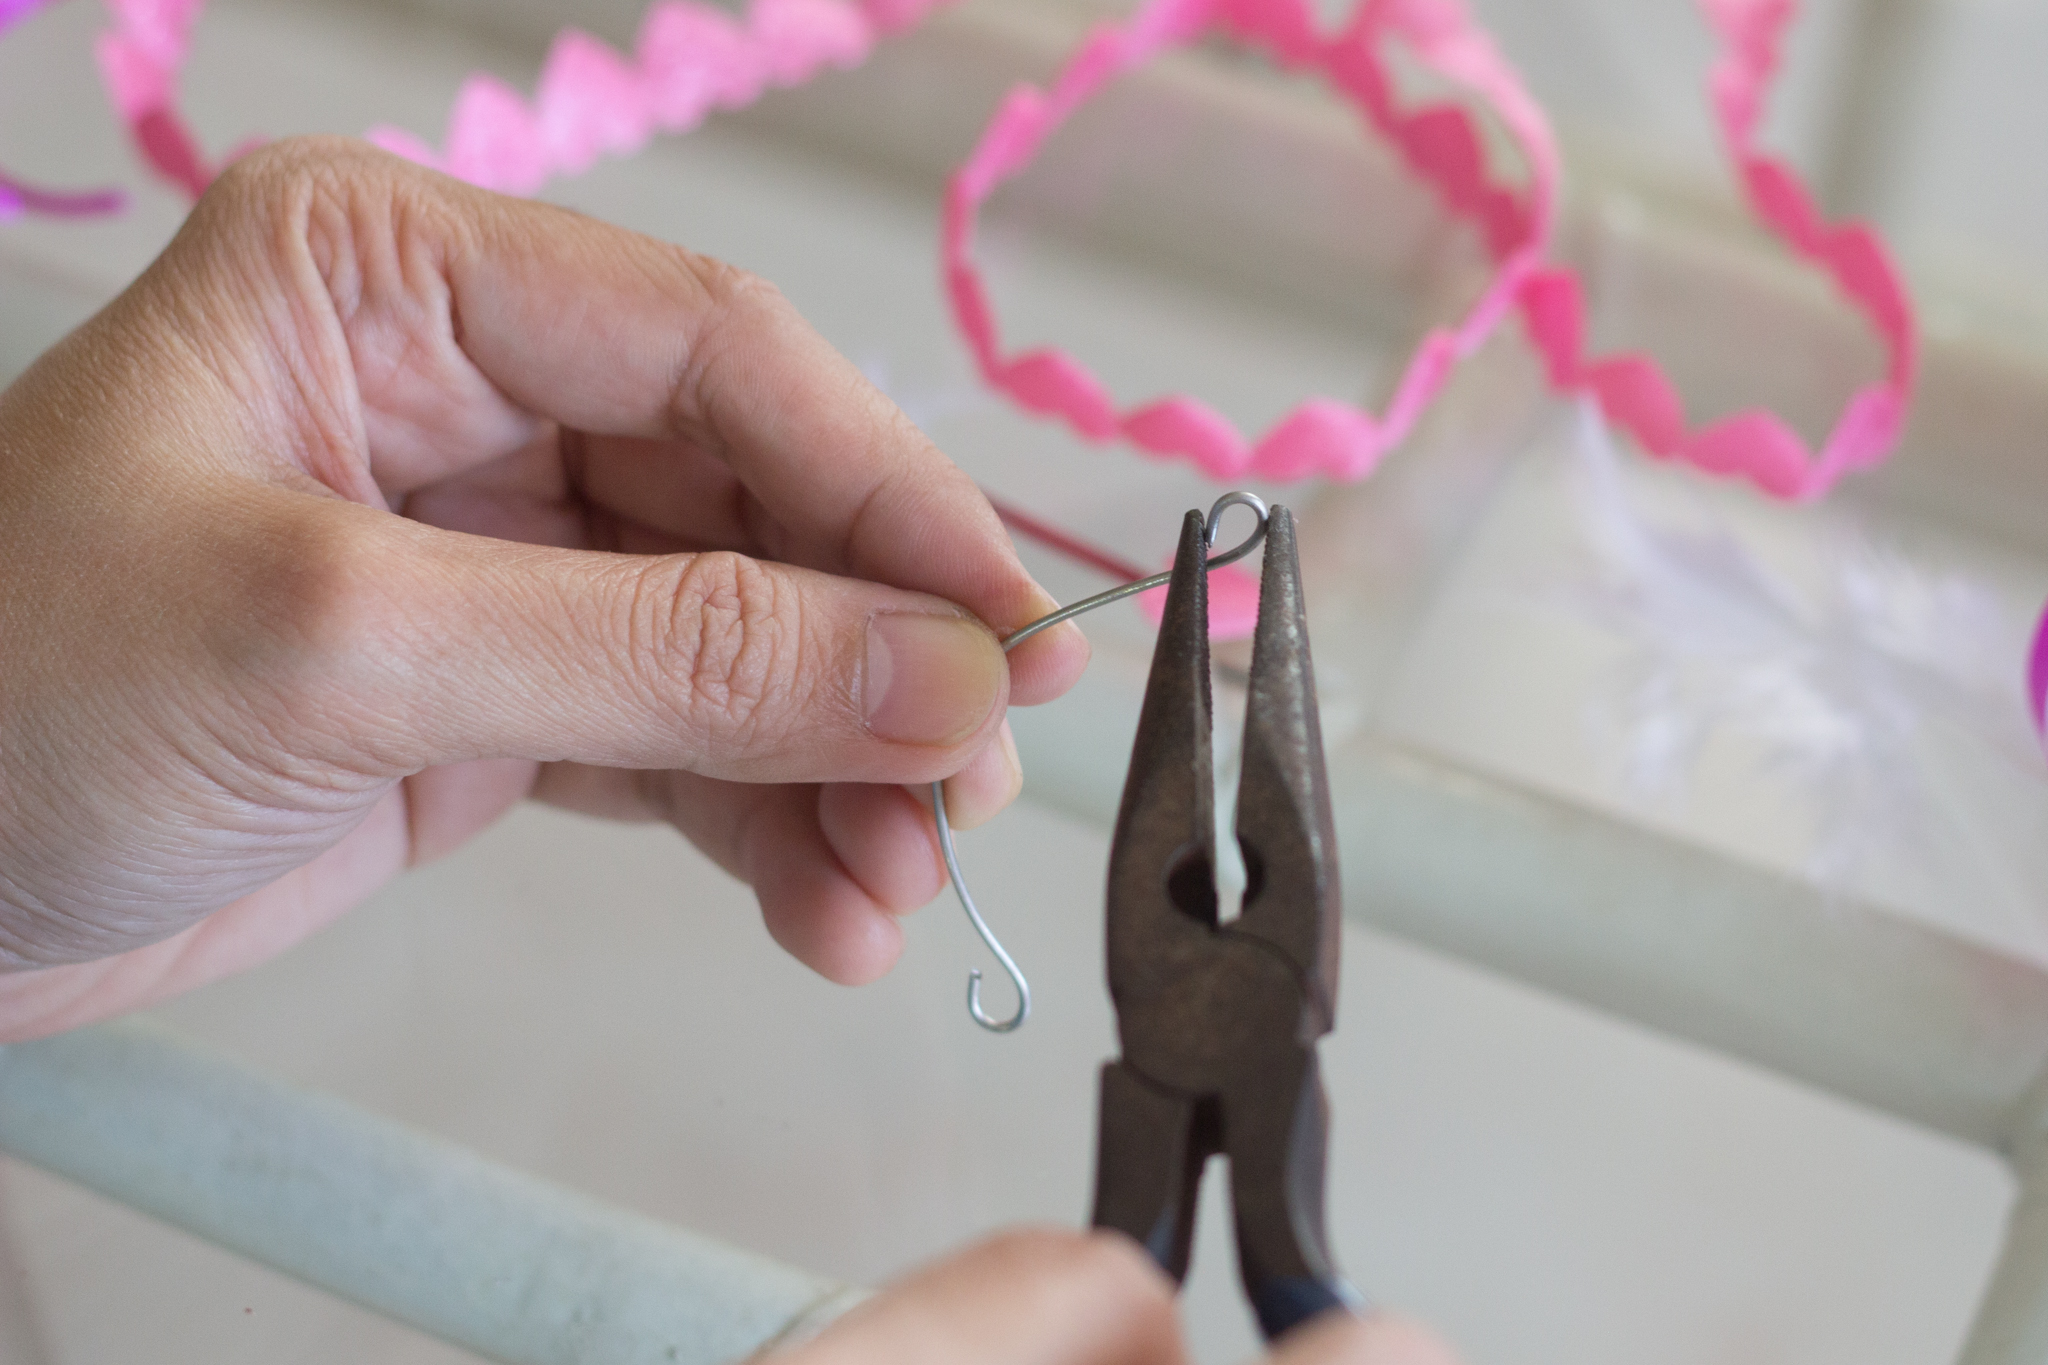
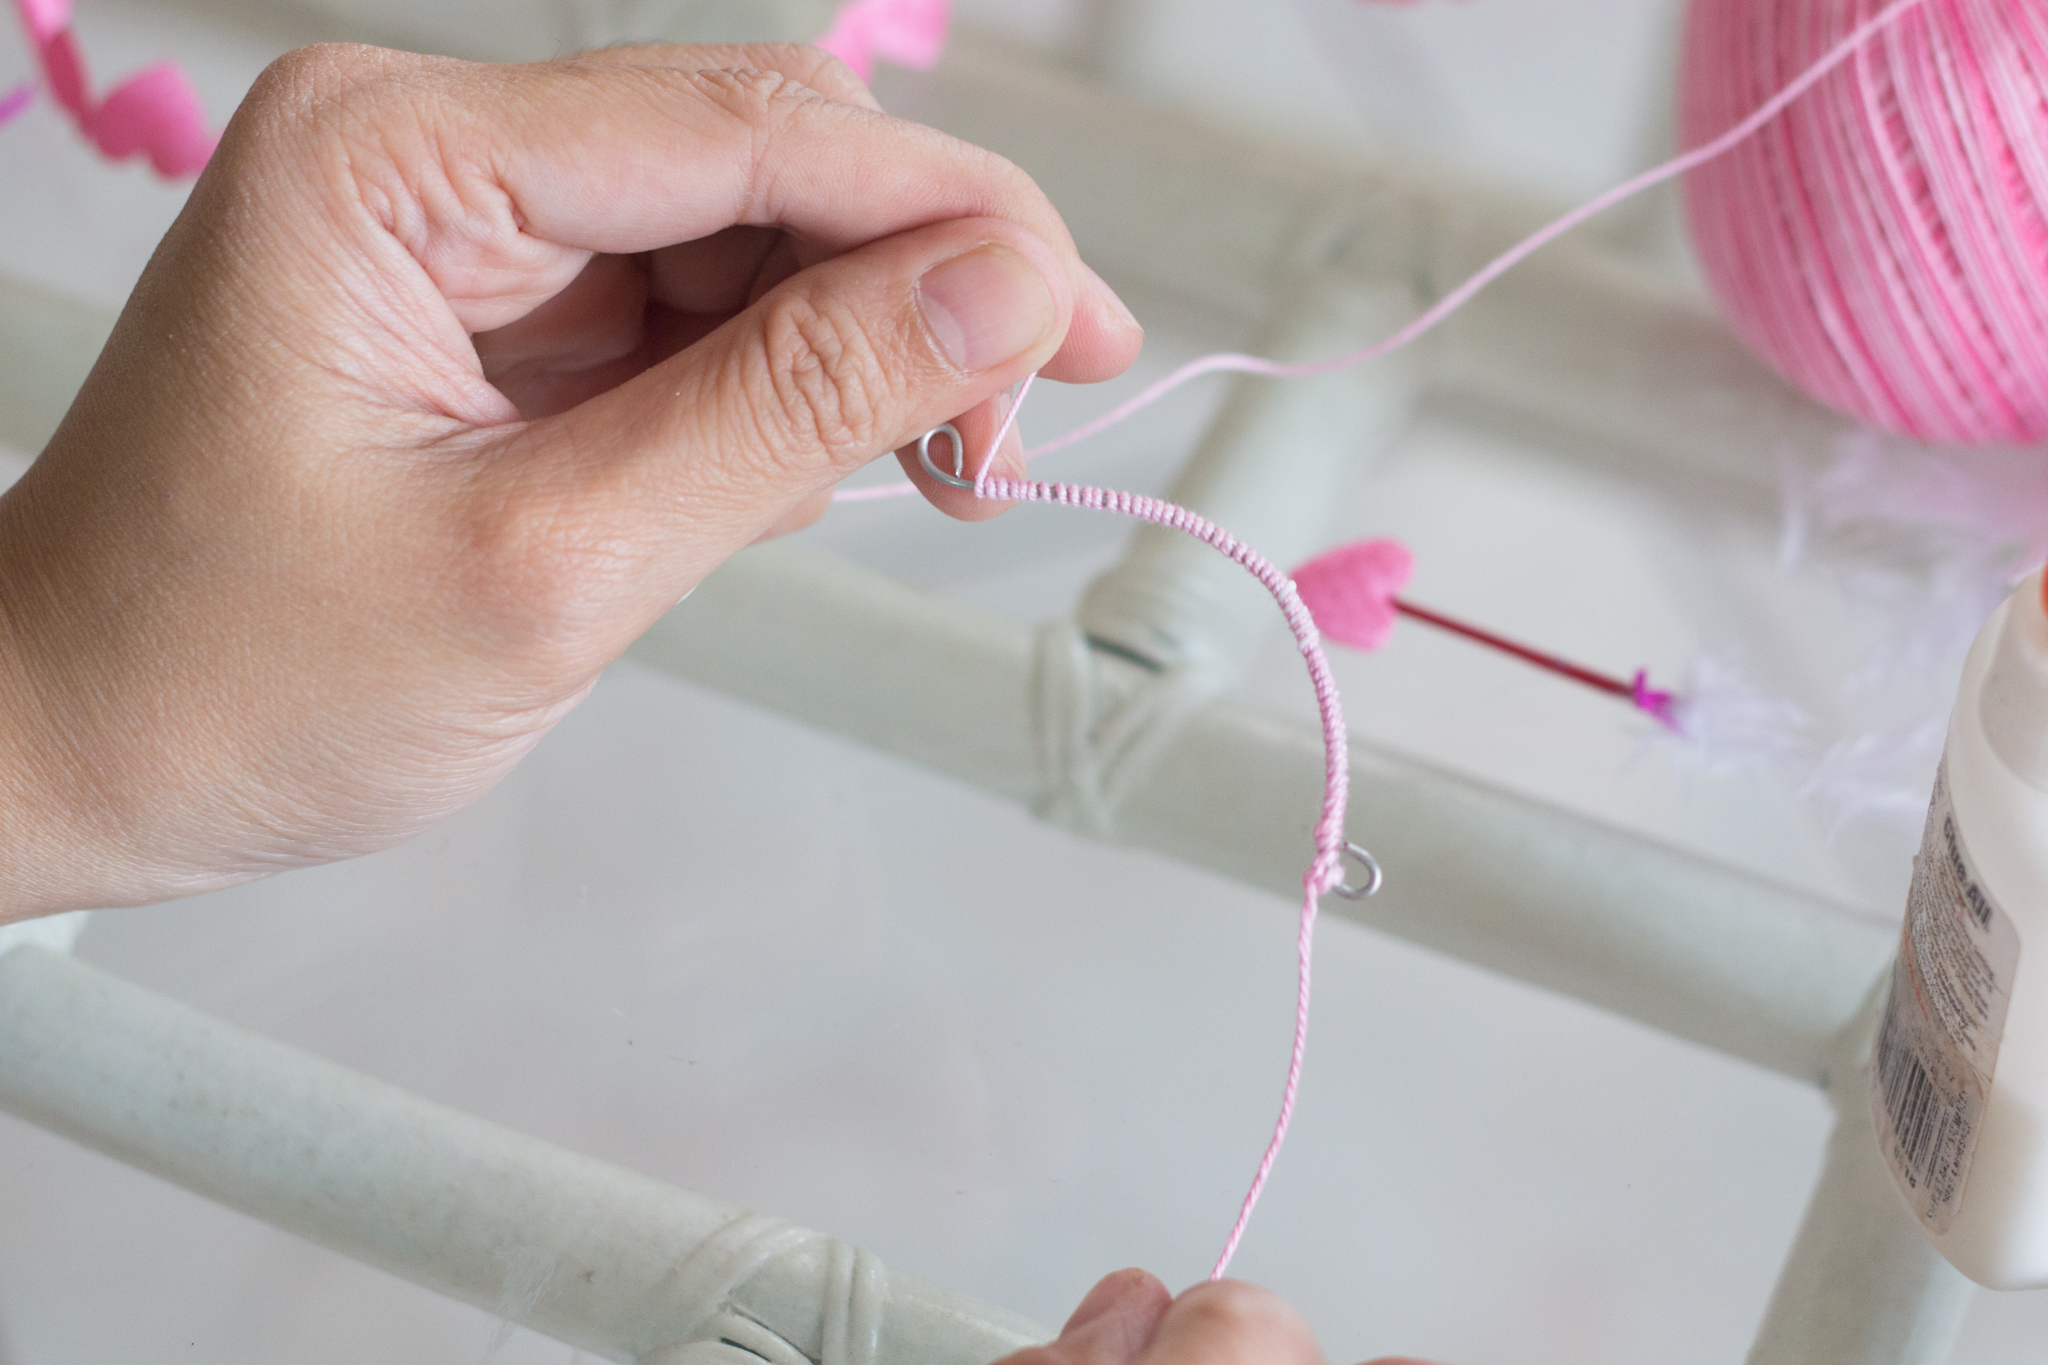
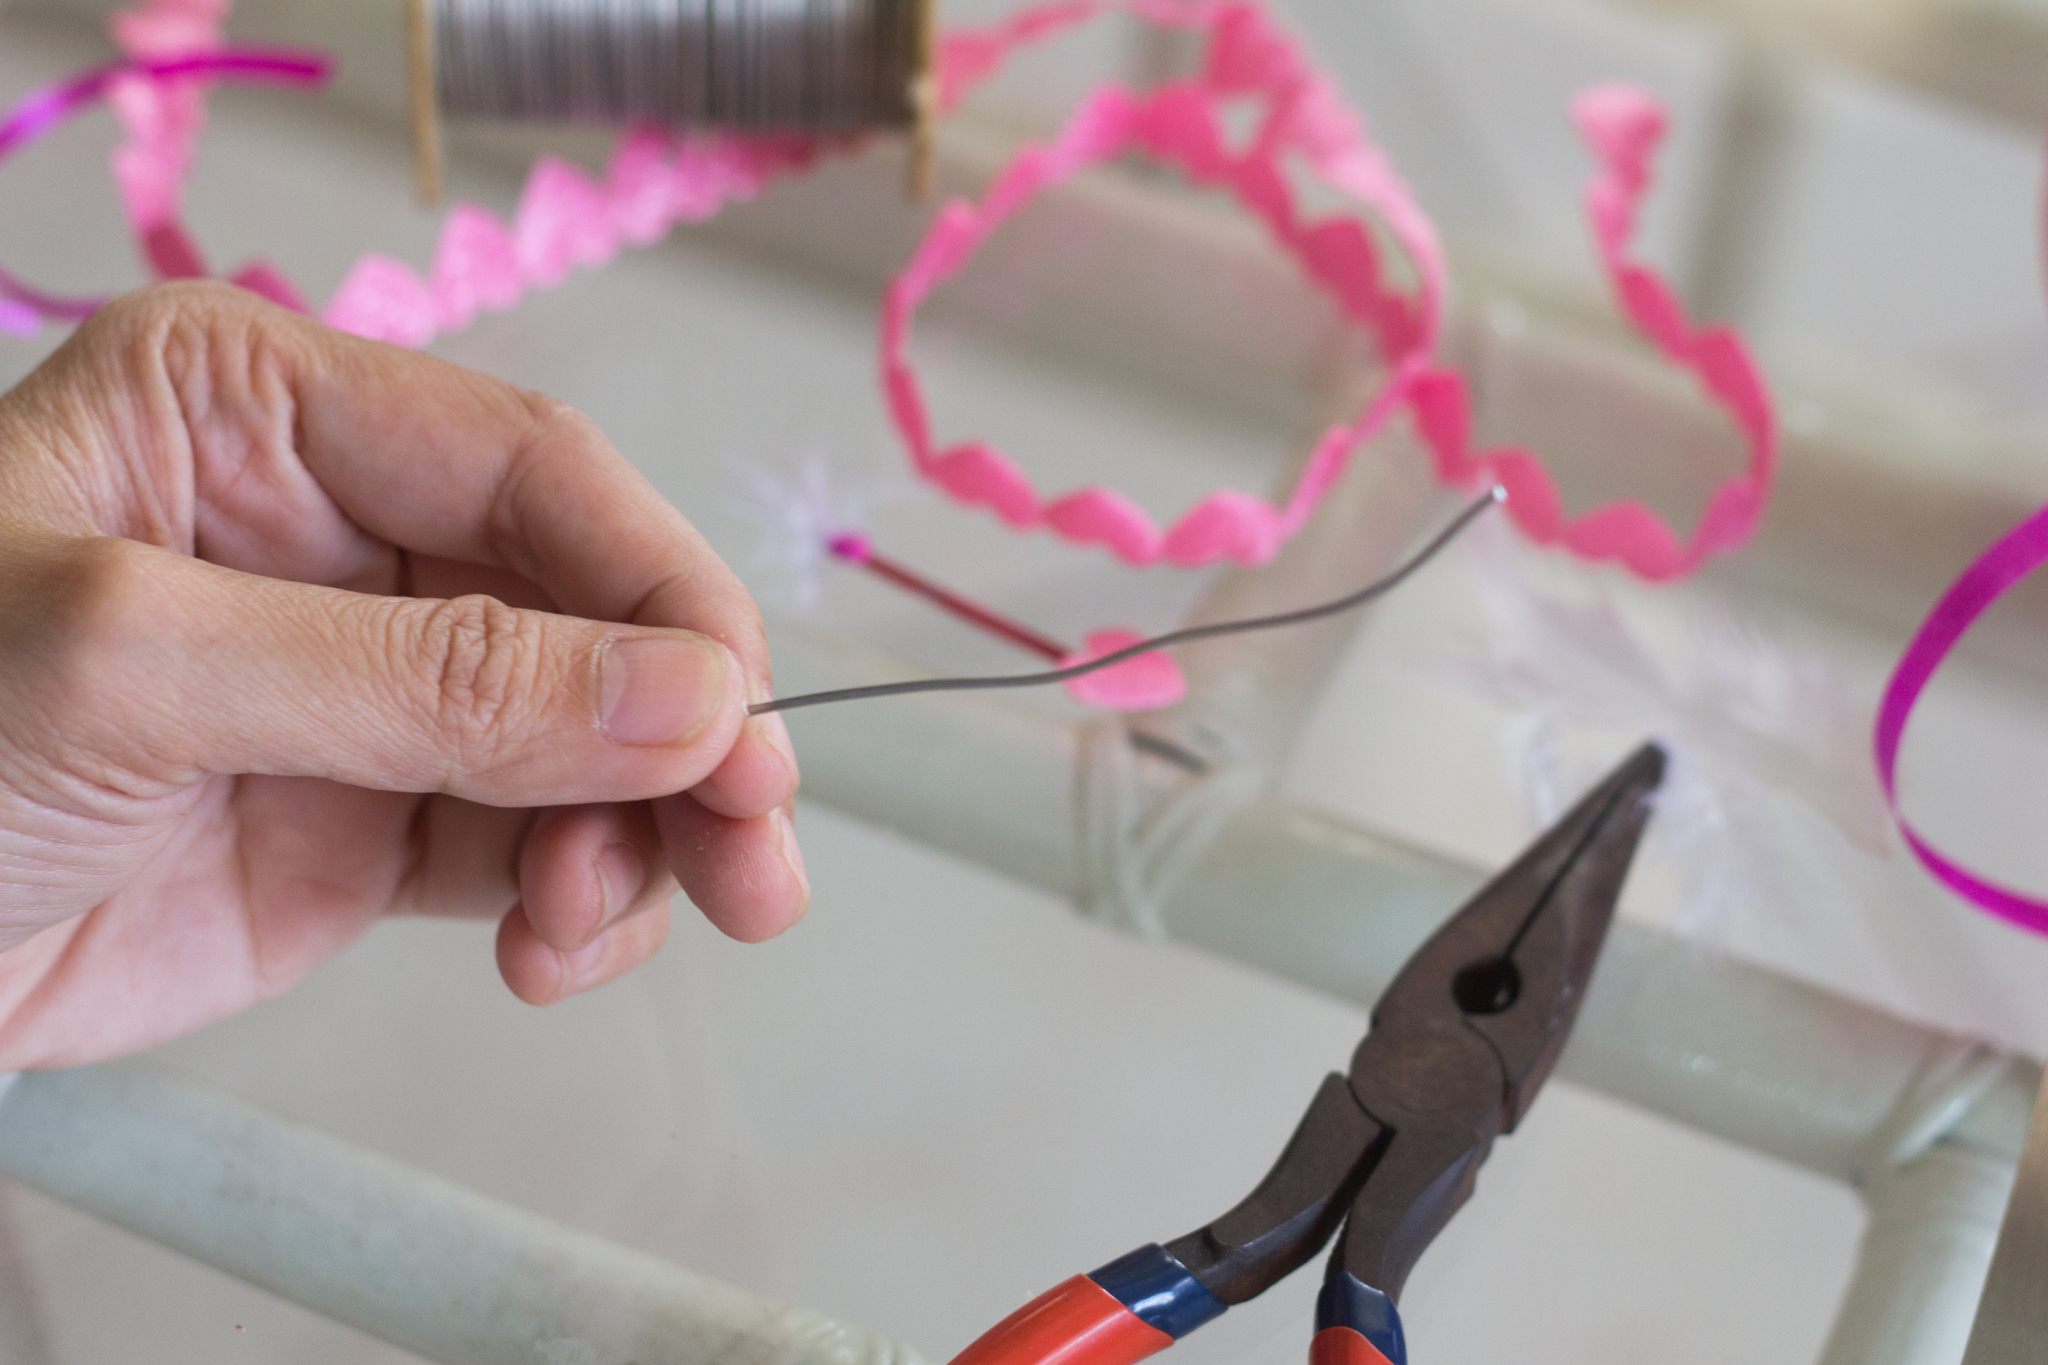 Bend it creating a curved wire.
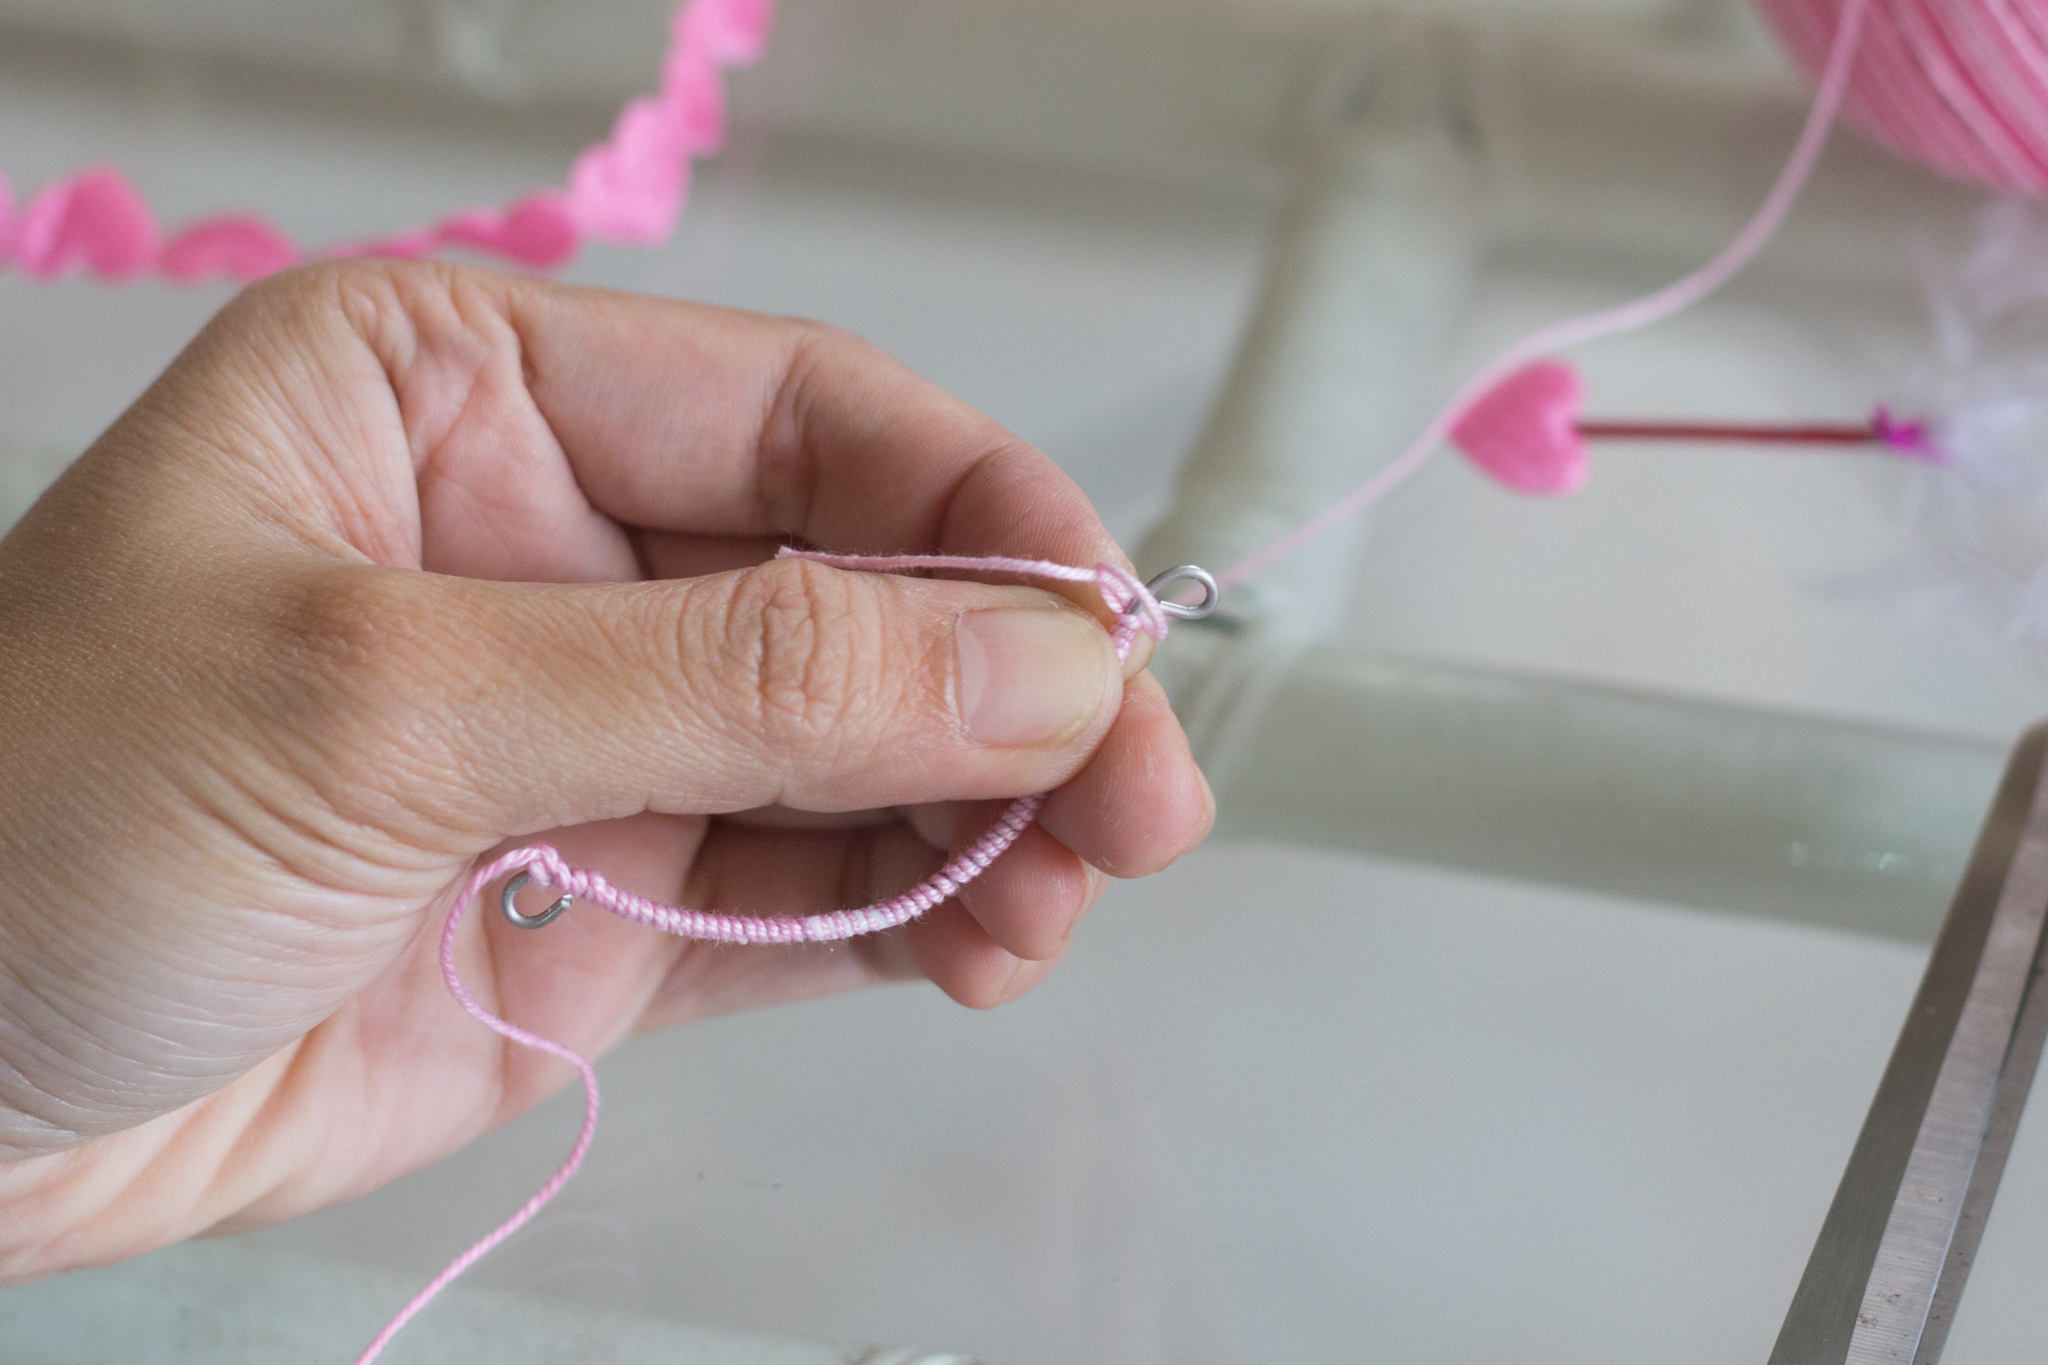
 Design the bow using crochet thread. Leave an excess string before wrapping up the whole side. This will serve as the bow string.
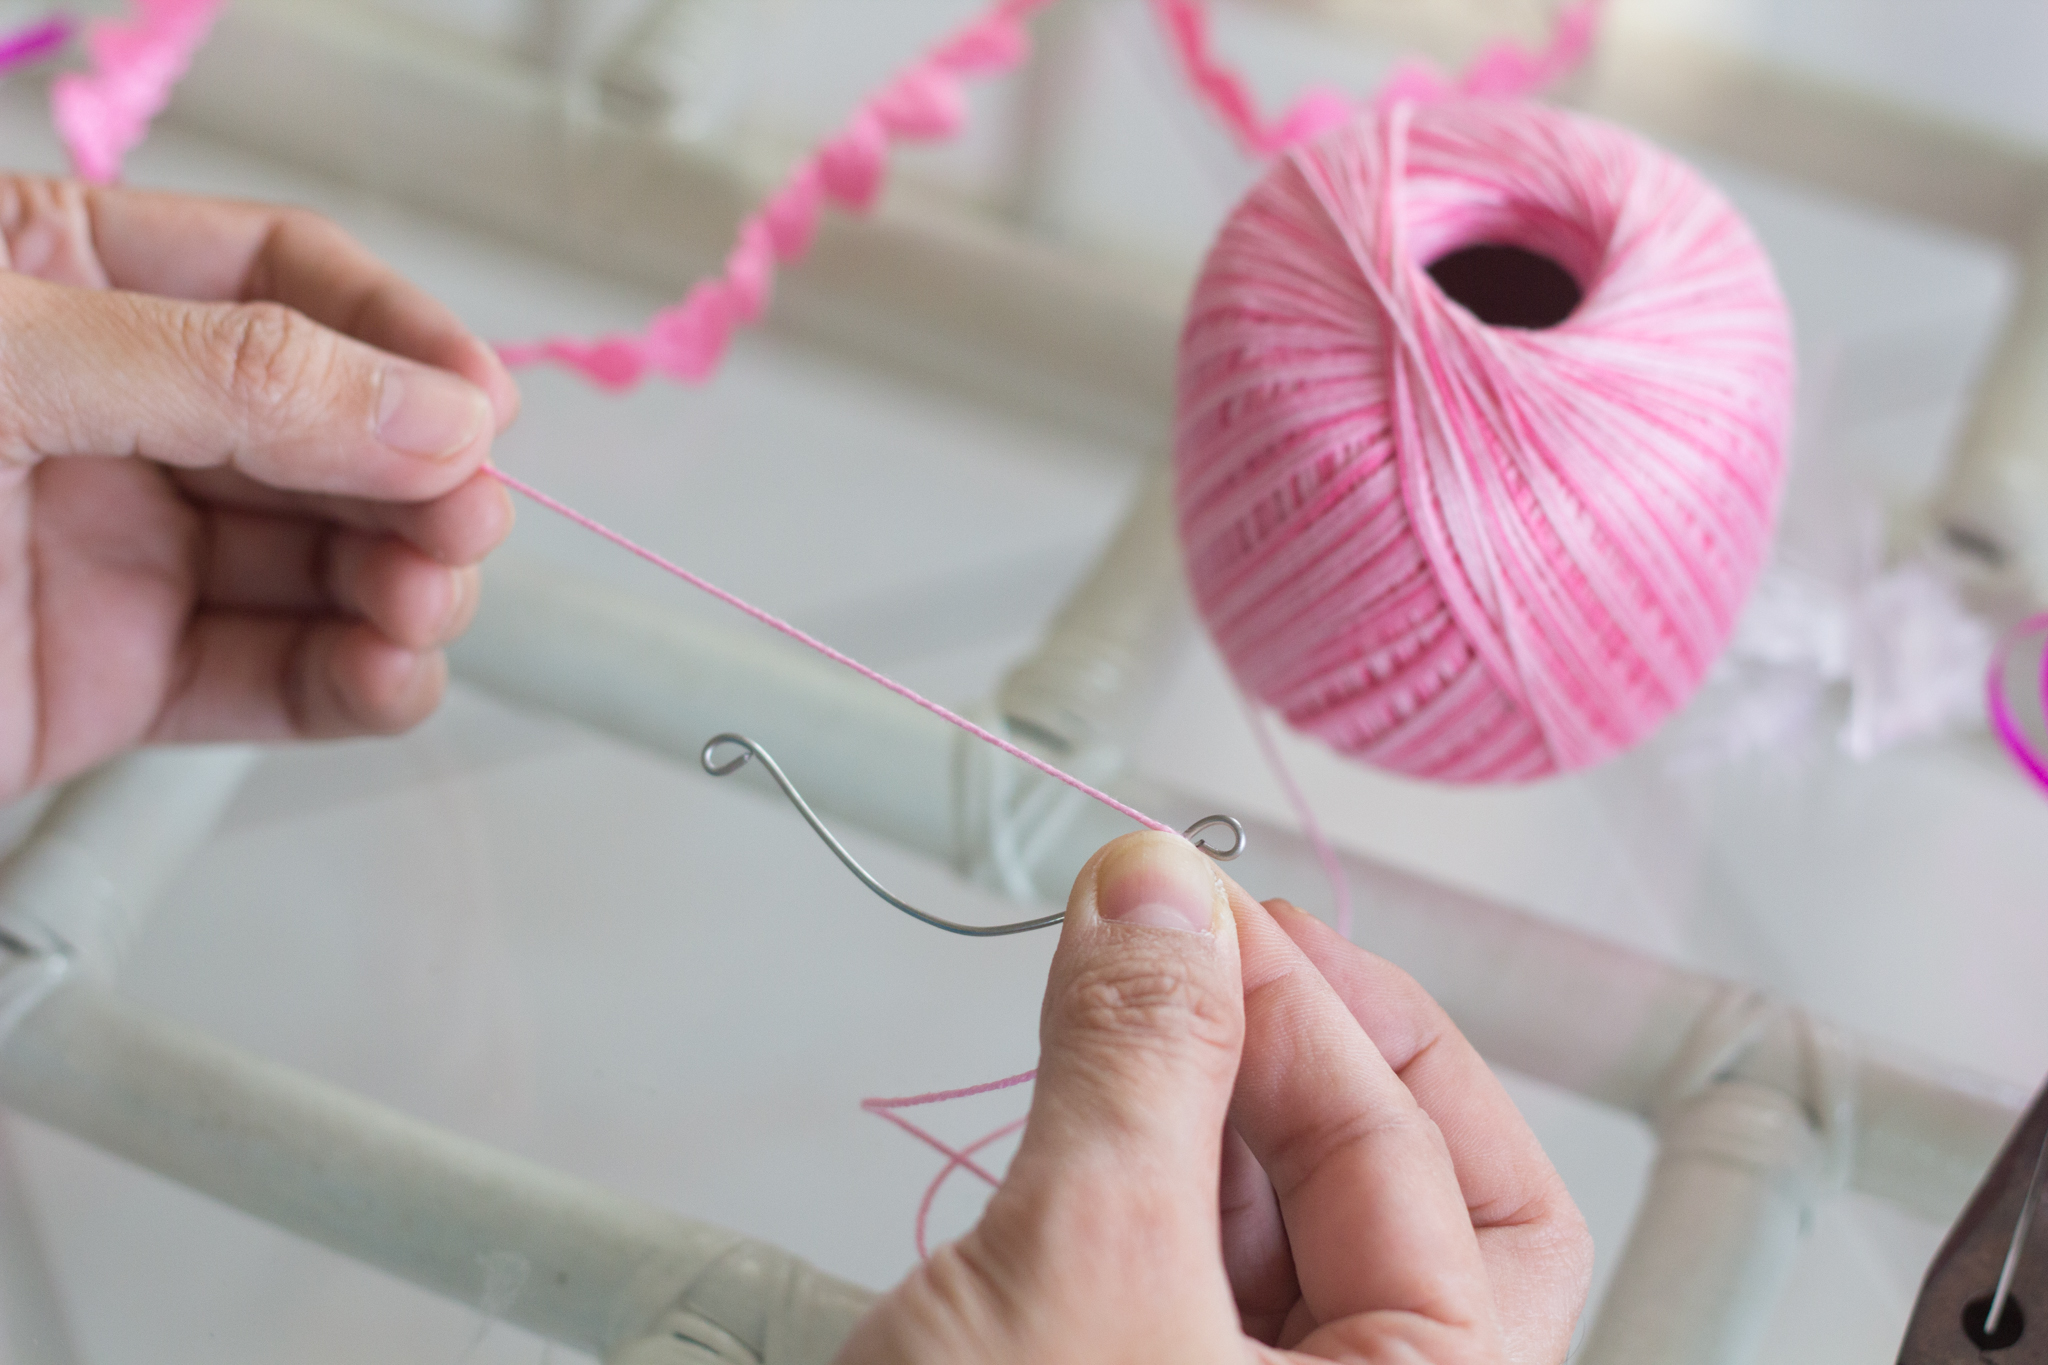 Tie the string on to the upper bottom of the wire
 Put some glue over the wire.
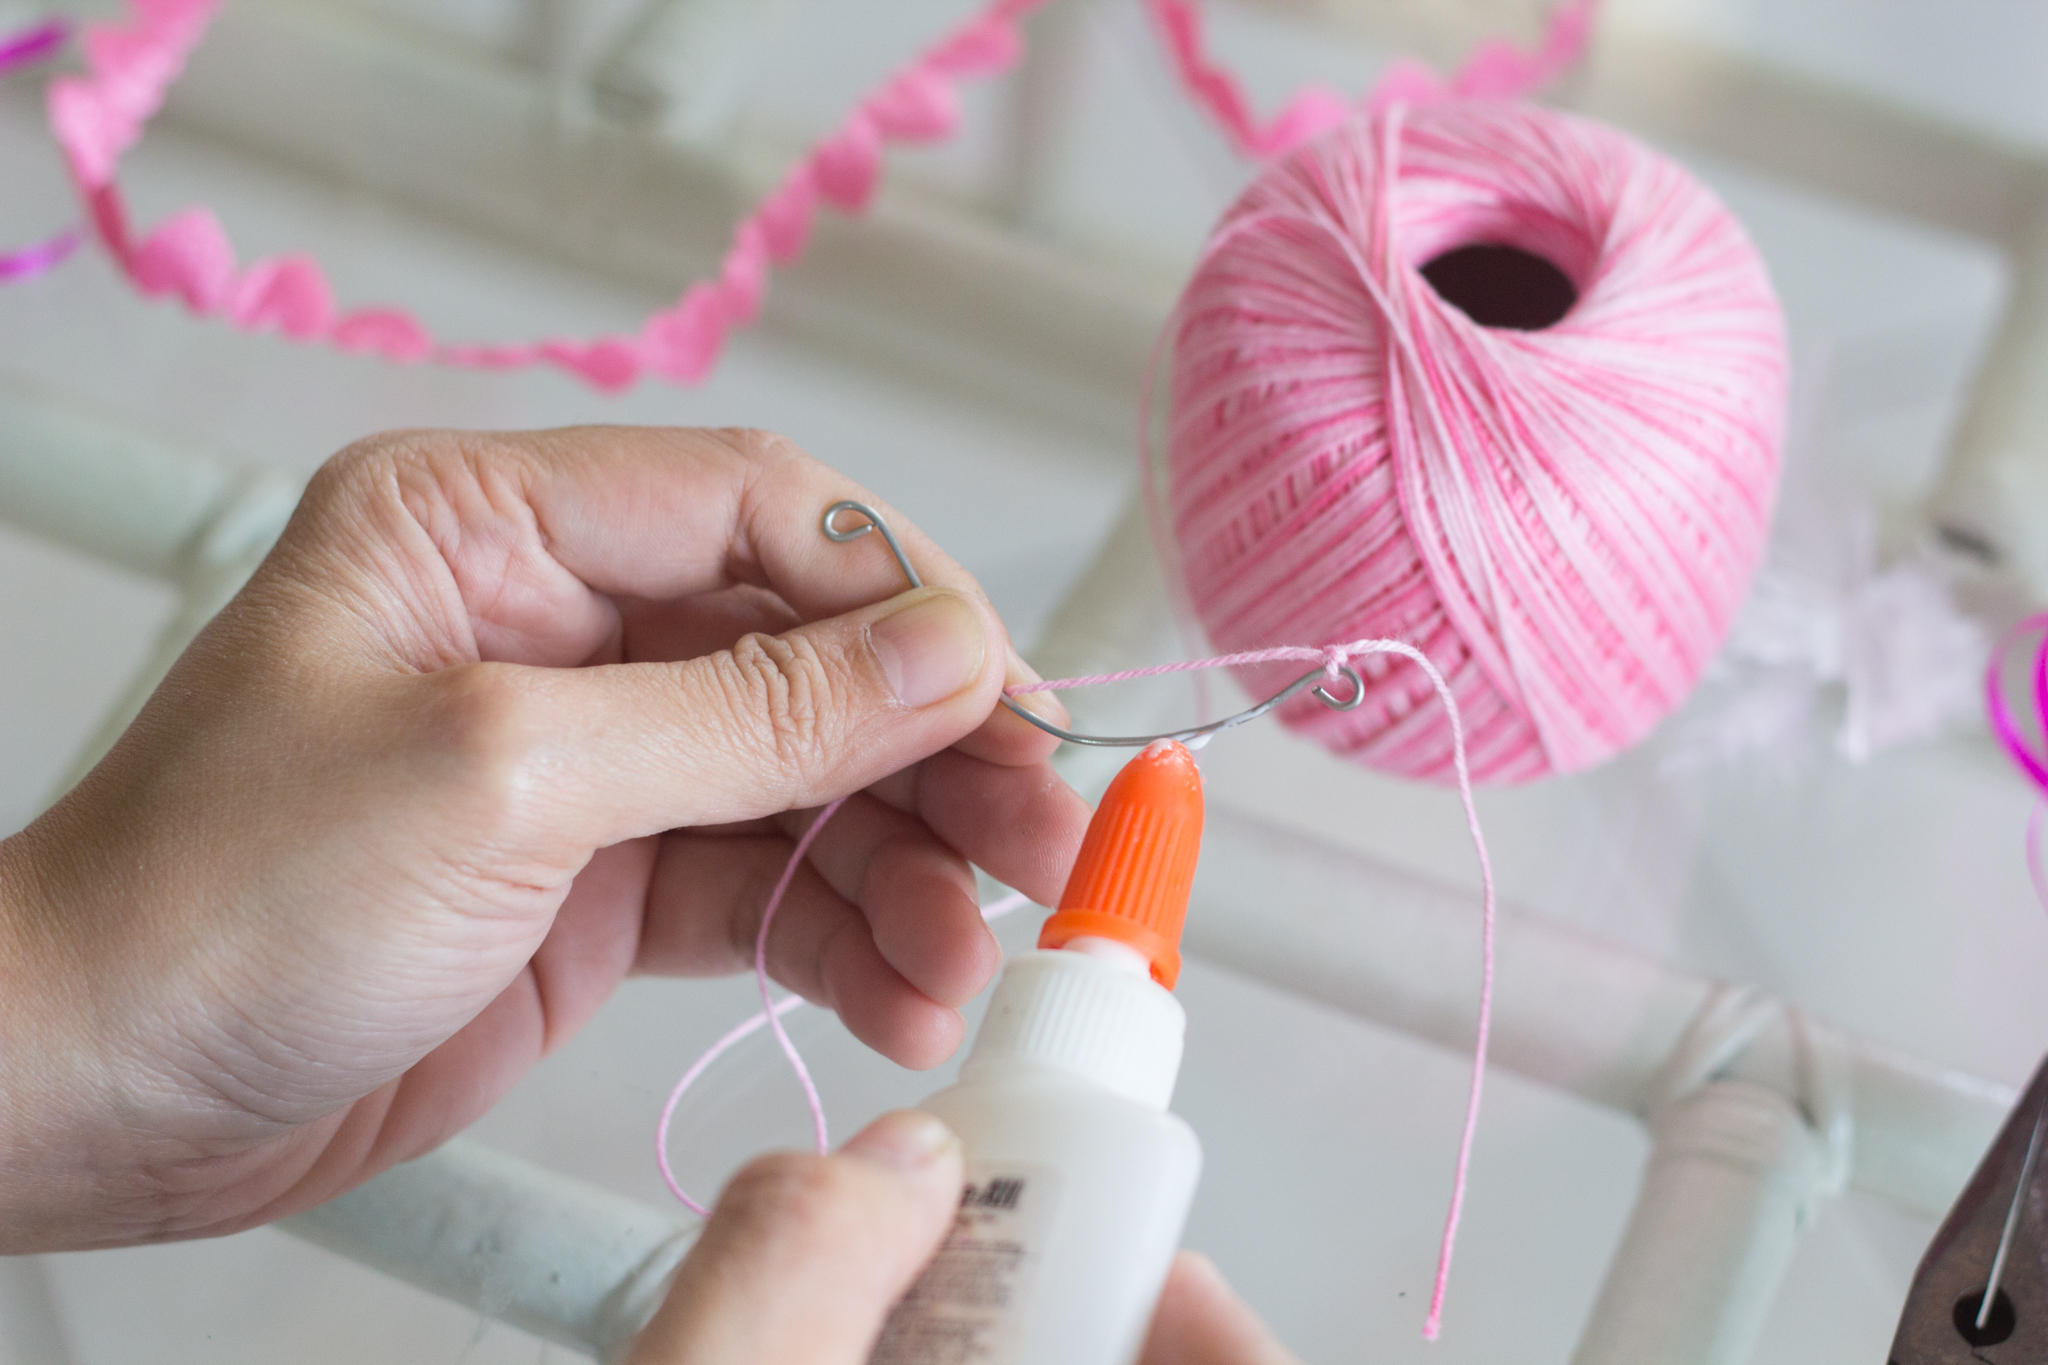
 Use the excess thread to create a bow string.
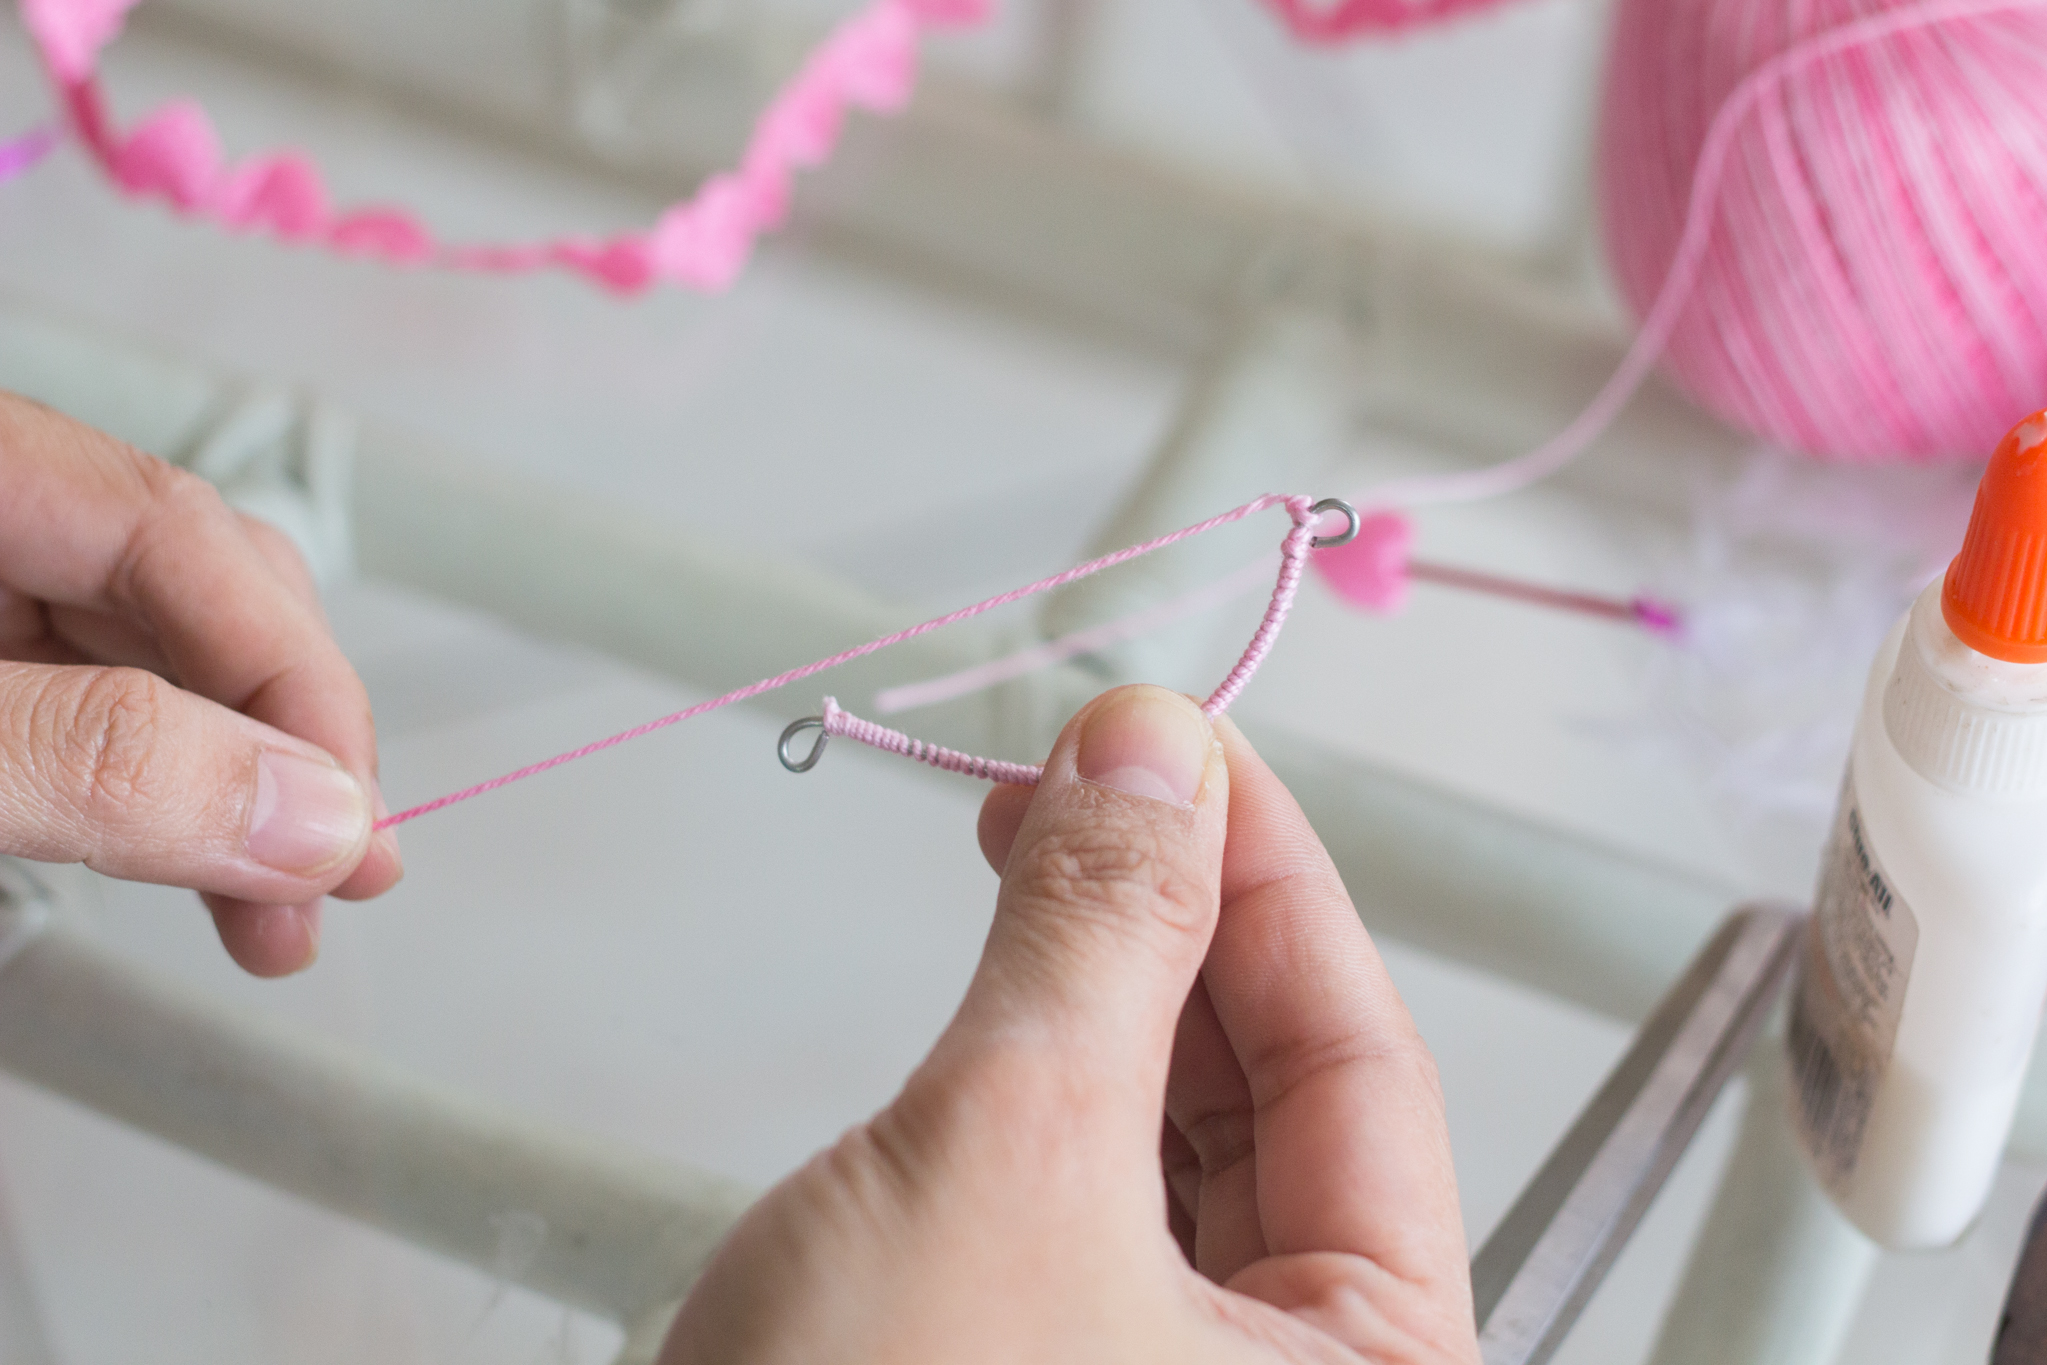

And here it is!
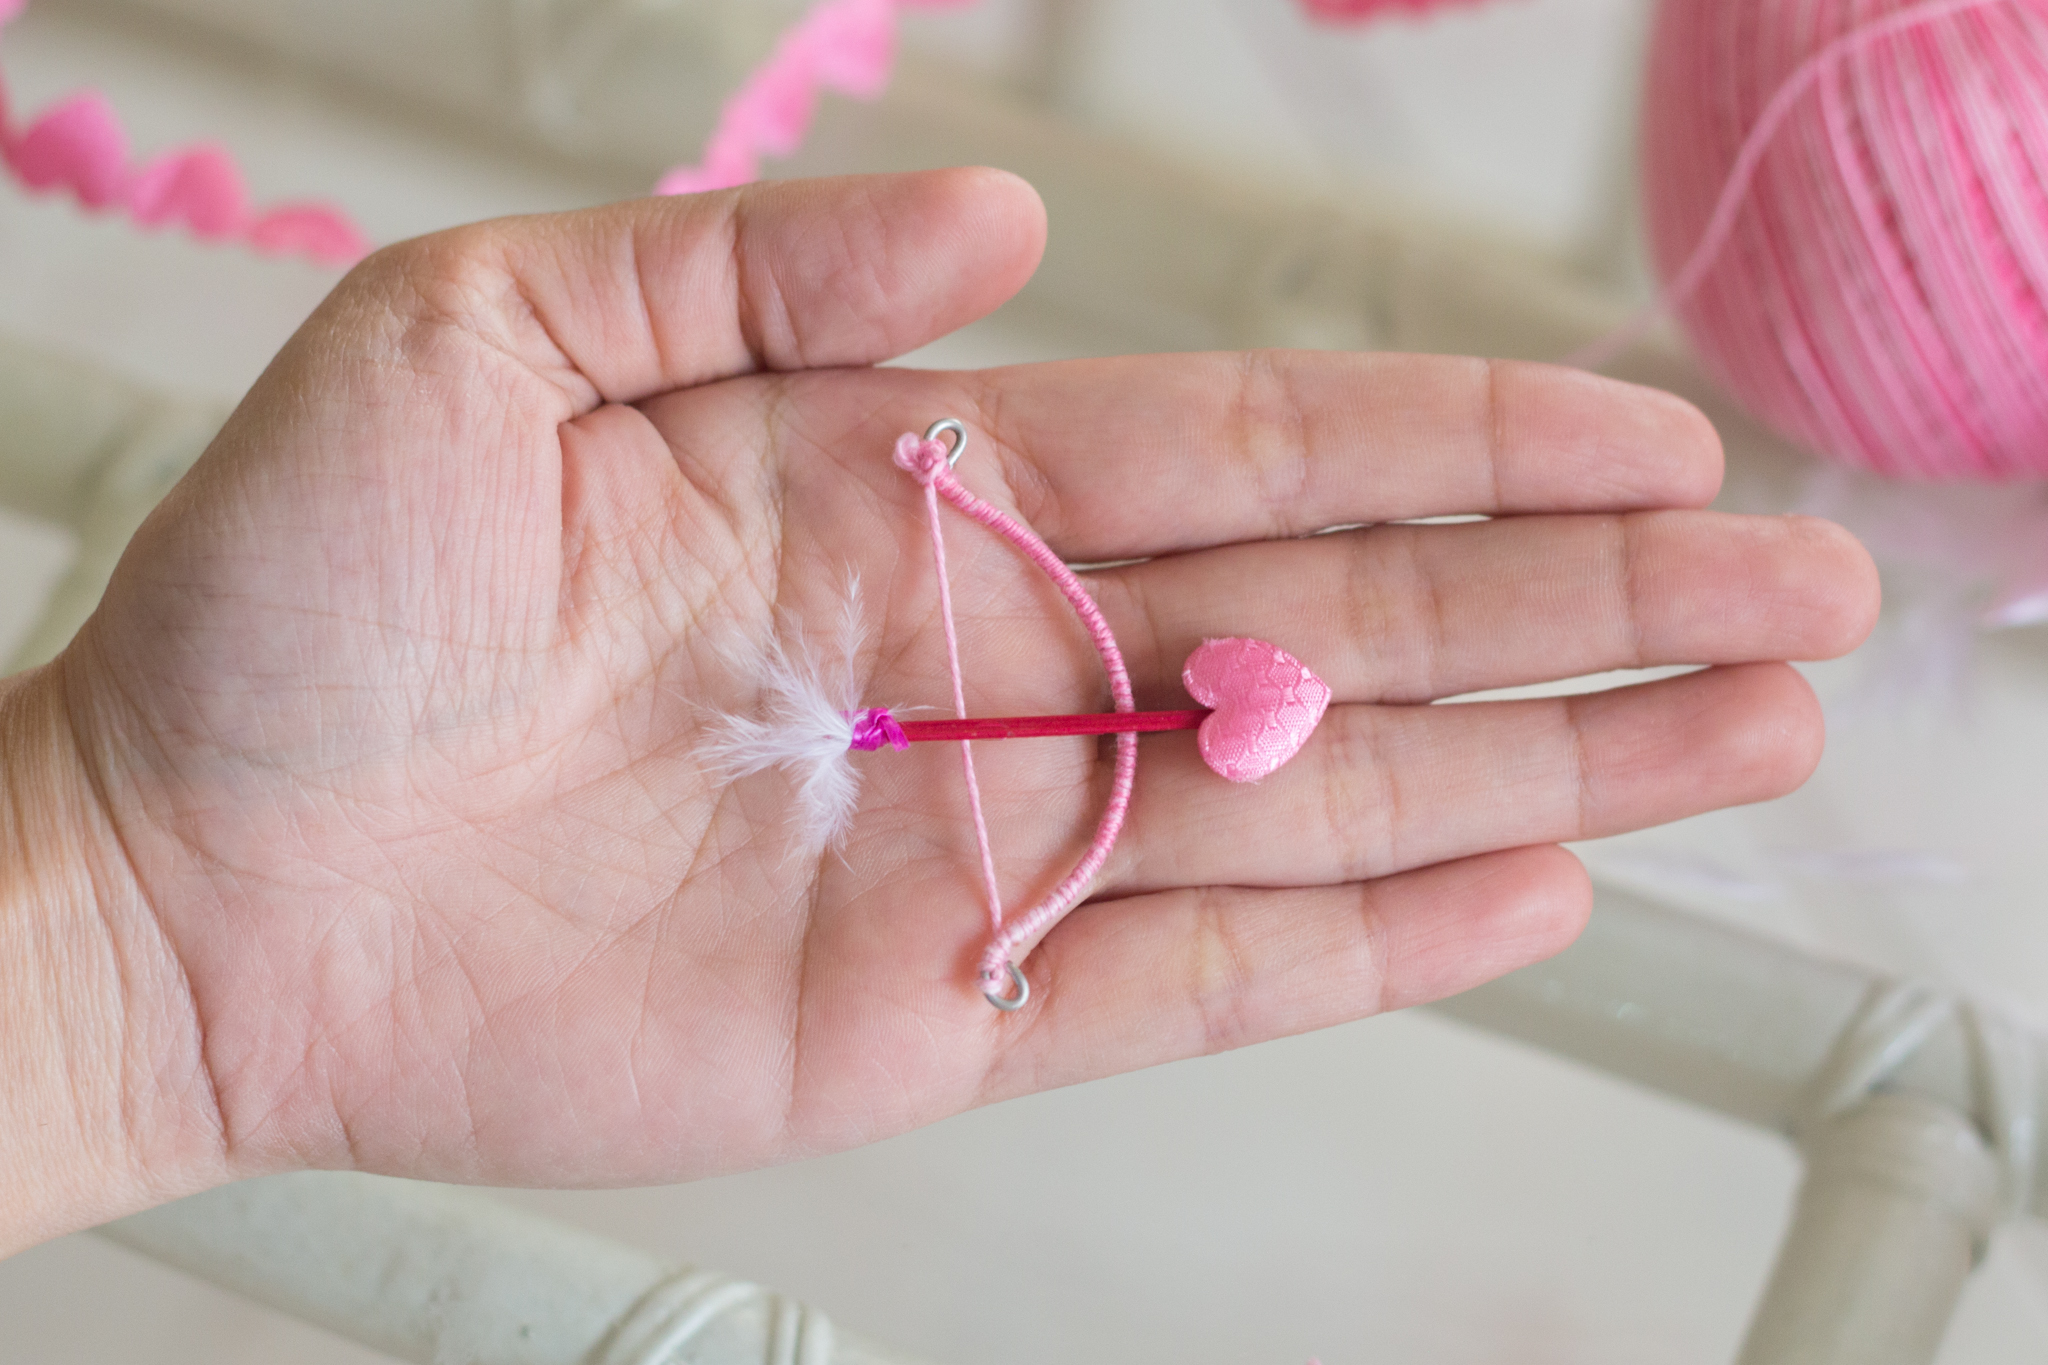
I hope you enjoyed this tutorial. Hopefully, it will give you an idea on how to make Cupid’s Bow and Arrow on Valentine’s Day. Watch out for more tutorials soon! ^_^

Reblogged this on Le blog de GranolaWitch.
This was interesting, I was quite impressed as the bow took shape after some bending of wire. Miss table mat destroyer XD